
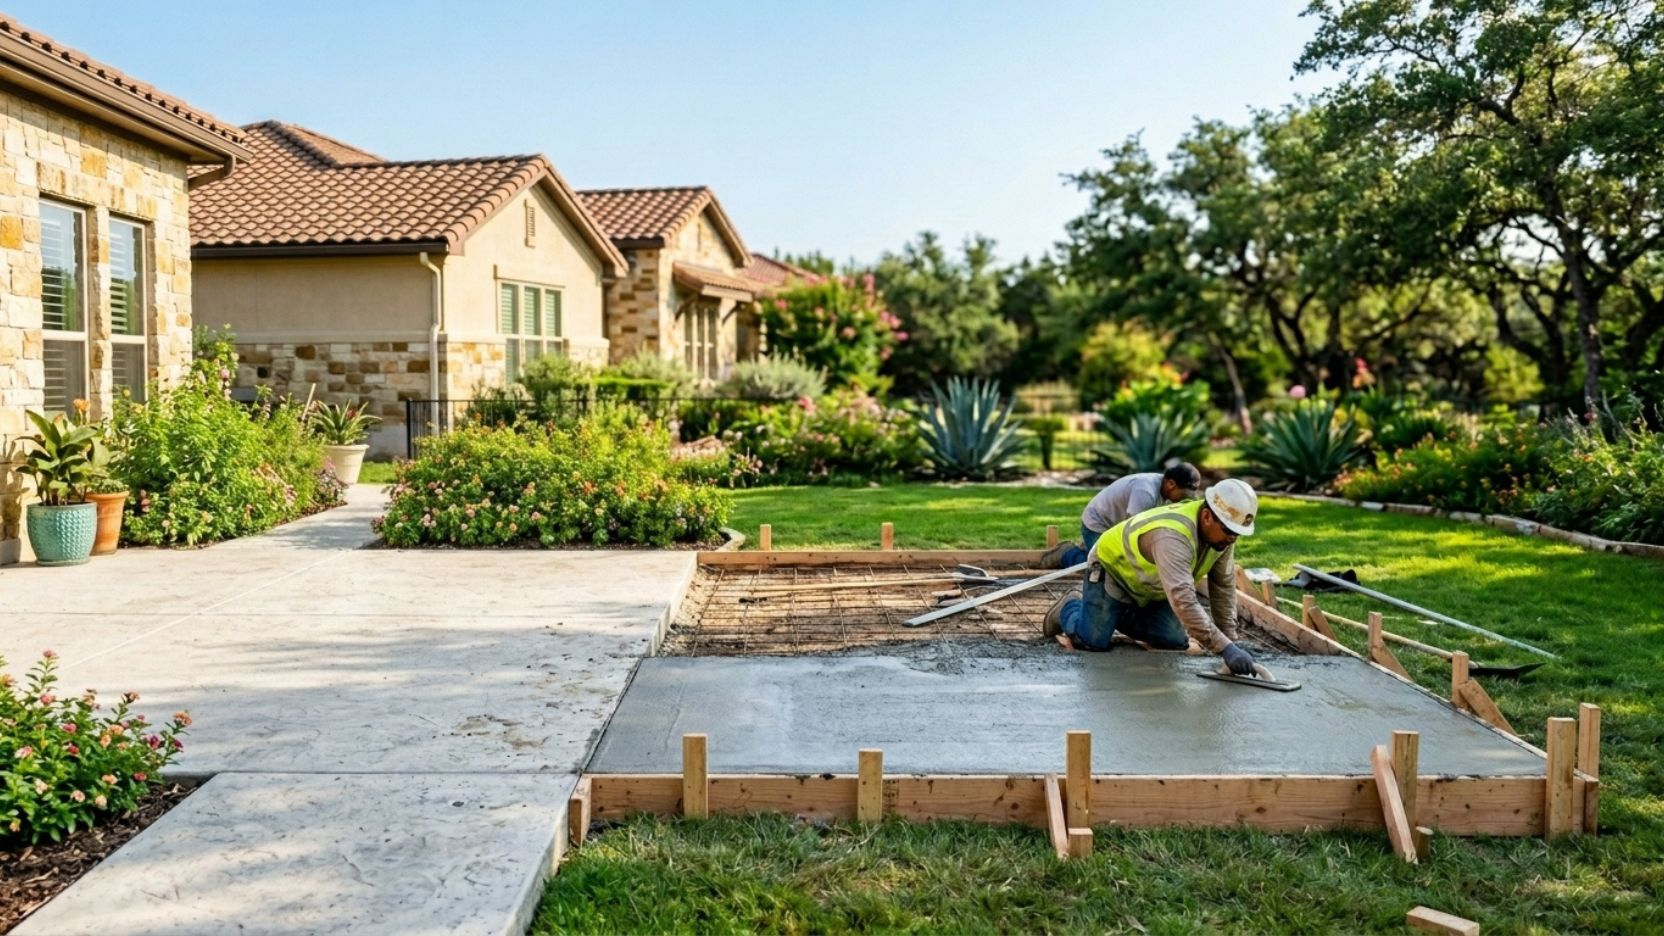
Extending an existing concrete patio in San Antonio is one of the highest-value backyard upgrades a homeowner can make in 2026 but only when it is planned and poured correctly. These ten tips cover everything from matching your existing slab to managing drainage, expansion joints, and finish choices in Bexar County’s clay-heavy soil conditions.
Adding square footage to an existing concrete patio is almost always less expensive than starting from scratch, and the results can be visually seamless when the project is planned correctly. The challenge is that extensions involve more variables than a fresh pour: matching the height and finish of an existing slab, managing the expansion joint between old and new concrete, preparing the subbase properly in an already-landscaped yard, and navigating San Antonio’s expansive clay soils that shift seasonally beneath every slab in Bexar County.
These ten tips are drawn from real patio extension projects completed across San Antonio. Follow them in order and your extension will match, drain correctly, and outlast the neighbors’ patios that were poured without a plan.
The most common mistake homeowners make when extending a concrete patio is treating the new pour as completely independent of the existing slab. It is not. Old and new concrete will move at different rates as Bexar County clay soil swells in wet weather and contracts in dry spells. The expansion joint between them is what prevents that movement from cracking both slabs. Every other detail finish matching, drainage slope, reinforcement choice flows from getting that joint right first. A contractor who does not discuss the joint placement before giving you a quote has not thought through the job.
Planning
Every concrete patio extension project starts with one measurement that most homeowners forget to take: the thickness of the existing slab. Your new pour needs to match it within a quarter inch at the joint, or you will have a permanent trip hazard between old and new concrete that no finish treatment can disguise.
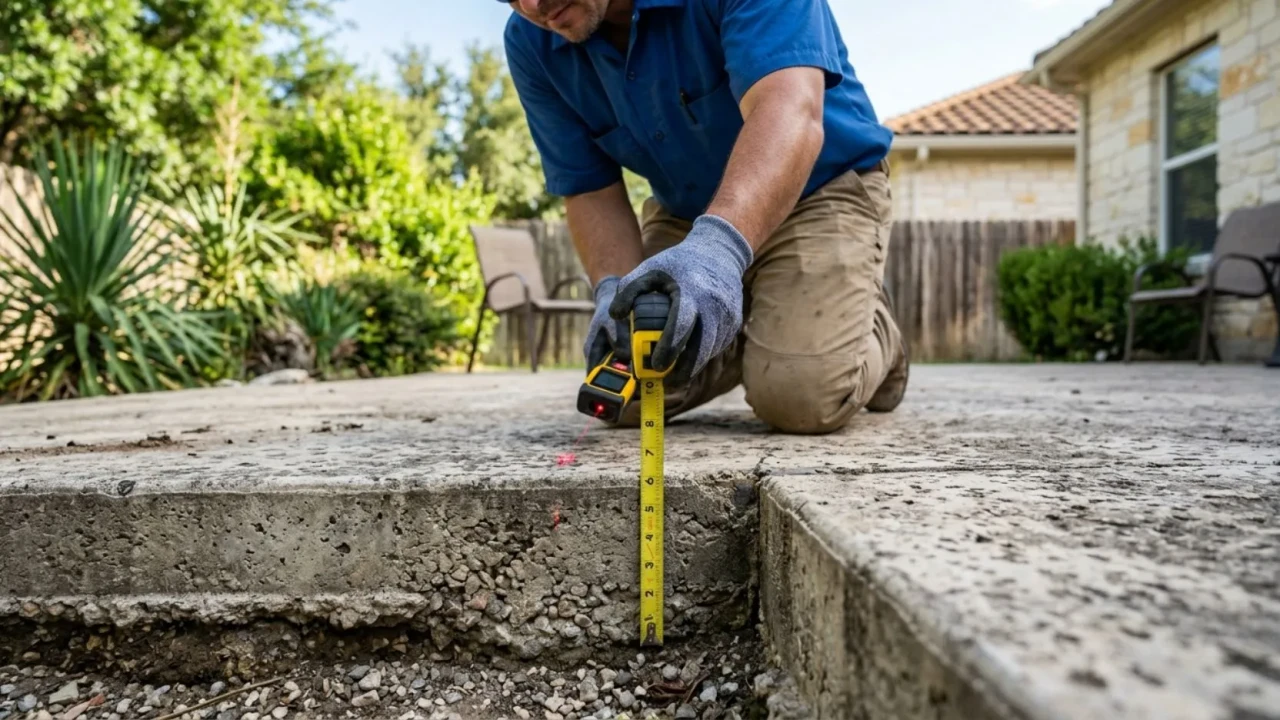
The easiest way to measure is at the exposed edge of the existing slab, such as a step edge or the perimeter where the concrete meets the yard. Use a tape measure or a ruler and record the number. In San Antonio, residential patios poured before 2010 are frequently 3.5 inches thick. Slabs poured after 2015 tend to be 4 inches as that specification became standard practice. Your extension should match or slightly exceed that thickness, never come in below it.
- Existing slab thickness measured and recorded at the exposed edge before any quotes are requested
- Extension thickness specified in the contractor quote to match or exceed existing slab depth
- Finished surface height of extension confirmed to be flush with existing patio at the joint
- Subbase excavation depth adjusted to account for any thickness difference between old and new slab
Joints
This is the most structurally critical tip in the entire list. An expansion joint between your existing slab and the new extension is not optional, it is the reason both slabs stay intact over time. Old concrete has already gone through years of thermal expansion and soil movement cycles. New concrete will go through its own curing shrinkage and seasonal movement. Without a joint separating them, one will crack the other within a few years, especially in Bexar County’s clay-heavy soil that shifts significantly between wet winters and dry summers.
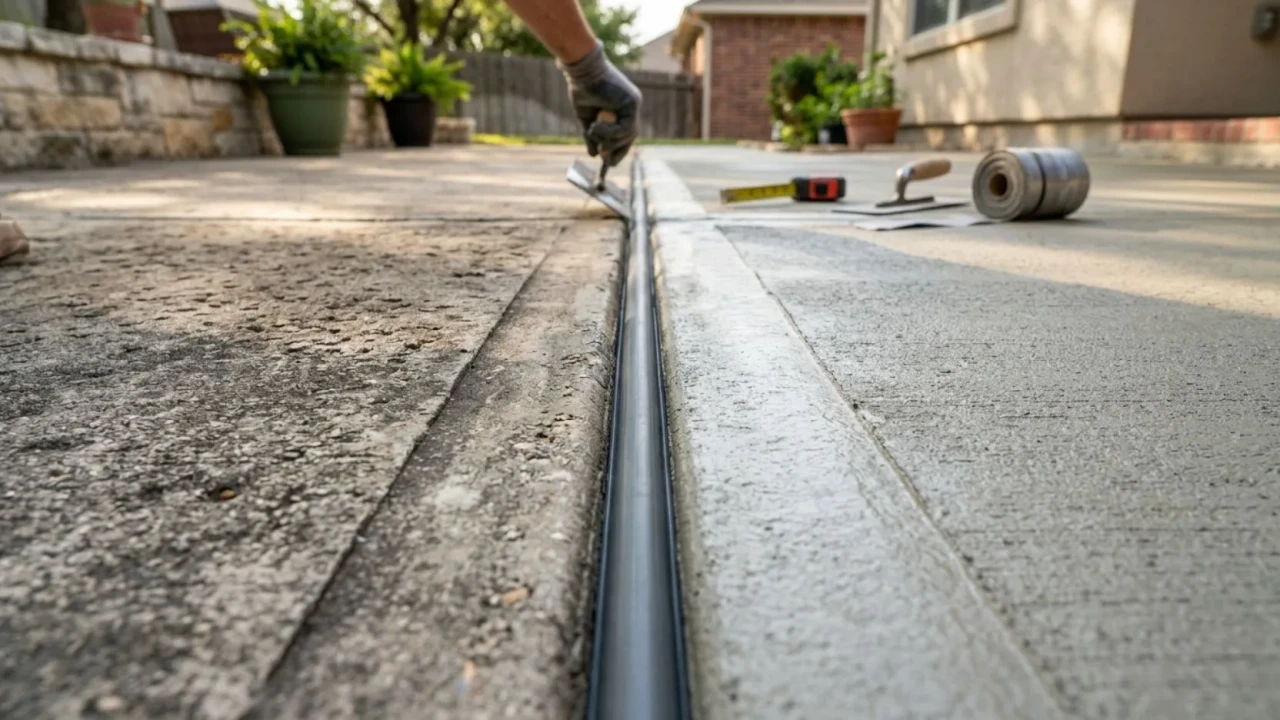
The joint is typically formed using a half-inch compressible foam backer rod or a fiber expansion joint material placed against the existing slab edge before the new concrete is poured. This creates a permanent, flexible gap between the two slabs that allows each to move independently without transmitting stress to the other. The joint is then finished with a flexible polyurethane sealant that keeps water out while maintaining flexibility.
In San Antonio, use a self-leveling polyurethane sealant, not silicone, for the expansion joint between slabs. Polyurethane bonds more aggressively to concrete and handles the high-movement environment of Bexar County clay better than silicone over the long term. It also tolerates the UV exposure that an outdoor patio joint receives during a Texas summer without becoming brittle the way some silicone products do after 3 to 4 years.
- Expansion joint material specified in the contractor quote: foam backer rod or fiber board at the slab interface
- Joint width confirmed at half inch minimum between existing and new concrete
- Polyurethane sealant applied over backer rod after the extension cures
- Annual joint inspection included in the long-term maintenance plan
Subbase
San Antonio sits on some of the most expansive clay soil in Texas. Vertisol clay absorbs water and swells during wet months, then contracts and cracks during dry periods. Without a buffer between that moving clay and your concrete slab, the slab moves with it. That is how patios crack, settle unevenly, and develop the raised edge lips that become trip hazards within five years of installation.
The standard subbase specification for a patio extension in Bexar County is a minimum of 4 inches of compacted crushed limestone base material. Crushed limestone is the correct choice in this region because it compacts tightly, drains well, and resists the moisture absorption that causes clay soils to heave. The base must be compacted with a plate compactor, not just spread and hand-tamped, to achieve the density needed to stabilize the slab above it.
- Subbase material specified in the quote: crushed limestone at a minimum of 4 inches depth
- Mechanical plate compaction confirmed as part of the base preparation scope
- Excavation depth calculated correctly to accommodate base depth plus slab thickness
- No contractor quote accepted that lists pouring directly over native soil without base preparation
Drainage
Drainage is the detail that distinguishes a patio extension that ages well from one that develops problems within a few years. Every concrete surface adjacent to a house must slope away from the foundation at a minimum of one-eighth inch per foot. This is not a style preference it is a structural requirement for protecting your home’s foundation from water intrusion.
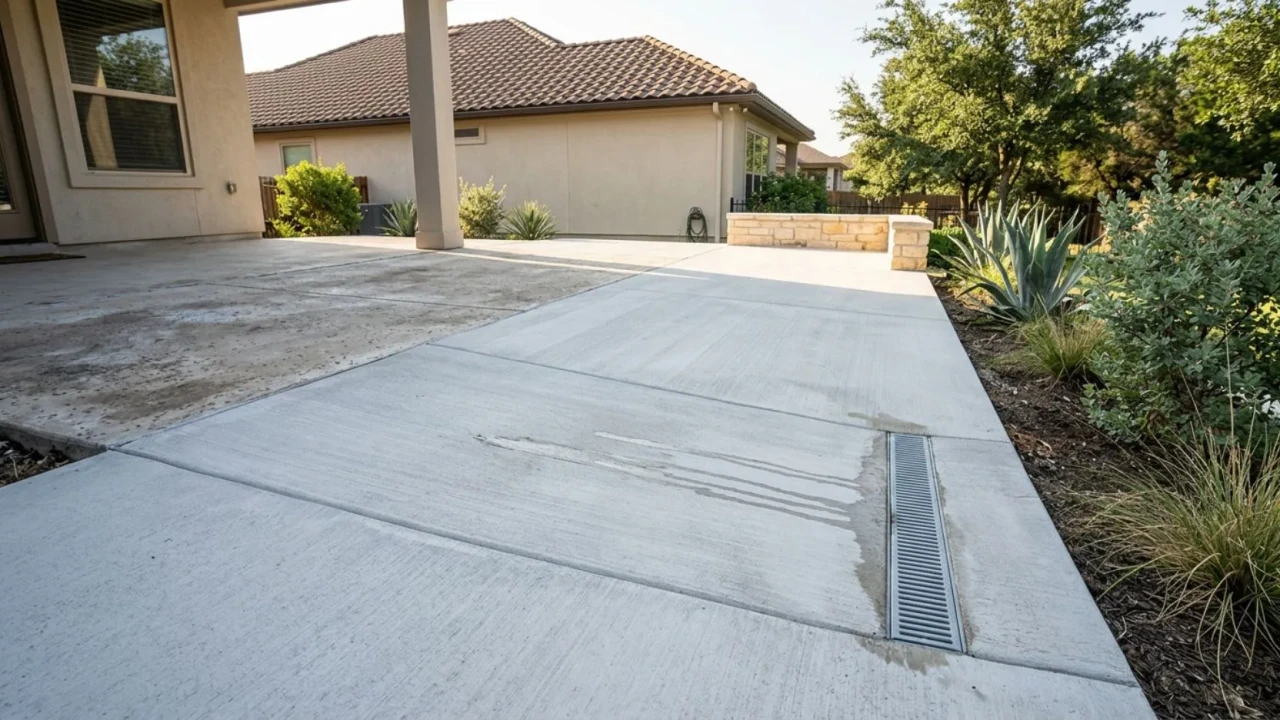
The complication with patio extensions is that the existing slab already has an established slope. Your extension must continue that slope in the same direction. If the existing patio drains to the left, the extension must also drain to the left at the same or greater pitch. Changing drainage direction between old and new concrete creates a low spot at the joint where water will pool, penetrate the gap, and accelerate deterioration of both slabs from below.
Before your contractor sets forms, check the drainage direction of your existing patio with a simple test: Pour a bucket of water at the edge where the old and new slabs will meet and watch where it flows. The extension must be graded to continue that flow path. If your existing slab drains toward a fence or property line, confirm that the extended water volume from a larger patio will not create runoff issues for neighboring properties before construction begins.
- Existing patio drainage direction mapped before forms are placed for the extension
- Extension slope confirmed to continue the existing drainage direction at 1/8 inch per foot minimum
- No low spots created at the joint between old and new concrete
- Downstream runoff destination confirmed: yard, drain, or street without impacting neighboring properties
Finish Matching
One of the most realistic things a contractor can tell a homeowner about a patio extension is this: a perfect color match between old and new concrete is not achievable. Concrete weathers, oxidizes, and accumulates staining over years of outdoor exposure. Fresh concrete has a bright, uniform appearance that will look noticeably different from even a 3-year-old slab for the first 12 to 18 months. After that period, the new concrete will weather toward a closer match on its own.
The two strategies that handle this well are finish matching for a close visual result, or committing to a full decorative upgrade across both old and new slabs to create a unified appearance from the start.
| Strategy | What it involves | Best for | Cost impact |
|---|---|---|---|
| Finish matching only | Match broom direction and texture; accept color difference for 12 to 18 months | Newer existing slabs (under 5 years old) with minimal weathering | No added cost beyond standard pour |
| Integral color additive | Pigment added to the new mix to approximate the weathered tone of the old slab | Existing slabs 5 to 15 years old with significant weathering | Adds $1 to $2 per square foot |
| Stain both slabs together | Acid or water-based stain applied to old and new slabs simultaneously after extension cures | Older slabs or homeowners wanting a decorative upgrade anyway | Adds $3 to $6 per square foot for staining both surfaces |
| Stamped overlay on both slabs | Thin decorative overlay applied over old and new concrete with stamped pattern and color | Homeowners wanting a premium decorative result with full visual unity | Adds $8 to $14 per square foot for overlay work |
- Finish strategy selected: match only, integral color, stain both, or overlay both
- Broom direction on the new pour confirmed to match existing slab texture and stroke pattern
- Homeowner expectations set: fresh concrete will look lighter than weathered concrete for 12 to 18 months
- If staining both slabs: extension cure time of 28 days respected before any stain is applied
Reinforcement
Wire mesh is the standard reinforcement for small, low-stress residential patios in many parts of the country. In San Antonio, the expansive clay soil conditions change that calculus for patio extensions specifically. When a new extension slab is cantilevering beyond the edge of the existing slab and sitting over native soil that has been disturbed during excavation, rebar provides significantly better resistance to the bending forces that cause slabs to crack along their unsupported edges.
The placement of the reinforcement matters as much as the type. Rebar sitting on the ground at the bottom of the slab provides almost no structural benefit it must be elevated to mid-slab height using plastic rebar chairs or dobies so that the concrete encases it at the correct depth. A contractor who does not use chairs or some form of support for the rebar is installing reinforcement that will not perform as intended.
Ask your contractor specifically where the rebar will sit in the slab. The correct answer is at one-third to one-half of the slab depth from the bottom, supported by plastic chairs or concrete dobies. If the answer is that the crew will pull it up during the pour, that is an acceptable and common field technique but only if it is actually executed on pour day. Asking the question signals that you know what to look for.
- Reinforcement type confirmed in the quote: rebar #3 at 18-inch centers recommended for Bexar County clay conditions
- Rebar elevation method confirmed: plastic chairs, dobies, or pull-up technique during pour
- Rebar does not touch the ground at any point before the pour begins
- Rebar extends to within 2 inches of all slab edges for edge reinforcement
Joints
The expansion joint between old and new concrete handles movement between the two slabs. But the new extension slab itself also needs control joints within it to manage the cracking that naturally occurs as fresh concrete shrinks during the curing process. Without control joints, the slab will crack on its own and it will crack wherever it chooses, which is rarely a straight line.
Control joints are scored lines cut into the surface of the fresh concrete that create planned weak points where the slab can crack in a controlled, straight line at the joint rather than randomly across the surface. They should be spaced at no more than 10 feet in any direction and should create roughly square panels. A 20-foot-wide extension would need a control joint at the 10-foot mark running the full width of the slab.
- Control joint locations planned on the layout drawing before forms are set
- Joints spaced at 10 feet maximum in both directions across the extension slab
- Joint depth specified at one-quarter of slab thickness minimum
- Joints cut on pour day with a groover or saw-cut within 24 hours of the pour
Timing
The chemistry of concrete curing is temperature-sensitive. When surface temperatures exceed 90 degrees Fahrenheit, fresh concrete begins losing moisture through evaporation faster than the hydration reaction can use it. The result is a slab that reaches initial set too quickly, potentially with surface cracking from plastic shrinkage and a final compressive strength that is lower than a slab poured under controlled conditions. In San Antonio, this scenario is common from June through early September when afternoon slab surface temperatures can exceed 110 degrees Fahrenheit in direct sun.
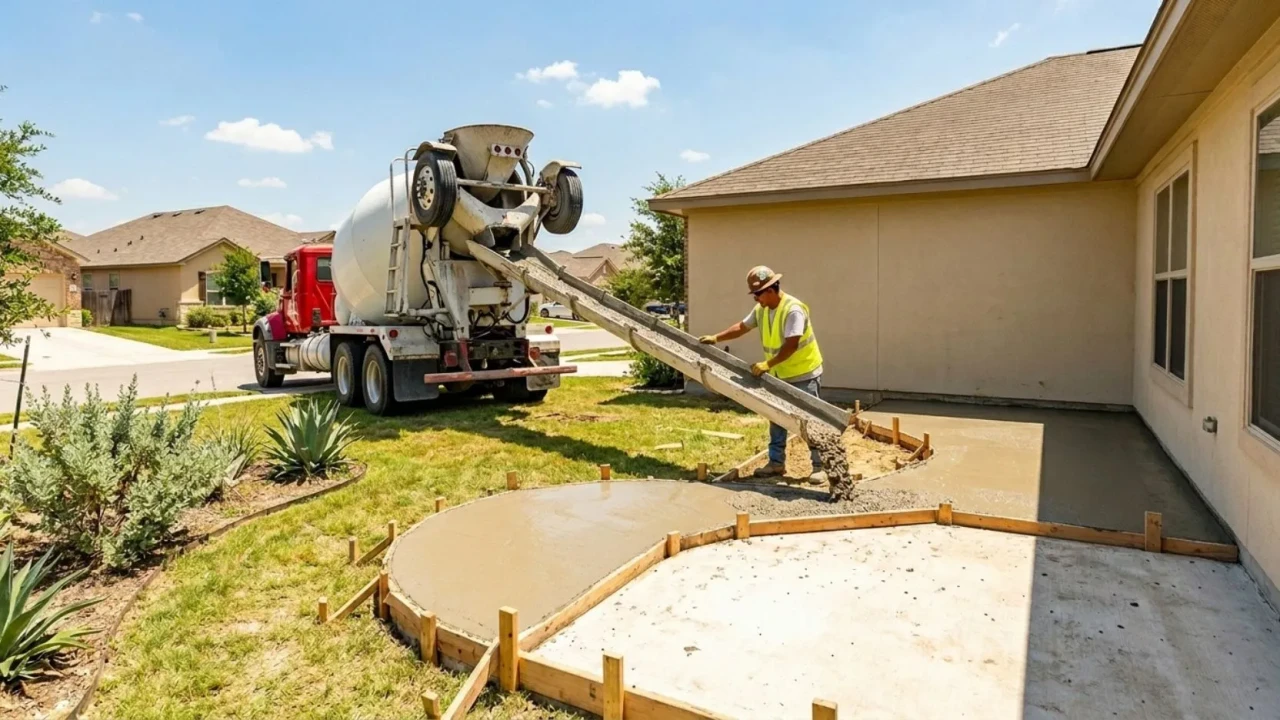
The preferred window for concrete patio extensions in San Antonio is October through April. Fall and winter pours benefit from moderate temperatures, slower curing that produces a stronger slab, and lower contractor demand that often means better pricing and more contractor attention on your job. If your project is time-sensitive and must happen in summer, insist on an early morning pour start (before 8 a.m.) and confirm that your contractor will apply a curing compound or wet-curing method immediately after finishing.
- Pour scheduled for October through April if the project timeline allows
- If summer pour is unavoidable: early morning start confirmed with contractor
- Curing method confirmed for all pours: wet curing for 3 to 5 days or liquid curing compound applied immediately after finishing
- No foot traffic for 48 hours and no vehicle traffic for 7 days after pour confirmed with the crew
Contractor Vetting
Patio extension projects attract low-ball quotes from contractors who leave out essential components and then charge for them as add-ons once work has begun. The most commonly omitted items are subbase preparation, rebar, curing, and haul-away of excavated material. A quote that reads “concrete patio extension, 200 sqft” with a single price gives you no basis for comparison and no protection if the contractor skips the steps that protect your investment.
- Three written quotes obtained before selecting a contractor
- Each quote itemizes: excavation, base material, compaction, reinforcement, pour, finishing, joints, and cleanup
- Slab thickness, base depth, and reinforcement type all specified in writing in the accepted quote
- Payment terms confirmed: deposit upfront, balance on completion not full payment before work begins
Sealing
After the extension has reached full cure at 28 days, sealing both the new and existing patio surfaces together is one of the most practical ways to unify their appearance and protect both slabs simultaneously. A quality penetrating or film-forming sealer applied across both surfaces reduces the visual contrast between old and new concrete, protects against oil and water penetration, and extends the life of both slabs going forward.
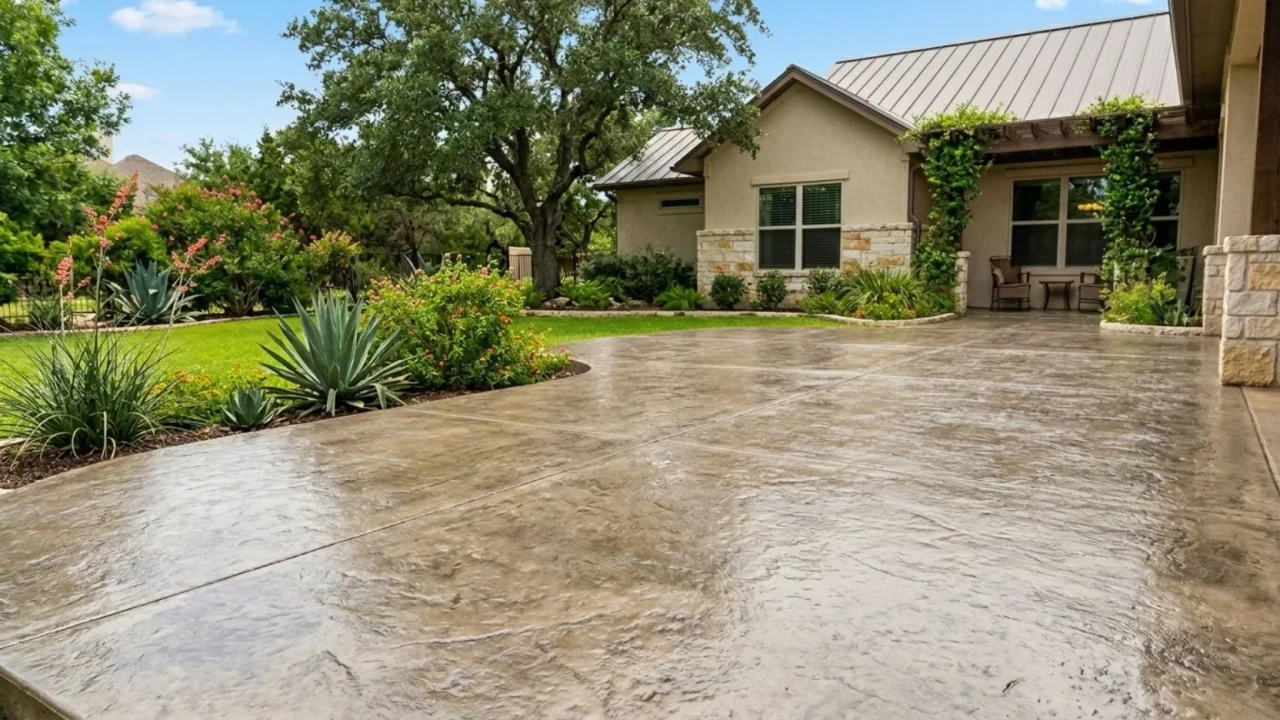
In San Antonio’s climate, a sealed concrete surface also handles thermal cycling significantly better than an unsealed one. UV exposure from the intense Texas sun degrades unprotected concrete surface paste over time, leading to dusting, surface erosion, and increased staining from organic material. A quality sealer applied at 28 days and reapplied every 2 to 3 years adds a meaningful amount to the service life of any concrete slab.
Do not seal the new extension before 28 days under any circumstances. Sealing concrete that has not fully cured traps moisture inside the slab and can cause surface delamination, discoloration, and sealer failure within the first year. In San Antonio’s heat, 28 days is the non-negotiable minimum even though the surface may feel and look hard well before that point. Patience on the sealing schedule is one of the easiest ways to protect a significant investment.
- Sealing scheduled for 28 to 30 days after extension pour not before full cure
- Sealer applied uniformly across both old and new concrete surfaces in the same application
- Sealer type selected for the finish and use case: penetrating for natural appearance, film-forming for enhanced sheen and color
- Resealing reminder set for every 2 to 3 years going forward
Use this table as a planning reference for budgeting and specifying your concrete patio extension project in Bexar County.
| Project component | Standard specification | Cost range (San Antonio 2026) | Notes |
|---|---|---|---|
| Excavation and haul-away | Native soil removed to depth of base plus slab | $1–2/sqft | Often omitted from low-ball quotes |
| Crushed limestone base | 4 inches minimum, compacted | $1–2/sqft | Essential in Bexar County clay soil |
| Rebar reinforcement | #3 rebar at 18-inch centers, elevated | $0.50–1/sqft | Preferred over wire mesh for extensions |
| Concrete pour and finish | 4-inch slab, broom finish, control joints | $5–10/sqft | Includes expansion joint at existing slab |
| Integral color additive | Pigment in mix to approximate old slab tone | $1–2/sqft added | Best for slabs 5 to 15 years old |
| Staining both slabs (after cure) | Acid or water-based stain with sealer | $3–6/sqft added | Creates full visual unity between old and new |
| Sealing (both slabs) | Penetrating or film-forming sealer at 28 days | $0.50–1.50/sqft | DIY possible; professional application more uniform |
- Existing slab thickness measured and recorded at the exposed edge
- Existing patio drainage direction mapped and extension slope planned to continue it
- Extension dimensions finalized and layout staked or marked before quotes are requested
- Finish strategy selected: match only, integral color, stain both slabs, or overlay
- Slab thickness confirmed at 4 inches minimum, matching or exceeding existing slab
- Crushed limestone base specified at 4 inches minimum, mechanically compacted
- Rebar #3 at 18-inch centers confirmed as reinforcement, elevated at mid-slab height
- Expansion joint at the old and new slab interface confirmed: half-inch foam backer rod and polyurethane sealant
- Control joints planned at 10-foot maximum spacing within the extension slab itself
- Three itemized quotes obtained no single-line lump sum quotes accepted
- Each quote specifies: excavation, base prep, compaction, reinforcement, pour, finish, joints, curing, and cleanup
- Pour timing confirmed for October through April if project schedule permits
- Summer pour contingency confirmed: early morning start and curing compound on standby
- No foot traffic for 48 hours and no vehicle traffic for 7 days after pour
- Curing process confirmed: wet curing for 3 to 5 days or liquid compound applied immediately after finish
- Sealing of both old and new surfaces scheduled at 28 to 30 days after pour
- Resealing reminder set for every 2 to 3 years and expansion joint inspection set for annually
How much does it cost to extend a concrete patio in San Antonio in 2026?
Will my concrete patio extension match my existing patio?
Do I need a permit to extend my concrete patio in San Antonio?
How soon can I use my patio after the extension is poured?
What is the best time of year to pour a concrete patio extension in San Antonio?
Get a free patio extension quote in San Antonio
Tell us about your existing patio and how much space you want to add. We will assess the site, confirm the best extension approach for your slab and soil conditions, and deliver a detailed written quote at no cost.