A concrete driveway is one of the highest-value improvements you can make to a San Antonio home but only when it is installed correctly. This guide walks through every phase of the process: site preparation, base construction, the pour, finishing, curing, and what to watch for at every stage so your driveway lasts 30 years or more.
Most concrete driveways that fail within the first five years were not built with bad material. They were built on a bad base, with insufficient thickness, or by a crew that skipped the preparation steps to save time. In San Antonio's expansive clay soils, those shortcuts almost always result in cracking, heaving, and early surface failure. Getting it right from the start is far less expensive than repairing or replacing a slab that was done incorrectly.
This guide covers the full installation sequence from first site assessment through final sealing, with specific numbers and details relevant to San Antonio conditions. Whether you are hiring a contractor or want to know exactly what should be happening at each phase of your project, this is the reference to keep on hand.
In Bexar County, the soil beneath a driveway is predominantly expansive Vertisol clay. This clay swells when wet and contracts when dry, creating constant ground movement beneath any slab. A concrete driveway that skips proper base preparation excavation, compaction, and a crushed limestone base layer is sitting on ground that will shift with every rain cycle. Rebar and slab thickness matter, but they cannot compensate for a missing base. Every step in this guide builds toward a foundation that does not move.
Good driveway installation starts on paper. The size, layout, thickness, finish, and drainage plan for the driveway need to be locked in before any equipment arrives. Changes after excavation has started are expensive and disruptive; changes after concrete is poured are impossible.

Standard driveway dimensions for San Antonio homes: A single-car driveway typically runs 10 to 12 feet wide; a two-car driveway runs 18 to 24 feet wide. Length varies by lot, but a typical residential driveway from the street to the garage runs 18 to 30 feet. Widening or adding a turnaround pad at the end is worth pricing at the same time mobilization costs make add-ons expensive later.
Permits in San Antonio: A driveway that connects to a public street or alley in the City of San Antonio typically requires a Right-of-Way (ROW) permit from the City's Transportation and Capital Improvements department. This covers the apron the section of driveway between the curb and the sidewalk or property line. Work entirely within the private property may not require a permit, but requirements vary by district and lot configuration. Always confirm with the City of San Antonio Development Services before work begins. Permit responsibility should be confirmed in writing with your contractor before signing any agreement.
- Driveway width, length, and thickness confirmed in writing before any work begins
- Finish type selected: broom, stamped, exposed aggregate, or brushed influences scheduling and cost
- Drainage slope planned: minimum 1 percent grade away from the garage and the house foundation
- ROW permit confirmed with City of San Antonio if the driveway connects to a public street or alley
- 811 call placed at least 72 hours before excavation required by Texas state law
- Turnaround pad, widening, or future extensions priced at the same time to reduce mobilization cost later
If an existing driveway concrete, asphalt, or pavers is being replaced, removal comes first. This phase is more labor-intensive than it looks from the street. A standard residential concrete slab weighs roughly 150 pounds per square foot at 4 inches thick. A 400-square-foot driveway generates approximately 30 tons of demolition debris that must be broken up, hauled out, and disposed of legally.

Demolition is done with a jackhammer or a skid-steer with a concrete breaker attachment. The broken material is loaded into a haul truck and taken to a recycling facility concrete is a recyclable material and most San Antonio contractors use certified recycling centers rather than landfills. Confirm with your contractor that demolition debris removal is included in the quote. Some low bids exclude hauling, which can add $500 to $1,500 or more to the project cost when priced separately.
Tree roots near the driveway footprint are one of the most common problem sources in San Antonio. Live oak, pecan, and Texas ash root systems spread far beyond the tree canopy and can run directly beneath a driveway. If roots are visible near the planned footprint, a contractor should inspect their depth before excavation. In some cases, root barriers can be installed during the pour; in others, the tree presents a long-term structural risk to any concrete surface within its root zone.
- Demolition and haul-away explicitly included in the written quote confirm it is not a separate add-on
- Disposal method confirmed: licensed recycling facility, not on-site stockpiling
- Tree roots near the footprint flagged and assessed before excavation begins
- Underground utilities marked and clear before any demo equipment enters the site
- Access path for demo and delivery equipment planned avoid driving heavy equipment over landscaping or irrigation lines
Once the old surface is gone, the ground beneath needs to be excavated to the correct depth, graded for drainage, and compacted. In San Antonio, where Vertisol clay is the dominant soil type, this phase is especially critical. Clay that has not been properly compacted will shift and settle beneath the slab, creating voids that lead to cracking within the first few years.

The excavation depth needs to accommodate both the concrete slab thickness and the base layer beneath it. For a standard 4-inch slab on a 4-inch compacted base, the total excavation depth is 8 inches below the finished surface grade. For a 5-inch slab on a 4-inch base, that rises to 9 inches. The subgrade is then graded to achieve the planned drainage slope typically 1 to 2 percent (about 1/8 inch per foot) away from the garage door and toward the street or yard drainage.
- Excavation depth correct for the specified slab thickness plus base layer do not accept shallow cuts
- Subgrade graded to the planned drainage slope before any base material is placed
- Subgrade compacted with a plate compactor or jumping jack not just graded flat
- No soft spots, roots, or organic material remaining in the subgrade before base placement
- Drainage verified: water should flow away from the garage and structure, not toward them
The base layer beneath a concrete driveway does two things: it provides a stable, non-shifting platform for the slab, and it allows water to drain away from beneath the concrete rather than pooling under it. In San Antonio, the standard base material is crushed limestone locally abundant, affordable, and well-suited to the region's soil conditions. A minimum 4-inch base of compacted crushed limestone is standard for residential driveways.
The base material is spread in layers (called lifts) and compacted with a plate compactor between each lift. Dumping 4 inches in a single lift and compacting once is not acceptable practice proper compaction requires multiple thin layers. The finished base should be firm, level, and drain slightly toward the street. A contractor who skips compaction is leaving future cracking written into the job.
Ask to see the base before the forms go up. A reputable San Antonio contractor will not object to a homeowner walking the compacted base before forming starts. The surface should feel firm underfoot with no give, should drain slightly toward the street, and should show a consistent depth across the full driveway footprint. If you step on it and feel movement, compaction is inadequate.
- Crushed limestone base specified in the written quote not just "gravel" or "base material" without specification
- Minimum 4-inch depth for passenger vehicles; 6 inches confirmed for heavy vehicles or RVs
- Compaction performed in 2-inch lifts not a single-pass dump and compact
- Finished base firm and stable underfoot with no soft spots or movement
- Base grade matches the drainage plan: sloped away from garage and structure
With the base compacted and graded, the next step is setting the wooden or steel forms that define the edges of the slab and hold the wet concrete in shape during the pour. Form height directly determines slab thickness a form set at 4 inches delivers a 4-inch slab. This is the last opportunity to verify thickness before concrete is ordered.

Rebar versus wire mesh for San Antonio driveways: Wire mesh (welded wire reinforcement) is adequate for light-duty patios and walkways, but rebar is strongly recommended for driveways in Bexar County. San Antonio's expansive clay causes ground movement that puts tensile stress on the slab from below. Rebar (#3 or #4 deformed bar at 18-inch centers in both directions) provides significantly more tensile strength than wire mesh and holds cracked sections together if the slab does crack. For a driveway that will see regular vehicle traffic in San Antonio's soil conditions, rebar is the correct choice.
Expansion and control joints: Concrete expands and contracts with temperature changes, and in San Antonio's summer heat with surface temperatures regularly reaching 150 degrees F or more this thermal movement is significant. Control joints are cut or tooled into the slab at regular intervals (every 8 to 10 feet for a driveway) to create planned weak points where the concrete can crack without creating random, visible fractures across the surface. Isolation joints separate the driveway slab from the garage apron, the house foundation, and any adjacent sidewalks, allowing each element to move independently.
- Form height matches the specified slab thickness verify before concrete is ordered
- Rebar specified and confirmed: #3 or #4 bar at 18-inch centers in a grid pattern
- Rebar elevated to mid-slab position with plastic chairs not resting on the base
- Expansion joints planned at 8 to 10-foot intervals along the driveway length and width
- Isolation joint placed between the new driveway slab and the garage apron or foundation
- Forms checked for level and drainage slope before the truck arrives
Pour day is when the project becomes visible, but most of the decisions that determine quality were made in the days before. The concrete mix, the delivery timing, the placement sequence, and the finishing method all need to be coordinated in advance. In San Antonio's summer heat, pour day logistics become even more critical once the concrete truck arrives, there is no pausing the clock.

The right concrete mix for a San Antonio driveway: The standard residential driveway mix is a 3,000 to 4,000 PSI concrete with a water-to-cement ratio kept below 0.50. Higher PSI mixes deliver better durability and freeze-thaw resistance. In San Antonio, where summer heat accelerates hydration and winter freeze events are possible, a 4,000 PSI mix is a worthwhile upgrade over the minimum. Ask your contractor what PSI they are specifying and request that it appears on the mix ticket from the concrete plant.
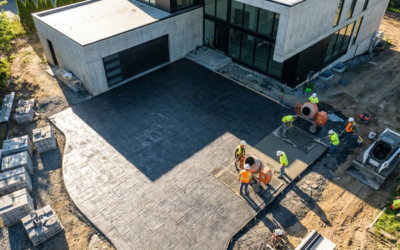
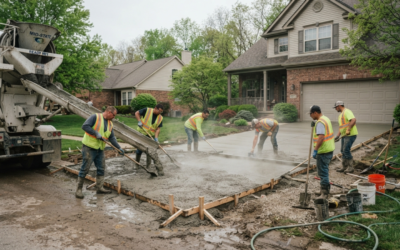
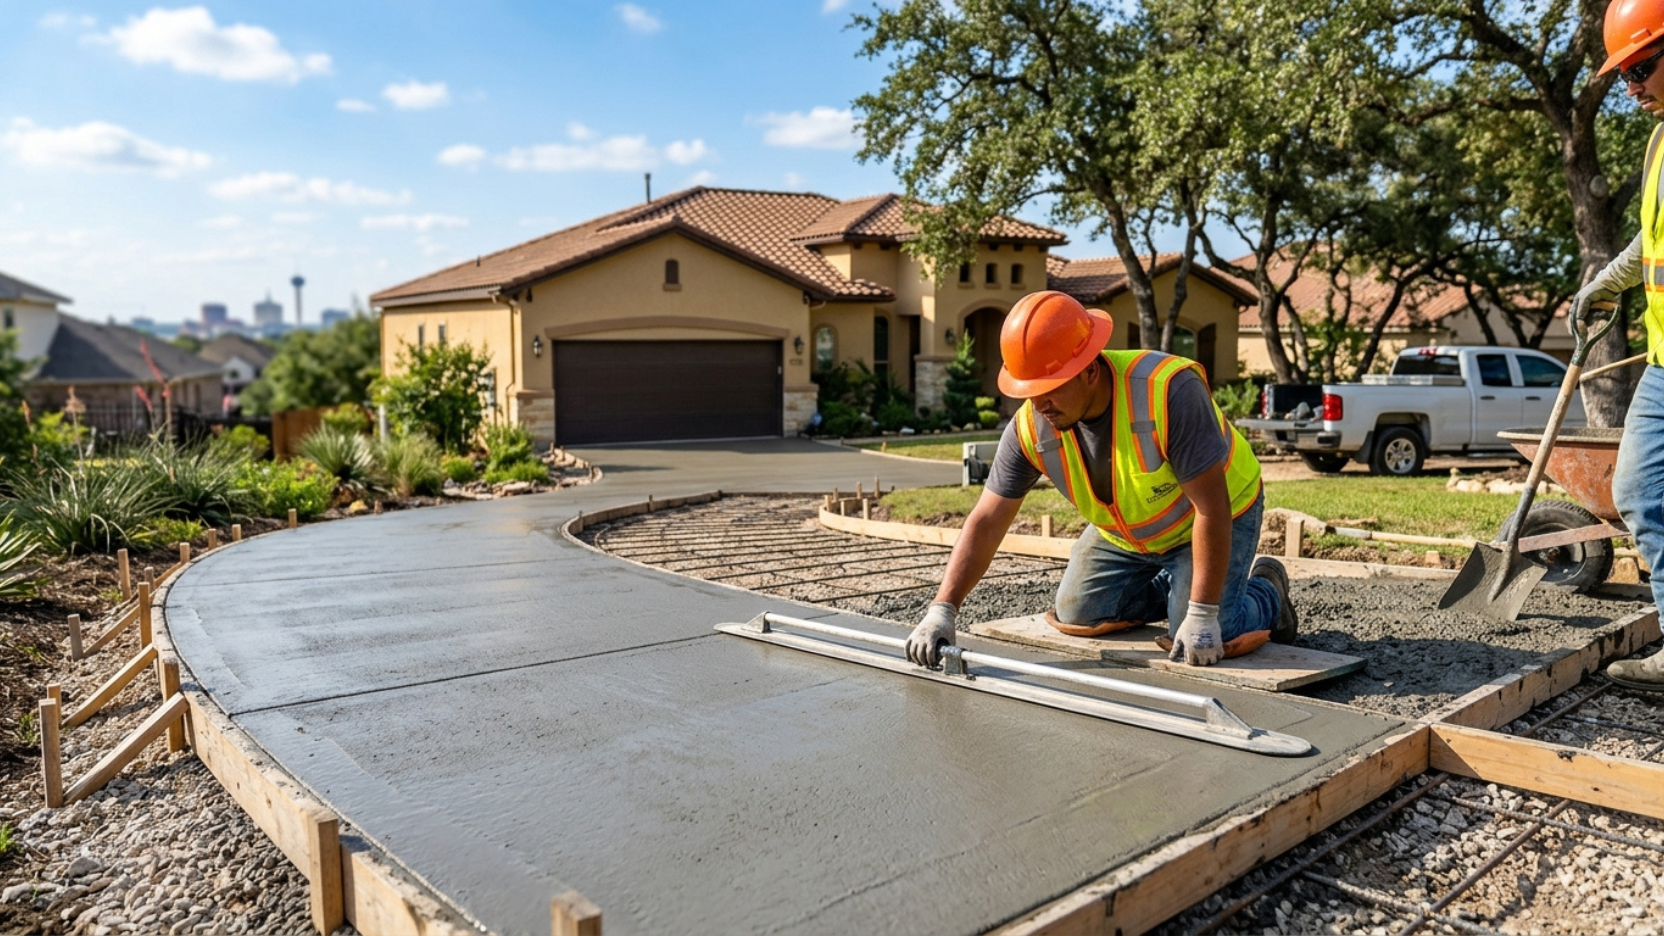
Concrete is placed starting from the far end of the driveway and working back toward the street to avoid driving over freshly poured sections. A screed board is used to level the concrete to the top of the forms, followed by a bull float or darby to smooth the surface and begin closing it. In summer heat, experienced San Antonio crews schedule pours before 8 AM to take advantage of cooler morning temperatures this slows initial set and gives more time for proper finishing.
Never allow the concrete plant or the crew to add water to the mix after the truck arrives on site. Adding water raises the water-cement ratio, which directly reduces the final concrete strength and durability. If the mix arrives too stiff, the correct fix is a plasticizer admixture not water. A mix that is too wet will be easier to finish but significantly weaker when cured. If you see water being added from a hose on pour day, ask the contractor to stop and explain the mix design.
- Concrete mix PSI confirmed before ordering: minimum 3,000 PSI; 4,000 PSI recommended for San Antonio driveways
- Pour scheduled for early morning in summer months before 8 AM if possible to extend working time
- No water added to the mix on site plasticizer admixture used if needed for workability
- Placement sequence confirmed: start at the far end and work toward the street
- Forms, rebar, and base all inspected and approved before the first truck is called
- Mix ticket from the concrete plant reviewed to confirm PSI and water-cement ratio
Concrete finishing happens after the bleed water the excess water that rises to the surface after screeding has evaporated. Working the surface before bleed water has cleared weakens the top layer permanently. On a hot San Antonio summer day, this window can close in 30 to 45 minutes; in cooler weather, the crew may have two hours or more. An experienced crew reads the concrete and times their finishing accordingly.
Broom finish for driveways: The broom finish is the standard and most practical choice for a residential driveway in San Antonio. A stiff-bristle broom is dragged across the concrete in straight parallel lines, creating a textured surface that provides traction when wet. The direction of the broom strokes is typically perpendicular to the direction of vehicle travel for maximum grip. This finish is fast, durable, and requires no special timing coordination beyond standard concrete finishing practice.
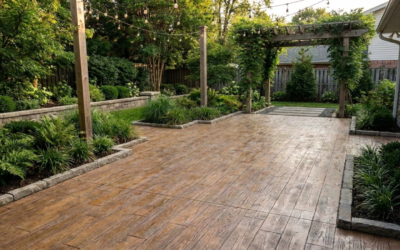
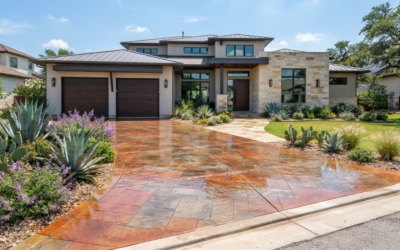
Stamped concrete driveways: Stamping must happen in a tighter window after the surface is finished but before the concrete reaches initial set. This typically means within 2 to 3 hours of the pour in moderate temperatures, and as little as 1 hour in peak San Antonio summer heat. Stamped driveways require a larger crew and more careful pour timing. They add significantly to the cost but can transform the curb appeal of a property.
- Finishing begins only after bleed water has cleared from the surface no premature troweling
- Broom strokes oriented perpendicular to the direction of vehicle travel for maximum traction
- Stamping crew and timing confirmed in advance for stamped driveways requires a larger team on hot days
- Saw-cut control joints completed within 4 to 12 hours of the pour not the following day
- Edges tooled with an edger for a clean, finished perimeter around the full slab
Concrete does not dry it cures through a chemical reaction called hydration, where water combines with the cement particles to form a crystal matrix. If the slab loses water too quickly before this reaction is complete, the final product is significantly weaker than the specified mix design. In San Antonio's summer heat, with surface temperatures above 100 degrees F and low relative humidity, this is a real and common risk on unmanaged pours.

Curing methods for San Antonio driveways: A reputable contractor will apply one of three curing approaches immediately after finishing. Wet curing (keeping the surface continuously moist with burlap and water, or plastic sheeting) is the most effective but labor-intensive method. Liquid curing compounds spray onto the surface and form a moisture-retaining membrane. Curing blankets trap moisture and also protect the slab from rapid temperature changes. Any of these methods is acceptable; no curing at all is not.
Sealing after cure: The first sealer application should happen at 28 days after the concrete has reached full cure. A penetrating sealer or acrylic topcoat protects the surface from oil, water penetration, UV degradation, and staining from vehicle fluids. For a broom-finish driveway, a penetrating silane-siloxane sealer that does not change the surface appearance is the most practical choice. For stamped or decorative driveways, a solvent-based acrylic sealer enhances the color and pattern. Resealing every 2 to 3 years is the primary ongoing maintenance task that extends driveway life significantly.
- Active curing method confirmed: wet curing, liquid curing compound, or curing blanket applied immediately after finishing
- Minimum 3 to 5 days of active curing in summer conditions before curing protection is removed
- No foot traffic for 24 to 48 hours; keep family, pets, and yard equipment off the fresh slab
- No vehicle traffic for a minimum of 7 days 10 days preferred during peak San Antonio summer heat
- First sealer application scheduled at 28 days after the pour do not seal before full cure
- Resealing reminder set for every 2 to 3 years to maintain surface protection
These ranges reflect current contractor pricing in San Antonio and Bexar County for complete installed driveways, including site preparation, base, forms, rebar, concrete, finishing, and cleanup. Quotes that fall significantly below these ranges typically exclude base preparation, reinforcement, or haul-away ask specifically about each item.
| Driveway type | Typical size | Cost per sq ft | Total estimate |
|---|---|---|---|
| Single-car broom finish | 10 x 20 ft (200 sqft) | $7 to $10 | $1,400 to $2,000 |
| Two-car broom finish | 20 x 20 ft (400 sqft) | $7 to $10 | $2,800 to $4,000 |
| Two-car exposed aggregate | 20 x 20 ft (400 sqft) | $10 to $14 | $4,000 to $5,600 |
| Two-car stamped concrete | 20 x 20 ft (400 sqft) | $16 to $24 | $6,400 to $9,600 |
| Demo and haul-away (add-on) | 400 sqft existing slab | $1 to $2 | $400 to $800 |
| ROW apron replacement | 10 x 8 ft (80 sqft) | $9 to $13 | $720 to $1,040 |
| Turnaround pad addition | 12 x 12 ft (144 sqft) | $7 to $10 | $1,000 to $1,440 |
- Written quote received with slab thickness, base depth, reinforcement type, finish, and PSI all specified
- Demo and haul-away included in the scope and pricing not a separate unknown cost
- ROW permit confirmed with the City of San Antonio if the driveway connects to the public street
- 811 utility notification placed at least 72 hours before any excavation
- Payment terms confirmed: deposit upfront with balance on completion not full payment before work begins
- Certificate of insurance received and verified: $1M or more in general liability coverage minimum
- Existing surface removed and debris hauled off site to a licensed disposal or recycling facility
- Excavation depth correct for specified slab plus base layer verified before base is placed
- Subgrade compacted and graded with correct drainage slope away from the structure
- Crushed limestone base placed and compacted in 2-inch lifts to specified depth
- Base firm and stable underfoot no soft spots visible before forming begins
- Forms set at the correct height matching the specified slab thickness
- Rebar placed in a grid pattern at 18-inch centers and elevated to mid-slab height with chairs
- Control joints planned at 8 to 10-foot intervals along the driveway length and width
- Isolation joints in place between new driveway and garage apron or existing structures
- Concrete PSI confirmed on the mix ticket from the plant minimum 3,000; 4,000 PSI preferred
- No water added to the mix on site plasticizer used if workability adjustment is needed
- Surface finished after bleed water has cleared not prematurely worked
- Saw-cut control joints completed within 4 to 12 hours of the pour
- Active curing method applied immediately after finishing and maintained for 3 to 5 days minimum
- No vehicle traffic for 7 to 10 days; first sealer applied at 28 days
Get a free concrete driveway quote in San Antonio
Tell us about your project new installation, replacement, or decorative upgrade. We visit your property, assess the site, and deliver a detailed written quote at no cost to you.