
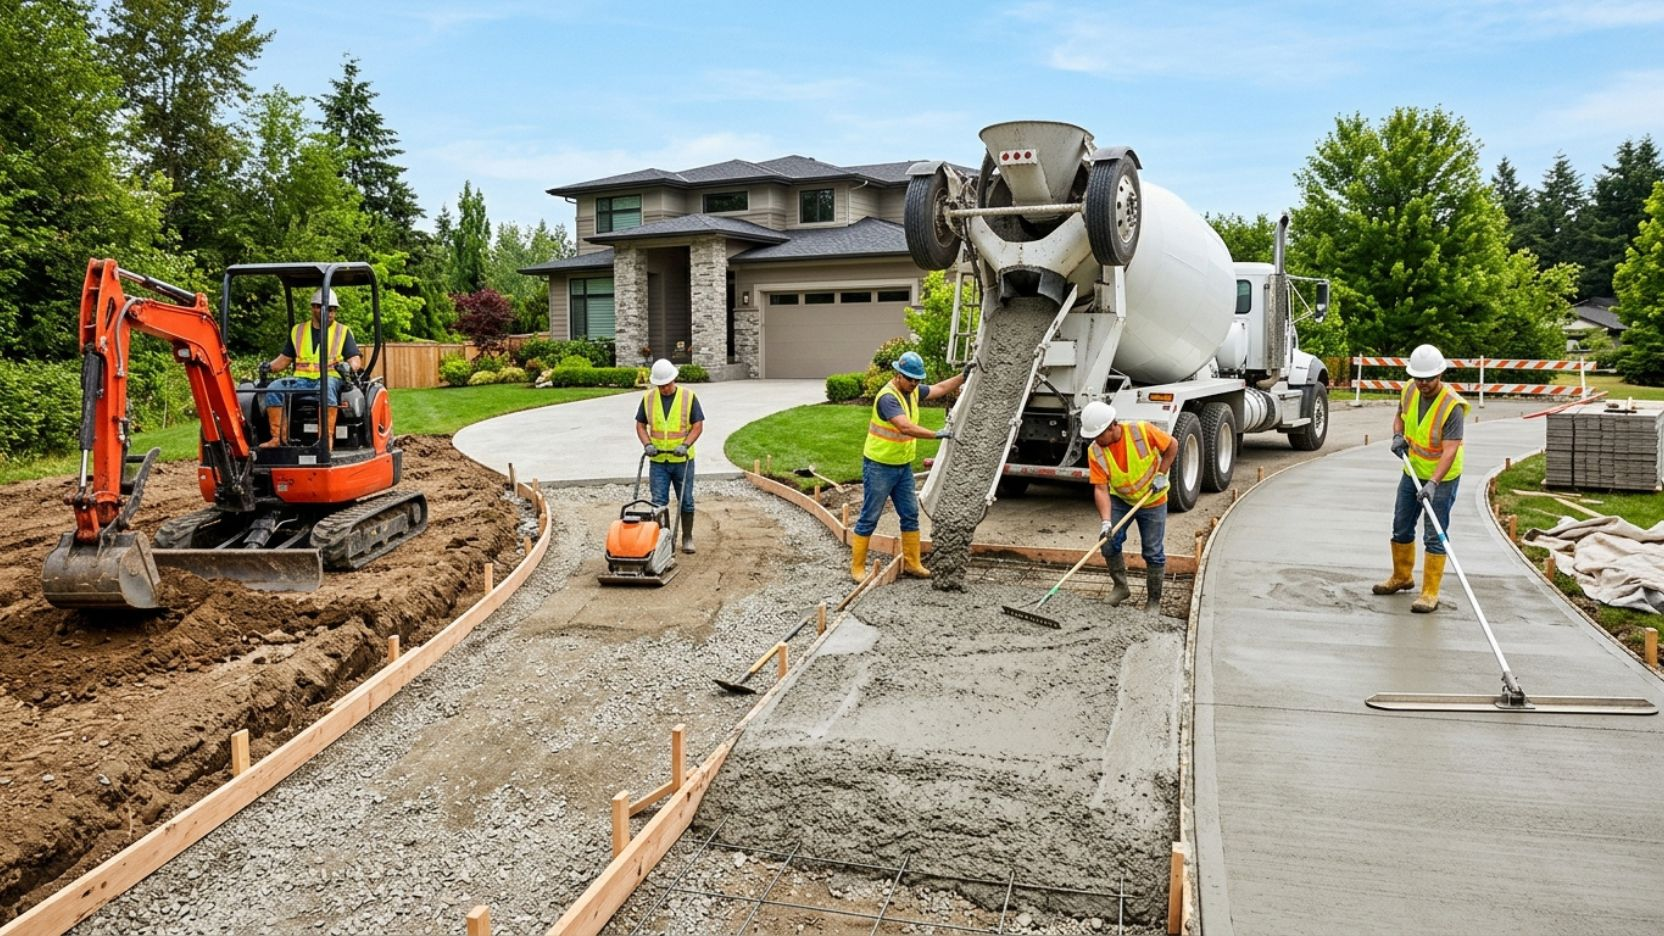
Installing a concrete driveway is one of the highest-value improvements you can make to a San Antonio home. This guide walks you through every phase of the process from permits and site prep to the final pour and cure so you know exactly what a quality installation looks like before the first shovel hits the ground.
A concrete driveway is not a weekend DIY project. It involves subgrade preparation, formwork, steel reinforcement, concrete ordering, placement, finishing, and a multi-week curing process. Each step has to be executed correctly, in sequence, often within a very tight window during the pour itself. Skipping or shortcutting any phase creates problems that are expensive to fix after the fact.
This guide covers the complete installation process as it should be done in San Antonio’s climate and soil conditions. Whether you are hiring a contractor and want to know what to look for, or you are simply doing your research before getting bids, this is the most complete step-by-step breakdown of concrete driveway installation available for the Bexar County market.
San Antonio sits on highly expansive clay soil (Vertisol) that swells when wet and shrinks when dry. This repeated movement exerts enormous stress on any slab placed above it. A concrete driveway that cracks in three to five years almost always traces back to inadequate base compaction, not enough crushed limestone base depth, or skipped expansion joints. The concrete mix and finish are secondary decisions. Get the base right and the rest of the project follows from there.
Permits
Before any digging begins, you need to confirm three things: whether a permit is required by the City of San Antonio or your municipality, whether HOA approval is needed, and whether underground utilities have been marked. Skipping this step is the fastest way to turn a straightforward driveway project into a legal and financial headache.
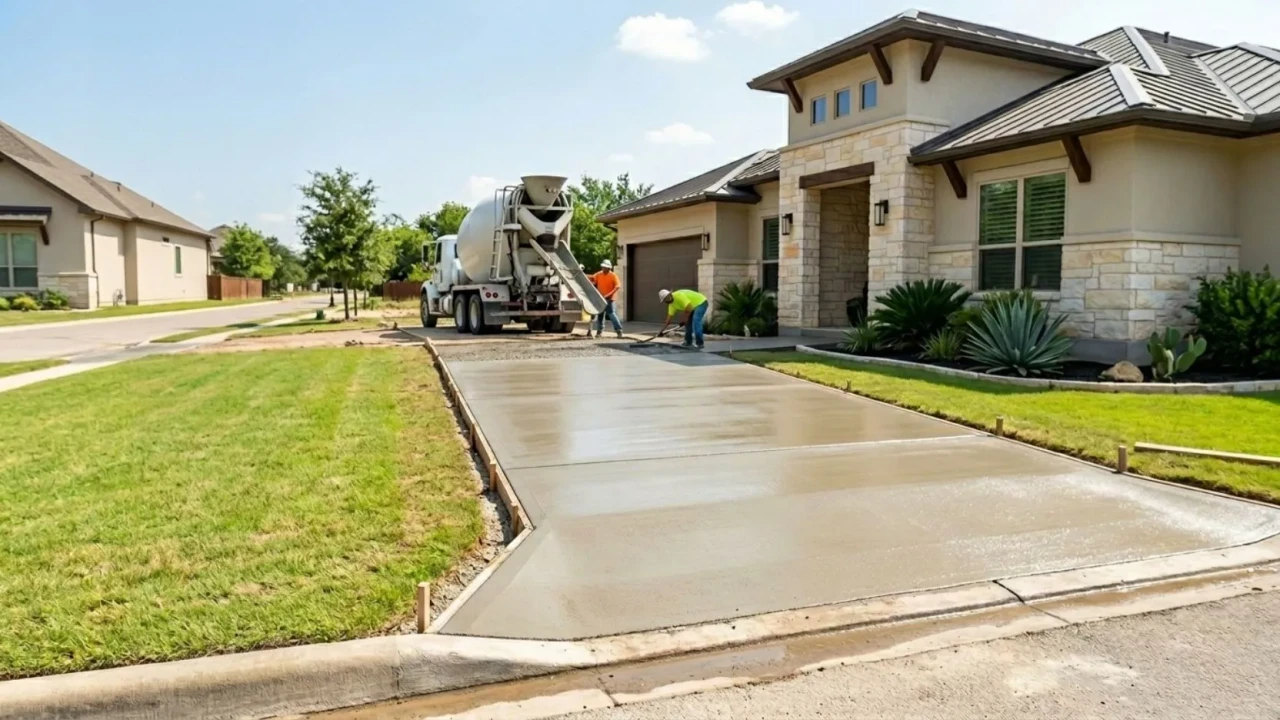
City of San Antonio permits: The City of San Antonio’s Development Services Department requires a permit for most driveway replacements and new installations, particularly where the driveway connects to a public street. Your contractor should pull this permit, not you if they ask you to pull it yourself, that is a red flag. Permitted work is inspected, which protects you if problems arise later.
Utility locates: Call 811 (the national “Call Before You Dig” number) at least three business days before any excavation. Texas law requires it. Underground gas, water, electrical, and cable lines will be marked on your property at no cost. Any crew that starts digging without a utility locate is not a crew you want on your property.
- City of San Antonio Development Services permit applied for and approved
- HOA approval obtained if applicable written confirmation on file
- 811 utility locate completed and markings visible on property
- Drainage direction confirmed with contractor water must run away from house and street curb
- Impervious cover compliance verified for properties near the Recharge Zone
Site Prep
Excavation sets the grade, depth, and dimensions of your finished driveway. Done right, it creates a stable, well-drained base that prevents settlement and cracking. Done poorly, no amount of quality concrete or finishing work can compensate for the movement that follows.
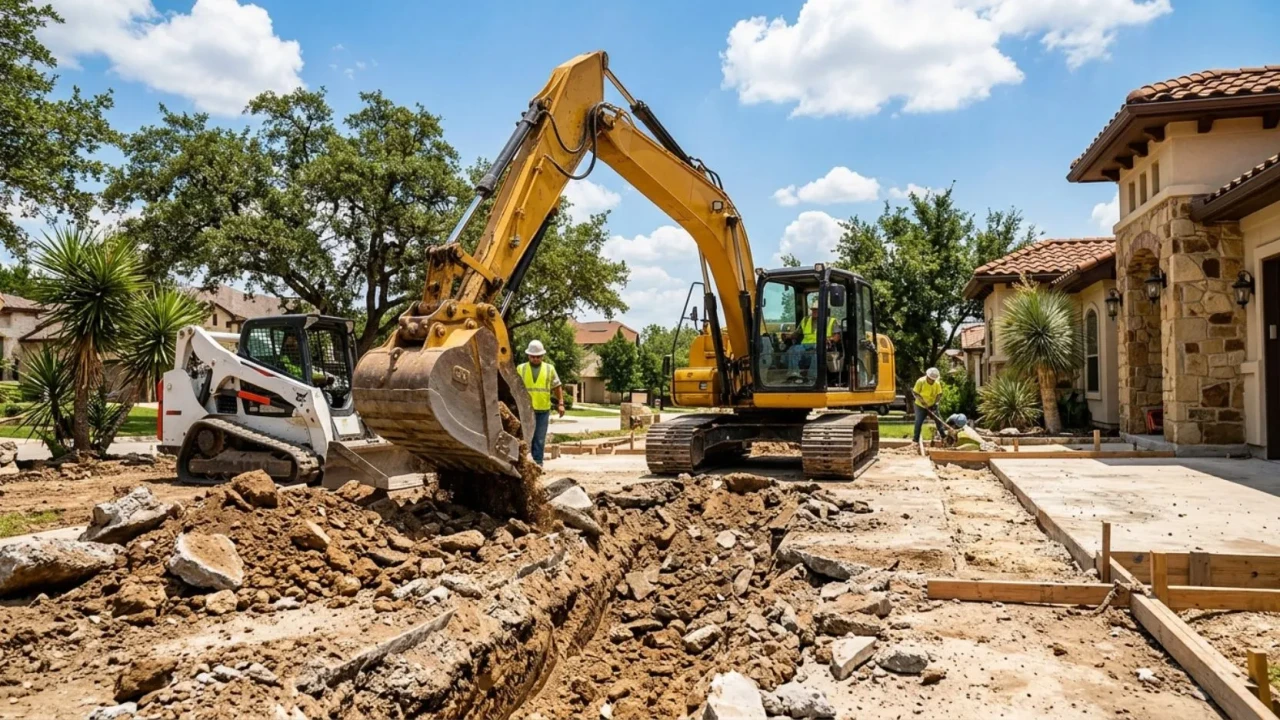
Excavation depth: A standard residential concrete driveway in San Antonio requires removing 8 to 10 inches of existing soil below the finished slab surface. This accounts for 4 to 5 inches of compacted aggregate base plus the concrete slab thickness. In areas with particularly poor native soil, additional depth may be needed to reach stable subgrade.
Slope for drainage: The subgrade must be graded with a minimum slope of 1/8 inch per foot to direct water away from the home’s foundation and toward a drain or the street. Standing water beneath or beside a driveway slab accelerates slab movement in expansive clay soils.
In San Antonio’s clay-heavy soils, ask your contractor whether they plan to treat the native subgrade with lime stabilization before placing the aggregate base. A lime treatment reacts with the clay to create a much more stable, less moisture-sensitive layer beneath the slab. It adds cost but meaningfully extends driveway life in areas with pronounced seasonal soil movement.
- Total excavation depth confirmed: 8–10″ below planned finished surface elevation
- All organic matter, roots, and soft spots removed from subgrade
- Native soil compacted with plate compactor no hand tamping on a full driveway
- Drainage slope established: water will run away from home foundation and toward street or drain
- Lime stabilization considered or specified for areas with poor native clay soils
Base Layer
Crushed limestone is the standard base material for concrete driveways in San Antonio. It distributes vehicle load across a wider area, drains water away from the slab bottom, and provides a stable, compactable surface for the concrete pour. The quality of base compaction is one of the most important variables in driveway longevity.
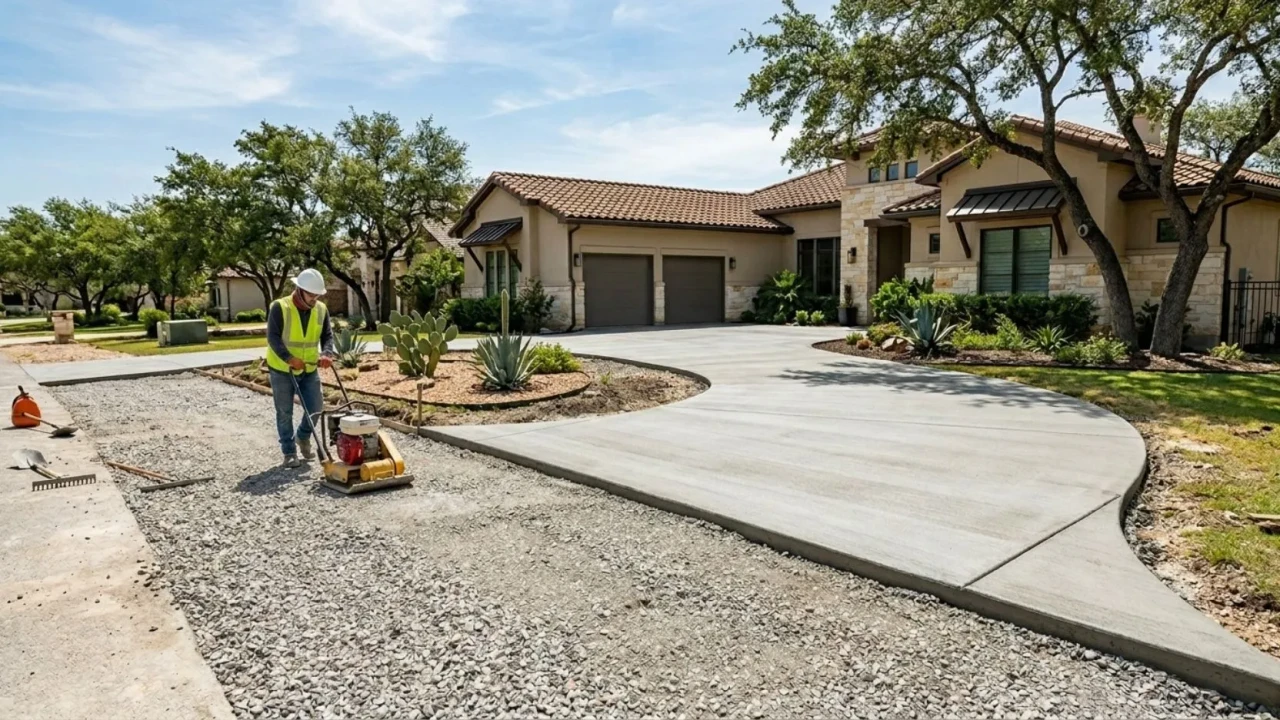
Base thickness: A minimum of 4 inches of compacted crushed limestone base (Tx DOT Grade 1 or Grade 2 flex base) is standard for residential driveways in Bexar County. In areas with softer native soils or where heavy vehicles trucks, trailers, or RVs — will be parked, 6 inches is the better standard.
Compaction requirement: The base must be compacted in lifts of no more than 4 inches at a time using a vibrating plate compactor or roller. A single 6-inch dump of uncompacted limestone will not perform the same way as two properly compacted 3-inch lifts. Ask your contractor specifically how they compact the base.
- Crushed limestone specified as base material not recycled concrete or fill dirt
- Minimum 4″ compacted base for standard residential; 6″ for heavy vehicle use areas
- Base compacted in lifts using mechanical plate compactor confirmed in writing
- Finished base surface smooth and level before formwork is set
- No soft spots or depressions any weak areas re-compacted before proceeding
Forms & Steel
Forms define the edges and thickness of your slab. Reinforcement ties it together when the underlying soil moves. Both are non-negotiable for a driveway that will carry vehicle loads in San Antonio’s expansive clay environment.
| Reinforcement Type | Best Application | Cost Impact | Notes |
|---|---|---|---|
| #3 Rebar Grid (18″ centers) | Standard residential driveway | Moderate | Best option for San Antonio clay soils stronger than wire mesh |
| #4 Rebar Grid (12–18″ centers) | Heavy vehicle, RV, or truck pads | Higher | Recommended where significant vehicle weight or point loads expected |
| Wire Mesh (6×6 W1.4xW1.4) | Patios, light-use surfaces | Lower | Acceptable for patios but undersized for driveways in clay soil areas |
| Fiber Reinforcement (polypropylene) | Supplemental in mix | Low addition | Controls plastic shrinkage cracks during curing not a replacement for rebar |
Rebar placement height matters: Rebar placed on the subgrade provides zero tensile benefit it needs to sit in the middle to lower third of the slab to do its job. Chairs or concrete blocks (dobies) should hold rebar at approximately 1.5 to 2 inches off the base. Check that this is specified or ask before the pour.
Expansion joints: Control joints should be tooled or cut into the slab every 8 to 10 feet in both directions to create planned crack lines. Without them, shrinkage cracks appear randomly across the surface, which is both cosmetic and structural damage. Expansion joint material should also be placed where the driveway meets the garage apron, sidewalk, or street.
- Forms are straight, staked, and set to the correct finished elevation
- Slab thickness confirmed in forms: minimum 5″ for driveways, 6″ for heavy vehicle areas
- #3 rebar specified at 18″ centers for standard residential driveways
- Rebar elevated on chairs or dobies at 1.5–2″ above base not resting on the ground
- Control joint spacing planned every 8–10 feet in both directions
- Expansion joint material placed at all connections: garage, sidewalk, street
Mix Design
Not all concrete is the same. The mix design the ratio of cement, water, aggregates, and additives determines strength, workability, and set time. In San Antonio’s summer heat, concrete can begin setting faster than crews can finish it, leading to surface defects that are impossible to fix after the fact. Getting the mix right for local conditions is a detail that separates experienced contractors from inexperienced ones.
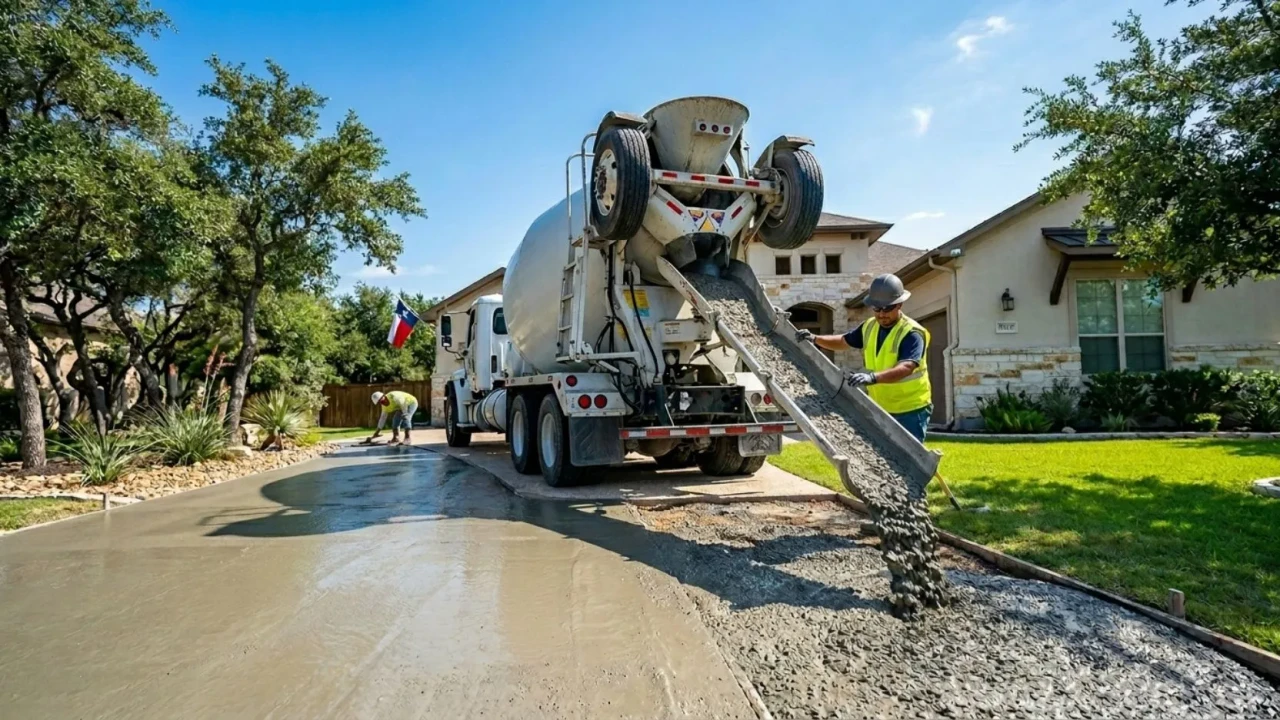
Minimum compressive strength: A residential driveway in San Antonio should use a minimum of 3,500 psi concrete at 28 days. Many contractors recommend 4,000 psi for improved durability, particularly in areas with heavier vehicle use. The psi rating should be specified in writing in your contract not estimated or assumed.
Water-cement ratio: A lower water-cement ratio produces stronger, more durable concrete. Concrete that has been watered down on site to improve workability will be weaker than the spec. This is one of the most common on-site quality shortcuts. Adding water after the truck arrives should not be accepted without specific authorization from the contractor.
In San Antonio’s summer months (May through September), experienced contractors often schedule pours for early morning to minimize heat-related issues. Hot concrete sets faster, leaving less time for proper finishing, and can develop surface cracks if the top dries too quickly while the interior is still hydrating. A morning pour with a good curing compound applied immediately after finishing is the correct protocol for summer work.
- Minimum 3,500 psi concrete specified in the written contract not just verbally agreed
- Ready-mix supplier confirmed not job-site mixed concrete for a full driveway
- No on-site water additions without contractor authorization dilution reduces strength
- Summer pours scheduled for early morning to control set time in the heat
- Fiber reinforcement in the mix for plastic shrinkage crack control
Pour Day
Pour day is where planning meets execution. Everything that happens on this day truck timing, placement method, screeding, floating, finishing, and joint tooling must happen in the correct sequence and within a window that can close quickly in San Antonio’s heat. An experienced crew moves efficiently and purposefully from the moment the first truck discharges.
Placement: Concrete is discharged from the ready-mix truck and spread into the forms. Chutes, pumps, or wheelbarrows move concrete from the truck to the far end of the pour area first, working back toward the truck. The concrete should be placed as close to its final position as possible rather than dragged long distances with rakes, which can cause aggregate segregation.
Screeding: A long screed board (or laser screed on larger projects) is dragged across the tops of the forms to strike off excess concrete and produce a flat surface. This step is done immediately after placement in each section.
Bull floating: After screeding, a large bull float is pushed and pulled across the surface to close the surface and bring paste to the top. This is not the finish it is preparation for the finish. Crews who skip bull floating in a hurry produce rough, aggregate-studded surfaces.
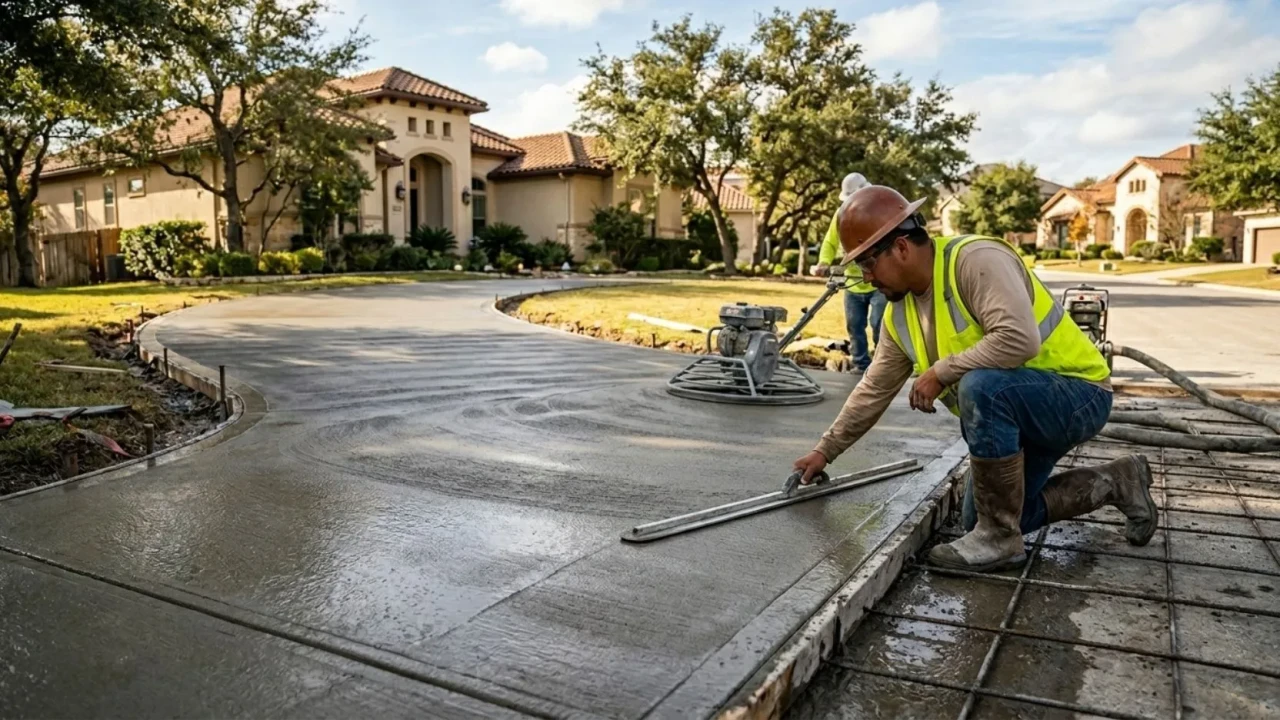
Waiting for bleed water: After bull floating, the crew must wait for bleed water to evaporate before applying any finish texture. Troweling or brooming over bleed water is one of the most common finishing errors it traps moisture at the surface and produces a weak, dusting layer that peels within a year. In San Antonio’s summer heat, bleed water evaporates quickly. In cooler or humid weather, the wait can be 30 to 90 minutes.
Broom finishing: A clean broom is dragged across the surface in one direction to create a slip-resistant texture. For driveways, a medium to stiff broom is standard. The broom passes should be consistent in pressure and direction across the entire surface.
- Concrete placed from far end of forms working back toward truck no excessive dragging
- Screed operation produces a flat, form-height surface immediately after placement
- Bull float applied after screeding to close the surface before troweling
- Bleed water allowed to fully evaporate before broom or trowel finishing begins
- Broom finish applied consistently in one direction across the full slab surface
- Control joints tooled or saw-cut at correct spacing during or immediately after finishing
Curing
Concrete does not harden by drying. It hardens through a chemical process called hydration, which requires moisture. When a fresh slab dries out too quickly, the hydration process stops prematurely, and the concrete never reaches its design strength. In San Antonio’s summer heat, with low humidity and high evaporation rates, inadequate curing is one of the leading causes of premature driveway failure.
Curing compound: The most common method for residential driveways is the application of a liquid curing compound immediately after finishing. The compound is sprayed onto the fresh surface and forms a membrane that retains moisture for the critical first days of curing. This is fast, effective, and requires no additional labor after application.
Wet curing methods: For higher-performance slabs, wet curing with wet burlap, plastic sheeting, or continuous water misting provides superior moisture retention. These methods require more labor but produce measurably stronger concrete at 28 days.
- Curing compound applied to the full slab surface immediately after finishing confirmed in contract
- No traffic of any kind on the slab for the first 24 hours
- Foot traffic only between 24–48 hours and 7 days vehicle access restricted
- Slab protected from direct sprinkler irrigation and rain pooling for the first 48 hours
- Sealer application scheduled for 30–60 days post-pour not immediately after pour
Cost Guide
Concrete driveway pricing in San Antonio ranges from about $8 per square foot on the low end for a basic broom-finish installation to $18 per square foot or more for decorative finishes such as stamped or stained concrete. Understanding what drives that range helps you evaluate bids critically rather than simply choosing the lowest number.
| Driveway Size | Standard Broom Finish | Stamped / Decorative | Notes |
|---|---|---|---|
| Single car (10×20 ft, 200 sqft) | $1,600 – $2,800 | $2,800 – $5,000 | Small projects may carry a minimum charge |
| Standard double (20×20 ft, 400 sqft) | $3,200 – $5,600 | $5,600 – $9,600 | Most common residential driveway size |
| Large double (20×30 ft, 600 sqft) | $4,800 – $8,400 | $8,400 – $14,400 | Includes approach apron to street |
| Circular or custom layout | Add 15–25% for formwork complexity | Add 20–35% for pattern layout | Custom shapes require more forming time |
- Slab thickness specified: minimum 5″ for standard driveway, 6″ for heavy vehicle areas
- Base depth specified: 4–6″ compacted crushed limestone flex base
- Concrete psi specified: 3,500 psi minimum, 4,000 psi for better durability
- Reinforcement type and spacing specified: #3 rebar at 18″ centers for residential
- Demolition and haul-off of existing driveway listed as a separate line item
- Curing method specified in writing not just assumed
- Permit and utility locate responsibility assigned should be on the contractor
- City of San Antonio permit obtained by the contractor
- 811 utility locate completed and markings still visible at start of excavation
- HOA approval in hand if required by your community
- Written contract specifies slab thickness, base depth, concrete psi, and reinforcement type
- Drainage plan confirmed water will run away from home and toward street or drain
- Total excavation depth reaches 8–10″ below planned finished surface elevation
- All organic matter and roots removed from subgrade area
- Native soil compacted with mechanical plate compactor
- 4–6″ of crushed limestone base placed and compacted in lifts
- Finished base surface smooth, flat, and graded for drainage
- Forms set straight, staked, and level at correct elevation
- Slab thickness confirmed in forms: 5″ minimum for residential driveways
- #3 rebar placed on chairs at 18″ centers elevated 1.5–2″ above base
- Expansion joint material placed at all connections to existing structures
- Control joint spacing planned at 8–10 foot intervals
- Pour scheduled for early morning in summer months to control set time
- Minimum 3,500 psi ready-mix concrete delivered from a licensed plant
- No on-site water added to the mix without written authorization
- Bleed water fully evaporated before broom or trowel finishing begins
- Broom finish applied consistently in one direction across full surface
- Control joints tooled or saw-cut at correct time and spacing
- Curing compound applied immediately after finishing full coverage, no missed areas
- No vehicle traffic for minimum 7 days after pour
- Sealer application scheduled for 30–60 days after pour, not sooner
- Final inspection completed with contractor before final payment is made
How long does it take to install a concrete driveway in San Antonio?
Is a permit required to replace a concrete driveway in San Antonio?
How thick should a concrete driveway be in San Antonio?
Why is my concrete driveway cracking?
When should I seal a new concrete driveway in San Antonio?
Can I pour a concrete driveway over an existing asphalt driveway?
Ready to install your concrete driveway in San Antonio?
Get a free, detailed estimate from a licensed and insured concrete contractor with over 10 years of experience in Bexar County. We specify slab thickness, base depth, concrete psi, and reinforcement in every written quote.