
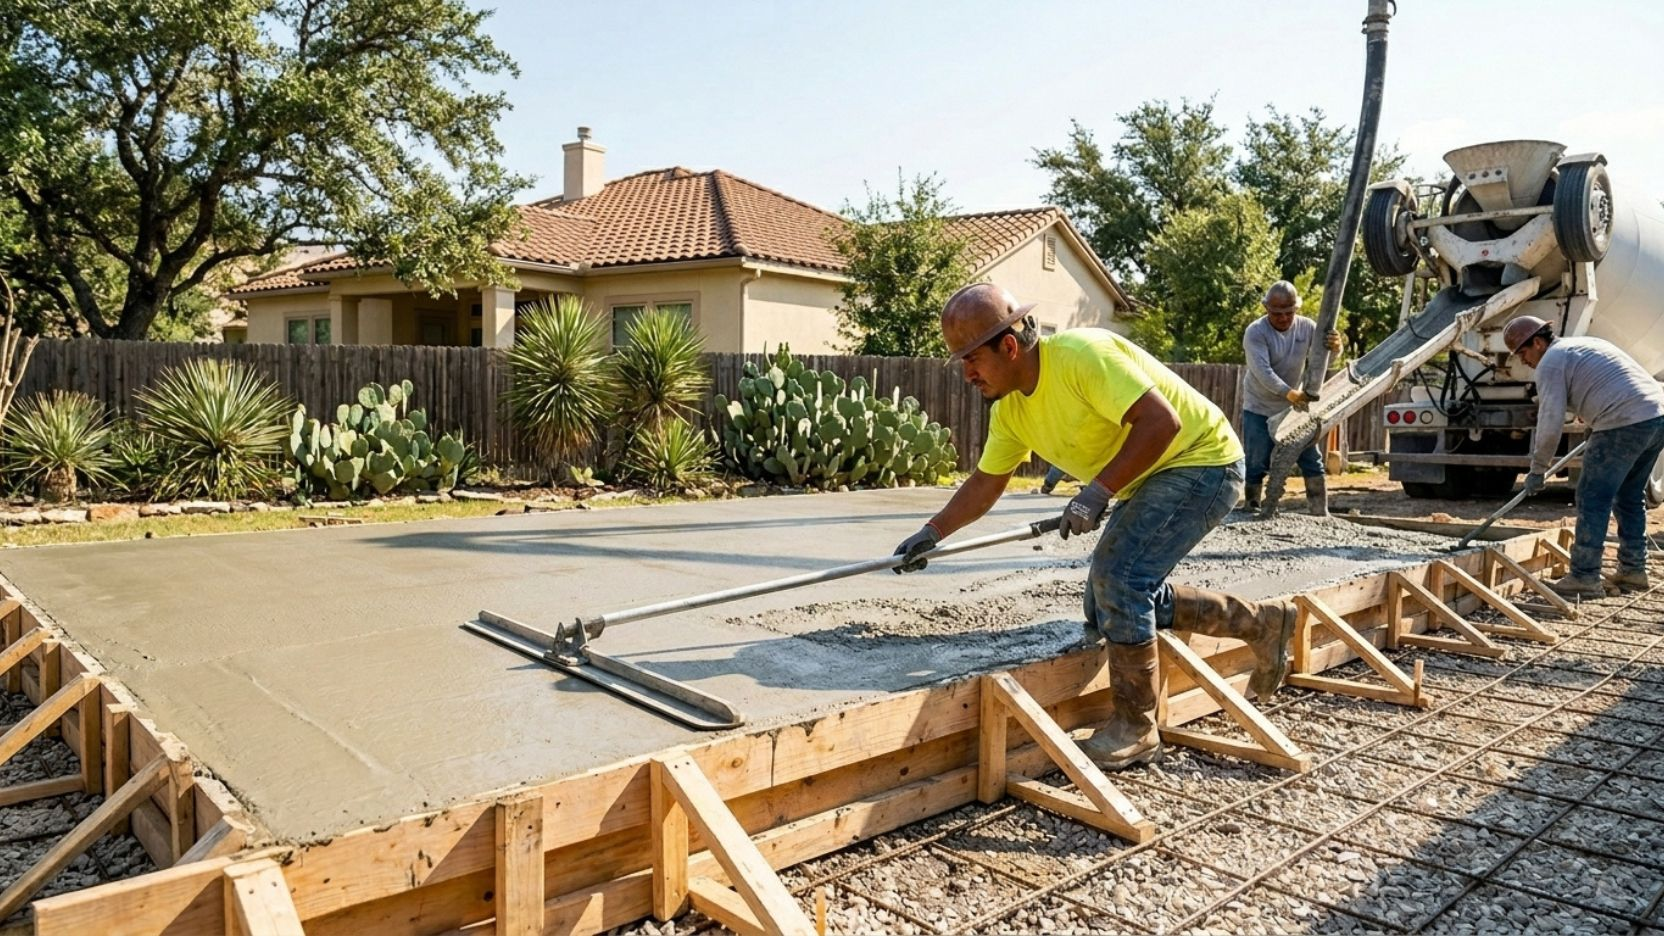
Everything San Antonio homeowners need to know before the first shovel breaks ground from site prep and slab thickness to finish selection, curing, and what to watch for when vetting a local contractor.
A concrete patio is one of the highest-value outdoor improvements a San Antonio homeowner can make. The city’s climate mild winters, long outdoor seasons, and intense summer heat means a well-built patio gets used most of the year. Done right, it lasts three decades and requires almost no maintenance beyond periodic sealing. Done wrong, it cracks within a few years and becomes an expensive problem to fix or replace.
The difference between a patio that lasts and one that fails comes down almost entirely to what happens before and during the pour: site preparation, base depth, slab thickness, reinforcement, expansion joints, and curing. This guide covers each of those steps in the order they actually happen on a real San Antonio installation job, with the specific numbers and standards that apply in Bexar County.
Most homeowners focus on finish choices stamped, stained, broom and assume the concrete work itself is standard. In San Antonio, the real risk is what is under the slab. Bexar County sits on some of the most expansive clay soil in Texas. That soil swells when wet and shrinks when dry, creating ground movement that cracks poorly built slabs within two to three years. Proper base preparation and adequate slab thickness are not optional upgrades here. They are the baseline requirements for any patio that will last.
Site Prep
Site preparation is the first and most consequential stage of any concrete patio installation. It determines whether the finished slab stays level, drains correctly, and resists cracking as San Antonio’s clay soils shift through the seasons. No amount of quality concrete or skilled finishing work compensates for poor site prep underneath.
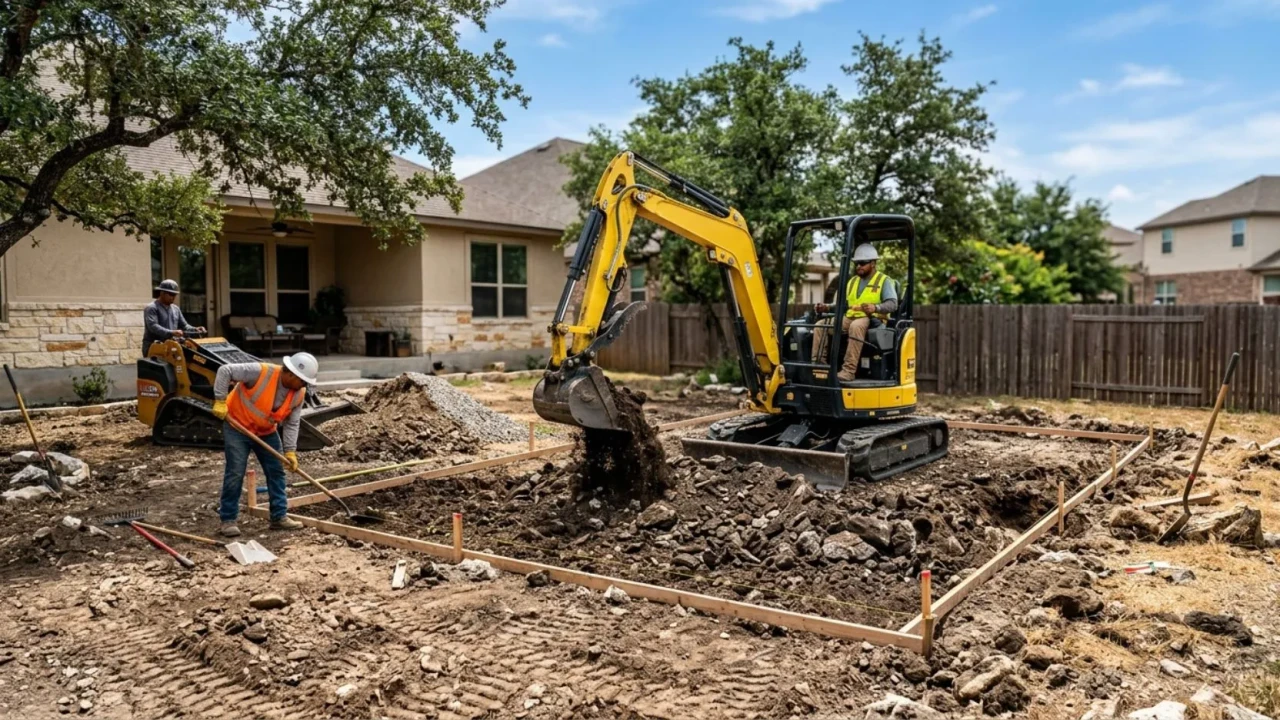
Excavation depth for a residential patio in San Antonio should account for the slab thickness (4 inches minimum) plus the compacted base layer (4 inches minimum of crushed limestone). That means excavating at least 8 inches below the planned finished surface elevation. On sites with poor soil or significant grade change, 10 to 12 inches of total depth is common.
Drainage slope is non-negotiable. Every patio slab should be graded at a minimum of 1/8 inch per foot away from the house foundation. In San Antonio’s occasional heavy rainfall events, a flat or poorly sloped patio will pond water against the foundation and accelerate cracking at the slab edge nearest the structure.
Form boards are set after excavation to define the shape and edge of the slab. Standard form boards are 2×4 or 2×6 lumber staked with rebar pins every 4 feet. The top edge of the form board sets the finished surface elevation, so accurate form setting is critical. Any variation in form height will show up as a visible dip or hump in the finished slab. A good crew checks forms with a level and a string line before the concrete truck arrives.
- Excavation depth specified in writing: minimum 8″ total (4″ base + 4″ slab) for standard residential patio
- Drainage slope confirmed: 1/8″ per foot minimum sloping away from the house foundation
- Form boards staked every 4 feet and checked for level before concrete is ordered
- Any underground utilities located and marked before excavation begins
- Tree roots within 10 feet of the patio area identified and addressed before pouring
Base Prep
In San Antonio, the standard base material for residential concrete patios is crushed limestone also called caliche or flexible base compacted to a minimum depth of 4 inches. Crushed limestone is used here instead of sand or plain gravel because it compacts tightly, does not shift, and drains well enough to prevent water from pooling under the slab. It is widely available in Bexar County and is what experienced local crews use on virtually every residential project.
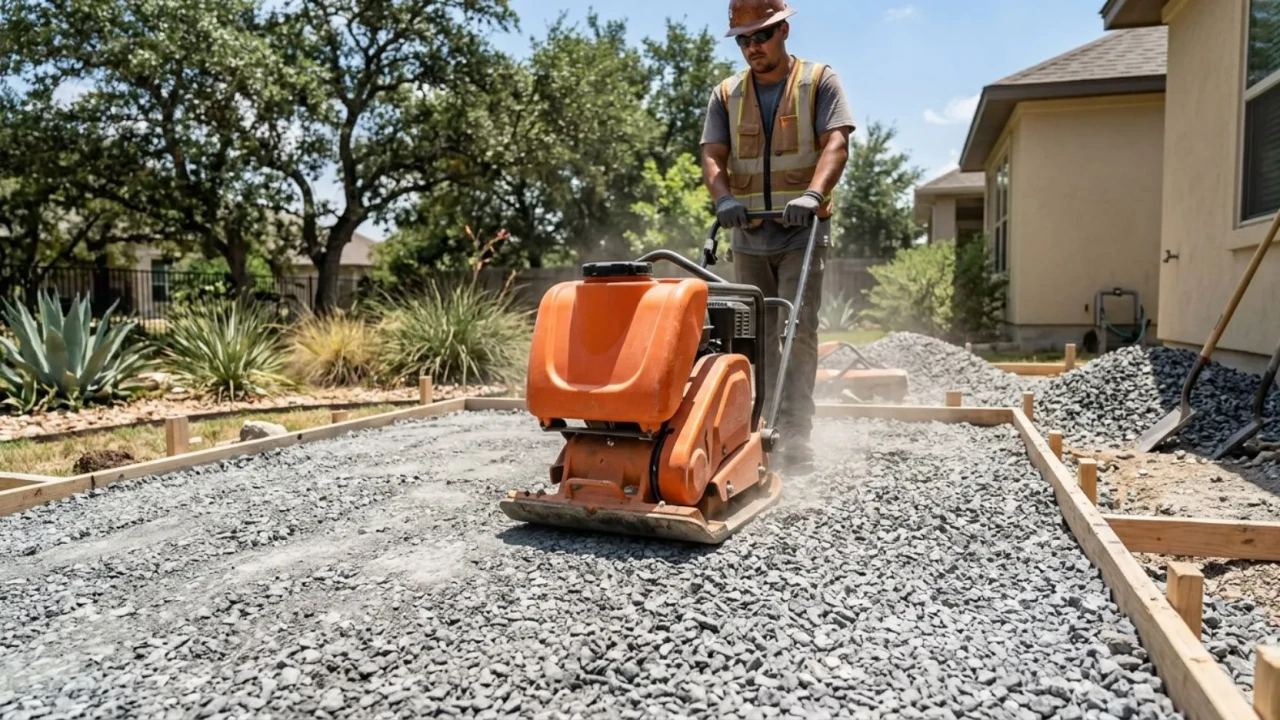
Compaction matters as much as depth. A 4-inch layer of loose gravel is not the same as a 4-inch compacted base. Loose material settles unevenly under the weight of the concrete pour and the loads placed on the finished patio. Proper compaction uses a plate compactor and achieves roughly 95 percent proctor density. On larger projects, a soil compaction test may be requested by a structural engineer or a quality-conscious contractor.
Ask for base compaction before the pour starts. Request that your contractor pause before ordering the concrete truck so you can view the compacted base. It should be firm enough to walk on without your foot sinking, and it should not shift when you kick it. If the base feels loose or soft in any area, more compaction is needed before the pour. Once concrete is on top, you cannot go back and fix the base without a full tear-out.
- Base material specified in the quote: crushed limestone (caliche) not sand, not plain dirt
- Base depth confirmed in writing: 4″ minimum compacted 6″ for larger slabs or high-clay sites
- Plate compactor used on site not hand tamping
- Base is firm and does not shift when walked on before concrete is poured
- Base is slightly damp before compaction for maximum density
Structural Spec
Slab thickness, reinforcement, and expansion joint placement are the three structural variables that most directly determine the long-term performance of a concrete patio in San Antonio. They are also the three variables most commonly underspecified in low-bid contractor quotes. Understanding each one lets you evaluate bids intelligently before you sign anything.
Slab thickness for a residential patio in San Antonio should be a minimum of 4 inches. This is the spec for a patio that receives foot traffic and light patio furniture only. If you plan to use the patio for a hot tub, a heavy outdoor kitchen with stone countertops, or vehicle access at any point, specify 5 to 6 inches. Thicker slabs resist flexing under load and it is flexing, not compression, that causes most residential concrete to crack.
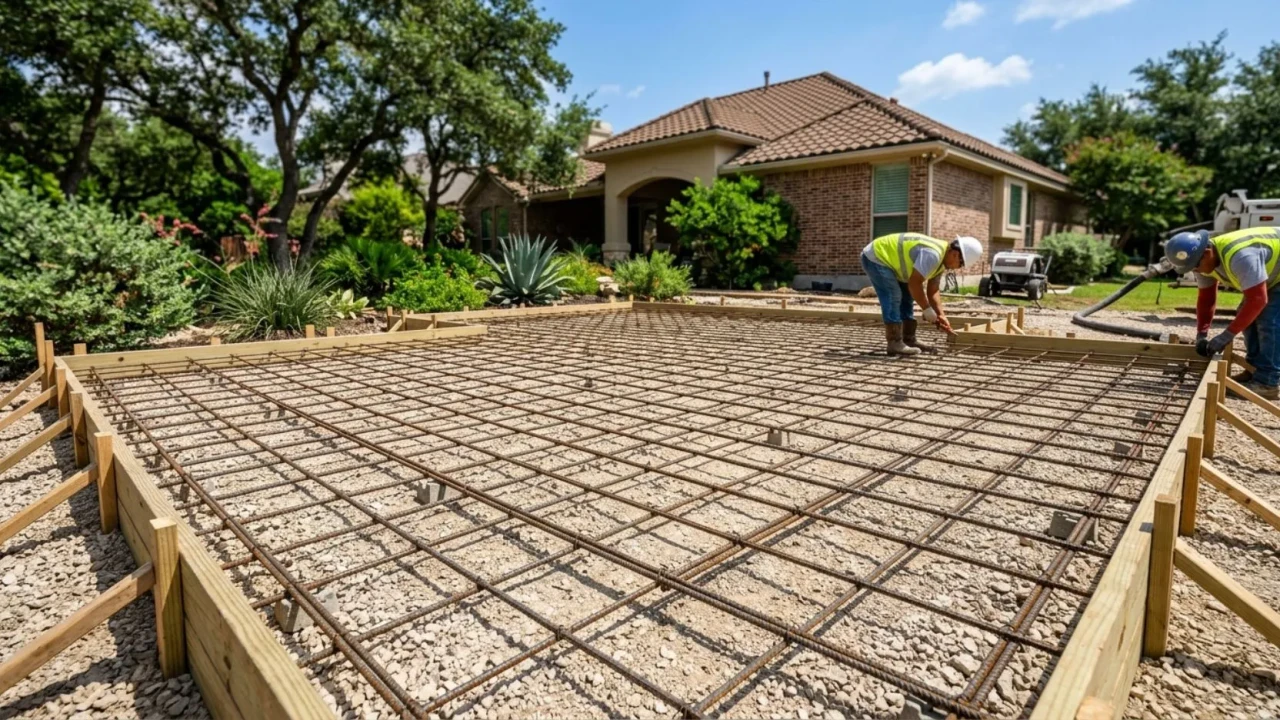
Reinforcement comes in two forms: wire mesh and rebar. For a standard residential patio, 6×6 welded wire mesh is the minimum. For larger patios, patios on slopes, or any surface near San Antonio’s particularly active clay soil zones, #3 or #4 rebar on an 18-inch grid is the stronger choice. Rebar holds cracked sections together even if the slab develops shrinkage cracks, while wire mesh provides less tensile strength across a crack once it forms.
Expansion joints (also called control joints) are the planned weak points cut into the slab to direct any cracking that does occur along a straight, concealed line rather than randomly across the finished surface. They should be placed every 8 to 10 feet in both directions on a patio slab. Control joints can be cut into the concrete 4 to 12 hours after the pour using a concrete saw, or they can be formed into the slab with a jointing tool during the finishing stage. Either method works the critical thing is that they are placed before the concrete is fully cured.
| Patio use case | Slab thickness | Reinforcement | Joint spacing |
|---|---|---|---|
| Standard residential patio | 4″ | 6×6 welded wire mesh | Every 8–10 feet |
| Large patio (600+ sqft) | 4–5″ | #3 rebar at 18″ centers | Every 8 feet |
| Outdoor kitchen / hot tub | 5–6″ | #4 rebar at 18″ centers | Every 8 feet |
| Pool deck | 4″ | #3 rebar or wire mesh | Every 8–10 feet |
| Covered patio or pergola base | 4–5″ | #3 rebar at 18″ centers | Every 8 feet |
- Slab thickness specified in the written quote: 4″ minimum for standard patio, 5-6″ for heavy use
- Reinforcement type and spacing specified: wire mesh or rebar grid with spacing noted
- Reinforcement elevation method confirmed: concrete bar chairs to hold mesh or rebar at mid-slab height
- Expansion joint spacing confirmed: every 8-10 feet in both directions
- Joint method confirmed: saw-cut joints within 12 hours of pour, or formed joints during finishing
Pour and Finish
Pour day is the most visible stage of a patio installation and often the one homeowners are most focused on. But at this point, if site prep, base compaction, and reinforcement have been done correctly, the pour itself is relatively straightforward. The key decisions are the concrete mix specification and the surface finish chosen for your project.
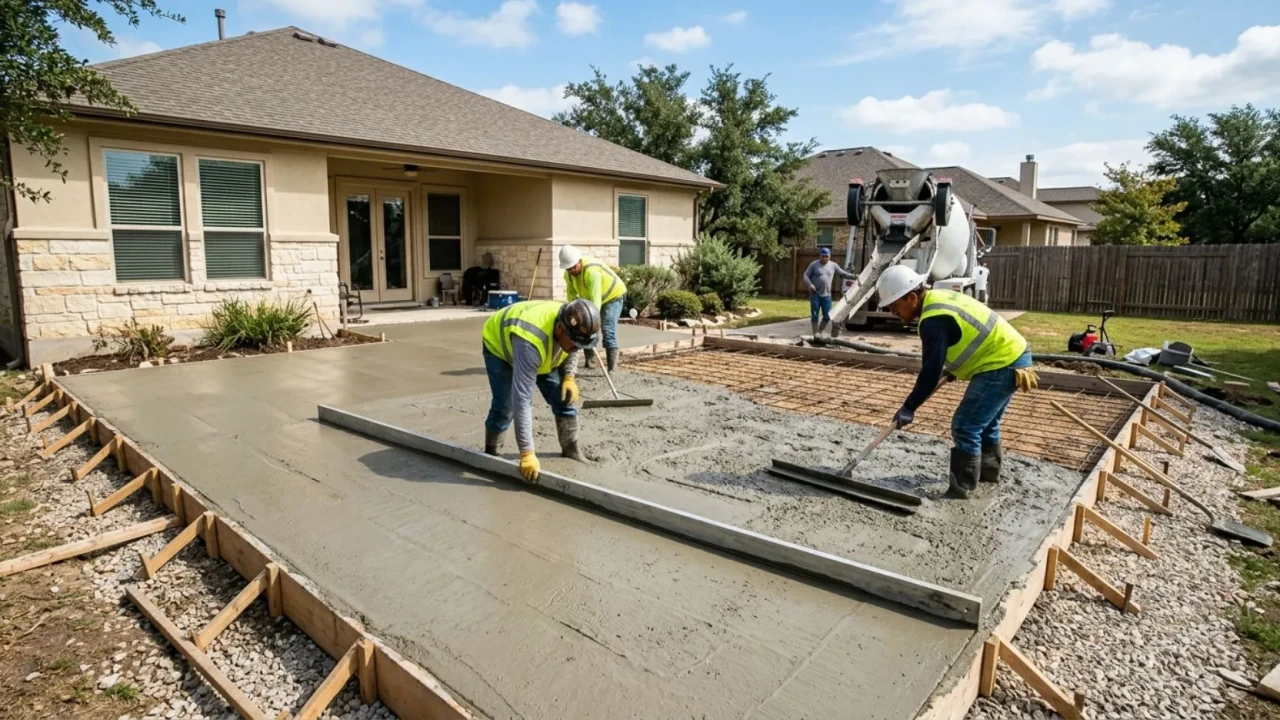
Concrete mix specification: For a residential patio in San Antonio, specify a minimum 3,000 PSI mix with a water-to-cement ratio of 0.45 or lower. Higher PSI mixes (3,500 or 4,000 PSI) are worth the small price premium on patios that will see heavy use or outdoor kitchen loads. Never add extra water to the mix at the site it reduces strength. If the concrete is getting too stiff in summer heat, the correct answer is to order a different slump specification, not to add water on the job.
The finishing sequence after the pour follows a specific order: screeding (leveling the concrete to the top of the forms), bull floating (smoothing the surface and pushing aggregate down), waiting for bleed water to evaporate, and then applying the chosen surface finish. Applying a broom finish or stamped texture before bleed water evaporates is a common mistake that weakens the surface layer and causes premature flaking or dusting.
The best time of year to pour a concrete patio in San Antonio is October through April. Summer pours (May through September) are done daily by experienced local crews, but they require early morning starts before peak heat, retarder admixtures, and more active curing management. Fall and winter pours are easier to manage, often priced slightly lower due to reduced demand, and produce consistently better curing results. If your project timeline is flexible, scheduling in the cooler months is a practical advantage.
- Concrete mix specification confirmed in advance: 3,000 PSI minimum for standard patio
- No water added to the mix at the site if slump adjustment is needed, it is done at the plant
- Retarder admixture requested for summer pours to extend the finishing window
- Bleed water has fully evaporated before surface finish is applied
- Finish type confirmed in writing: broom, stamped, or exposed aggregate with color if applicable
- Expansion joints cut or formed before concrete reaches final set
Curing
Curing is the chemical process by which concrete gains strength after the pour. It requires moisture not just time. In San Antonio’s summer heat, the surface of a freshly poured slab can lose moisture faster than the chemical hydration reaction can use it, resulting in a slab that never reaches full design strength. A concrete slab that cures incorrectly in high heat may test at only 70 to 80 percent of its rated strength at 28 days, even though it looks fine on the surface.
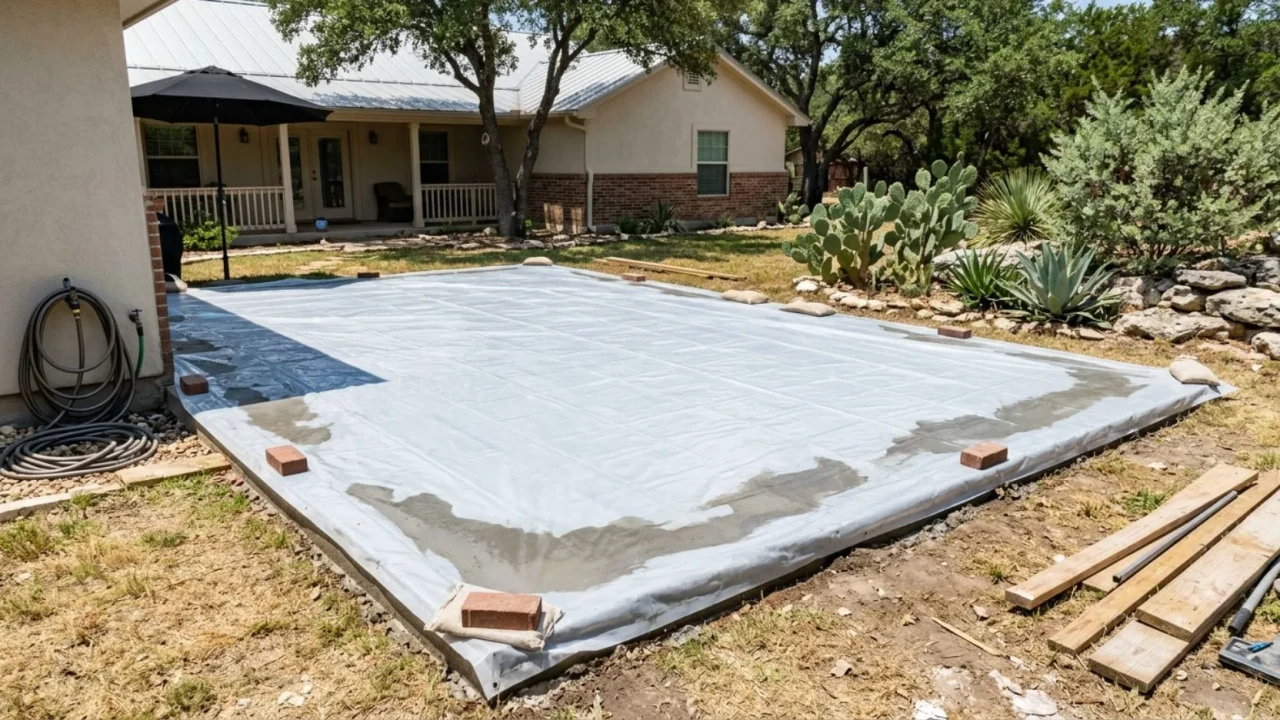
There are three acceptable curing methods for residential patio slabs in San Antonio. Wet curing (keeping the surface continuously moist with burlap or wet curing blankets for a minimum of 3 to 5 days) produces the best results but requires the homeowner or contractor to maintain moisture on the slab. Curing compound (a liquid membrane sprayed on the slab surface immediately after finishing) is the most common method used by San Antonio contractors because it requires no active management after application. Plastic sheeting (a vapor barrier laid over the slab surface) is a low-cost alternative that works if it is kept in full contact with the surface without air gaps.
After curing, sealing protects the surface from staining, UV degradation, and moisture penetration. For a standard broom-finish patio, the first sealer application should happen at 28 to 30 days after the pour not before, because applying sealer to concrete that has not fully cured traps moisture inside the slab and can cause cloudiness or delamination. For stamped or stained concrete, the sealer is also what maintains the color and finish appearance over time.
- Curing method confirmed with contractor: wet curing, curing compound, or plastic sheeting
- No foot traffic for minimum 48 hours after the pour
- No vehicle or heavy load traffic for minimum 7 days after the pour
- First sealer application scheduled at 28 to 30 days after the pour not before
- Sealer type specified: solvent-based acrylic for outdoor San Antonio applications
- Resealing interval noted: every 2 to 3 years for stamped or stained surfaces, every 3 to 5 years for standard broom finish
The table below shows typical installed costs for concrete patio projects in San Antonio in 2026, including site prep, base, reinforcement, pour, and finish. These are complete installed prices from licensed local contractors, not materials-only estimates.
| Project type and finish | Typical size | Cost range installed | Notes |
|---|---|---|---|
| Standard broom-finish patio | 300–500 sqft | $1,800–6,000 | Most common San Antonio residential patio functional and durable |
| Stamped concrete patio | 300–500 sqft | $5,400–12,500 | Pattern and color work adds significant labor and material cost |
| Stained concrete patio | 300–500 sqft | $3,000–8,000 | Applied after cure acid stain or water-based depending on desired color |
| Exposed aggregate patio | 300–500 sqft | $3,600–9,000 | Aggregate type and size specified before pour cannot be changed after |
| Large broom-finish patio | 600–1,000 sqft | $4,800–12,000 | Volume pricing reduces per-sqft cost on larger areas |
| Pool deck (non-slip finish) | 400–800 sqft | $4,000–16,000 | Non-slip additive in sealer required exposed aggregate or broom finish preferred |
| Covered patio slab (pergola base) | 200–400 sqft | $1,800–6,400 | Heavier slab spec required if posts will be embedded or anchored to the slab |
- Slab thickness confirmed in writing: 4″ minimum for standard patio, 5-6″ for heavy use or vehicle access
- Base material and depth confirmed: crushed limestone, minimum 4″ compacted
- Excavation depth confirmed: minimum 8″ total (4″ base + 4″ slab)
- Reinforcement type and elevation method specified: wire mesh or rebar, elevated on bar chairs
- Expansion joint spacing confirmed: every 8 to 10 feet in both directions
- Drainage slope confirmed: 1/8″ per foot minimum sloping away from the house
- Surface finish type confirmed in writing: broom, stamped, stained, or exposed aggregate
- Color, pattern, and reference image approved before the pour for stamped concrete
- Concrete mix specification confirmed: 3,000 PSI minimum for standard patio
- Sealer included or scheduled: type and number of coats specified
- Certificate of insurance received: minimum $1M general liability coverage
- Written quote itemizes each stage: excavation, base, reinforcement, pour, finishing, and cleanup
- Payment terms confirmed: 30-50% deposit upfront, balance due on completion
- Local San Antonio references from completed projects available on request
- No full payment demanded before work begins this is a significant red flag
- Curing method in place: compound, wet burlap, or plastic sheeting applied immediately after finishing
- No foot traffic for minimum 48 hours confirmed with the crew
- No vehicle or heavy loads for minimum 7 days
- First sealing appointment scheduled at 28 to 30 days after the pour
- Resealing interval noted in calendar: every 2 to 3 years for stamped and stained, every 3 to 5 years for broom
How much does it cost to install a concrete patio in San Antonio?
How long does a concrete patio installation take in San Antonio?
Do I need a permit to install a concrete patio in San Antonio?
Why is my concrete patio cracking so soon after installation?
What is the best concrete finish for a San Antonio patio?
Get a free concrete patio quote in San Antonio
Tell us about your project size, finish preference, and any site conditions we should know about. We will visit your property, assess the site, and give you a detailed written quote at no cost.