
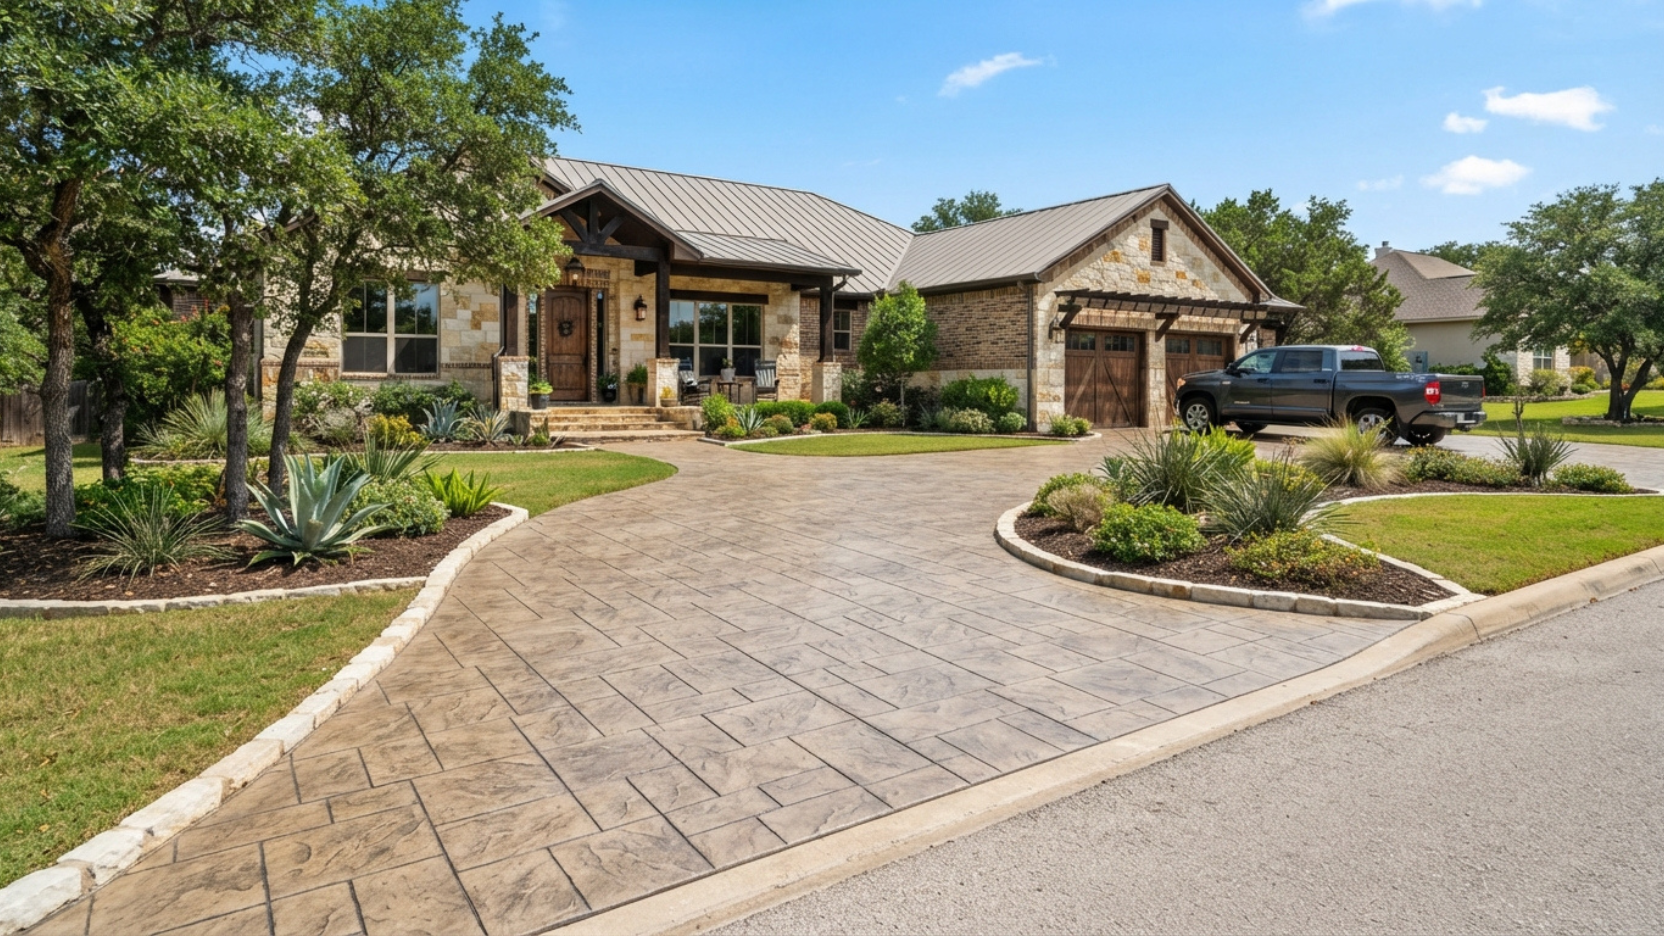
The short answer is yes but only under the right conditions. San Antonio’s Blackland Prairie clay soil, intense Texas UV, and hard Edwards Aquifer water create very specific requirements. This guide covers every factor: when a concrete overlay works, when it fails, what it costs in 2026, and how to choose between overlaying and full replacement.
Homeowners across San Antonio ask this question every week: the existing driveway is cracked, faded, or uneven but is it worth replacing the whole thing? Pouring new concrete over the existing surface sounds like a logical shortcut. Sometimes it is. More often, it is not. The difference comes down to the condition of the existing slab, the stability of the ground underneath it, and the specific requirements of Bexar County’s notoriously expansive clay soil.
This guide gives you the complete picture: the structural conditions that make an overlay viable, the warning signs that require full removal, what both approaches cost in San Antonio in 2026, and the step-by-step process for each. If you want to make the right call before spending money, read this first.
A concrete overlay does not fix a failing base. If the existing slab has structural cracks, significant settling, heaving from clay soil movement, or a compromised sub-base, pouring new concrete on top transfers all of those problems upward into the new layer. The new surface will crack and fail along the same fault lines within two to three years. That is not a materials problem or a contractor problem it is a physics problem. An overlay saves money only when it is applied to a structurally sound, stable slab.
Before calling a contractor, you can do a basic site assessment yourself. Walk the driveway and note what you see. The conditions below separate overlay candidates from replacement candidates.
- Existing slab is structurally sound with no deep or widening cracks
- Surface is level with no significant heaving or settling
- Cracks present are hairline only (under 1/4″ wide) and not growing
- No sections are hollow-sounding when tapped (no base voids beneath)
- Drainage is adequate no pooling water or erosion at edges
- Existing slab thickness is at least 4″ (overlay will add 2″ minimum)
- The slab is at least 28 days old (fully cured before bonding)
- Cracks are wider than 1/4″ or show vertical displacement (heaving)
- Sections of the slab rock or shift when you step on them
- Hollow spots when tapped indicate base voids underneath
- Significant portions have settled below grade or are sloping toward the house
- The existing slab is less than 4″ thick (overlay would be too thin to be durable)
- Tree root damage has lifted or cracked multiple slab sections
- There is visible water damage, efflorescence, or sub-base erosion
Assessment
You do not need a professional to do the first pass. Walk your driveway with a notepad and evaluate five things. What you find will either confirm an overlay is viable or tell you that a replacement estimate is the next call to make.
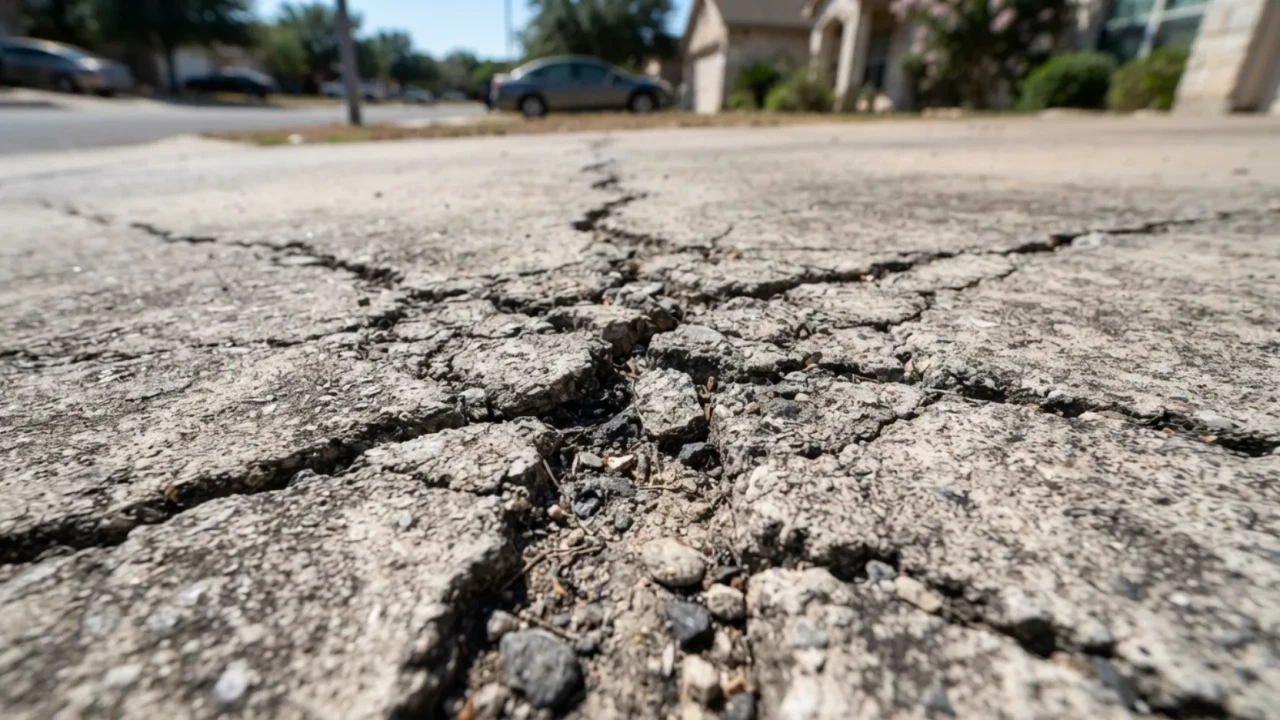
Step 1 Check crack width and pattern. Use a coin or a key. Cracks under 1/4″ wide are likely shrinkage cracks. Cracks wider than 1/4″ or any crack where one side is higher than the other indicate structural movement. A stepped crack means the ground beneath moved. An overlay will not hold over that.
Step 2 Listen for hollow spots. Walk the slab and knock firmly with your heel or a rubber mallet in a grid pattern. A solid sound means the concrete is bonded to its base. A hollow or drumming sound means there is a void underneath. Voids form when San Antonio’s clay soil contracts away from the slab during dry periods. Pouring over a void-riddled slab leads to collapse of the overlay.
Step 3 Check for level. Place a straight edge or long level across different sections of the driveway. Settling of more than 1/2″ across a 4-foot span is significant. Settling that directs water toward your garage or house foundation is a drainage emergency that an overlay will not solve.
Step 4 Inspect edges and expansion joints. Crumbling edges, wide-open expansion joints, or joints where one section is clearly higher than the adjacent section all indicate soil movement. In San Antonio’s clay, this is common and it means the underlying instability needs to be addressed before any overlay goes down.
Step 5 Measure the existing slab thickness. At the edge of the slab or at a visible crack, try to measure the thickness. A standard residential driveway is 4 to 5 inches. Adding a 2-inch overlay brings you to 6 to 7 inches adequate. If the existing slab is only 3 inches (a common shortcut from older construction), the overlay becomes the structurally critical layer, and it may be too thin for vehicle loads.
- No cracks wider than 1/4″ or any crack with vertical displacement between sides
- No hollow-sounding sections when tapped across the full surface
- No sections that rock, shift, or are visibly unlevel
- Drainage slope directs water away from the house and garage
- Edge condition is intact no crumbling, spalling, or deep erosion at perimeter
- Existing slab is at least 4″ thick
Material Selection
Not all overlays are the same. The term “pour concrete over existing driveway” covers four distinct approaches, each with a different thickness range, cost, and appropriate application. Using the wrong type for your situation is one of the most common mistakes made in San Antonio overlay work.
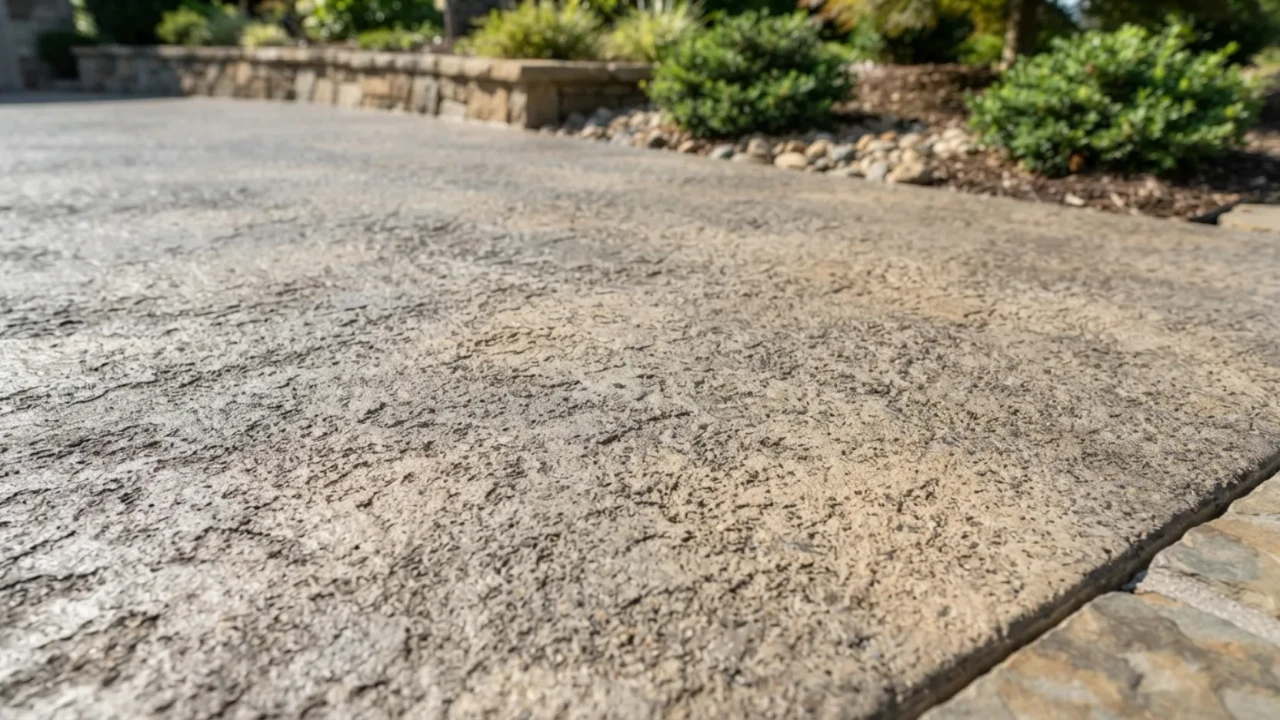
Bonded concrete overlay (2″ to 4″ thick): The most durable overlay option for driveways. New structural concrete is bonded to the existing slab using a bonding agent applied to the prepared surface. At 2 to 4 inches, this layer can support vehicle loads if the base slab is sound. This is the correct choice when you want a structural, long-lasting result that handles daily vehicle traffic.
Micro-topping or thin overlay (1/4″ to 1/2″ thick): A polymer-modified cement product used primarily for cosmetic renovation not structural repair. Appropriate only for interior floors, covered patios, and surfaces that do not carry vehicle loads. Using micro-topping on an outdoor San Antonio driveway exposed to UV, temperature swings, and vehicle traffic is the wrong application. It will delaminate within one to two seasons.
The bonding agent is not optional it is the entire reason an overlay works. A properly applied concrete bonding agent (typically an epoxy or acrylic-based product) chemically fuses the new overlay to the existing slab. Without it, the two layers behave independently the top layer expands and contracts at a slightly different rate than the bottom, and delamination occurs within a few seasons. Any contractor who proposes pouring an overlay without a bonding agent or surface preparation step should be passed over. That is the step that separates a 15-year overlay from a 3-year one.
- Overlay type confirmed in writing: bonded structural overlay (2″+) for vehicle driveways
- Bonding agent specified in the project scope not omitted as a cost-saving measure
- No micro-topping or thin self-leveling product proposed for an outdoor driveway application
- Minimum 2″ thickness confirmed for any overlay carrying vehicle loads
- Product rated for outdoor UV exposure and vehicle traffic confirm with contractor
Prep Work
An overlay bonds to the existing surface through a combination of chemical adhesion (the bonding agent) and mechanical grip (the surface profile). If the existing concrete is smooth, oil-stained, or has loose surface material, the overlay has nothing solid to grip. Surface preparation is the highest-skill step in overlay work and the one most commonly skipped by low-bid contractors.
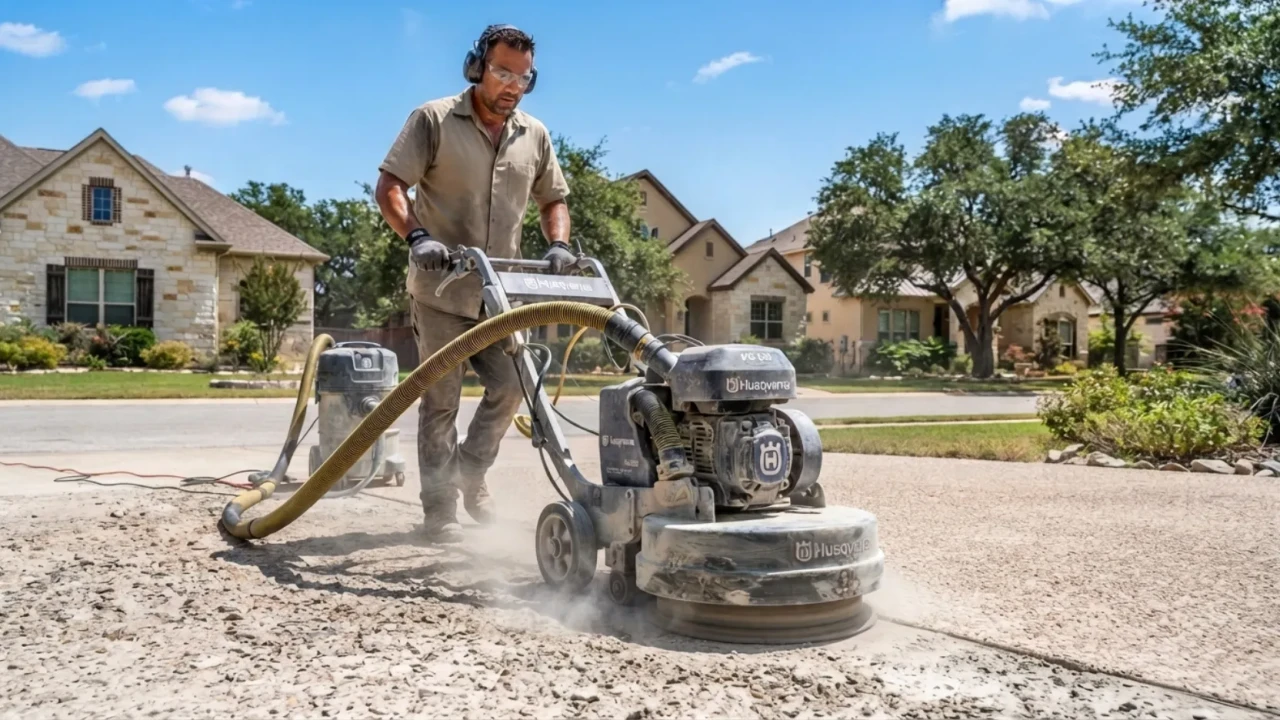
Diamond grinding or shot blasting: The existing surface must be mechanically profiled to a “concrete surface profile” (CSP) of 3 to 5 roughly the texture of medium sandpaper. This opens the pores of the concrete and creates a mechanical bond surface for the overlay. Hand-ground sections or surfaces that were only pressure-washed do not achieve the necessary profile.
Oil and contaminant removal: San Antonio driveways collect oil, gasoline, tire rubber, and deicing salt over their lifespan. Any contaminant that penetrates the existing slab will block the bonding agent from making contact with the concrete. Oil spots require degreasing and sometimes grinding down past the contaminated layer before a proper bond is possible.
Crack repair before overlay: Hairline cracks (under 1/4″) in the existing slab should be filled with a flexible polyurethane or epoxy crack filler before the overlay goes down. This is not to make the existing slab structural it is to prevent the overlay from reflecting those cracks through to the new surface. Without filling, cracks in the base migrate upward through the overlay within six to eighteen months. This is called reflective cracking, and it is the single most common failure mode in concrete overlay work.
Edge preparation: The perimeter of the overlay needs support. Where the overlay terminates at the edge of the existing slab, a small form board or edge restraint is set to hold the overlay in place during curing. Without this, the overlay edge is unsupported and will chip and crumble quickly, especially on a San Antonio driveway where vehicle tires roll over the edge repeatedly.
- Surface grinding or shot blasting included in the project scope pressure washing alone is not sufficient
- All oil and contaminant stains degreased and cleaned before bonding agent is applied
- Existing cracks filled with flexible polyurethane or epoxy filler not left open
- Edge formwork planned for overlay termination points
- Bonding agent applied to dry, prepared surface immediately before pour
- New expansion joints planned at intervals matching or tighter than the existing slab’s joint spacing
Installation Day
Once prep work is complete, the overlay pour itself follows a tight sequence. In San Antonio’s summer heat, the window between pour and initial set is compressed compared to cooler climates. A crew that arrives after 10 AM in July is already working against the clock. Early morning starts are standard practice for experienced San Antonio concrete contractors.
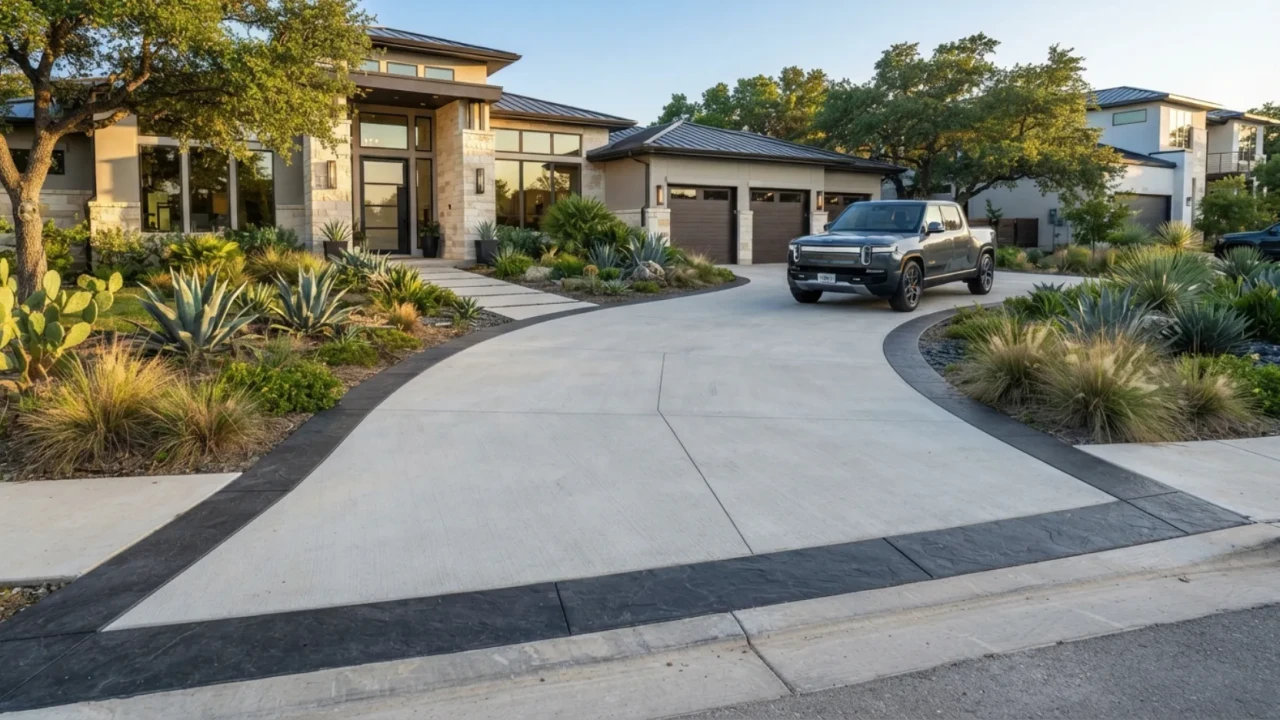
Mix design for overlays: A standard concrete mix is not always appropriate for an overlay. Bonded overlays work best with a low water-to-cement ratio mix (below 0.45 w/c) and often include fiber reinforcement polypropylene or steel microfibers to improve tensile strength and reduce shrinkage cracking. In San Antonio’s Edwards Aquifer water supply, the high mineral content of local water can affect mix hydration, which is why established local contractors adjust their mix designs for local conditions.
Bonding agent open time: After the bonding agent is applied, there is a defined window within which the overlay must be poured typically 30 to 60 minutes depending on the product and temperature. In summer heat, this window shortens. Pouring outside the open time means the bonding agent has hardened and no longer provides adhesion. The overlay is then sitting on a sealed surface rather than bonding to it.
Curing in San Antonio heat: The same rules that apply to a new concrete pour apply to an overlay but with less margin for error. Because an overlay is thinner, it loses moisture faster in high temperatures. A surface that dries before the chemical curing reaction completes will be weaker and more prone to surface dusting and cracking. A reputable contractor will apply a curing compound immediately after finishing or wet-cure the surface for three to five days. No vehicle traffic for seven days, no foot traffic for forty-eight hours.
Best months for overlay work in San Antonio: October through April. The lower temperatures reduce the risk of rapid drying, give the bonding agent more open time, and produce a stronger cure. Summer overlays are done successfully by experienced crews every day but they require early starts, curing compounds, and more aggressive moisture management. If your schedule is flexible, a fall overlay is the lower-risk choice. It also tends to be priced slightly better due to reduced contractor demand.
- Early morning pour time scheduled for summer projects avoid afternoon heat
- Low w/c mix confirmed no watering down the mix to make it easier to work
- Bonding agent applied and pour started within the product’s open time window
- Expansion joints cut or tooled at planned intervals during or immediately after pour
- Curing compound or wet curing applied immediately after finishing
- No vehicle access for 7 days; no heavy loads for 28 days until full cure
Cost Guide
Cost is often the primary driver of the overlay versus replacement question. The numbers below reflect current 2026 San Antonio pricing based on typical residential driveway projects in Bexar County. These ranges assume a standard two-car driveway of 400 to 600 square feet.
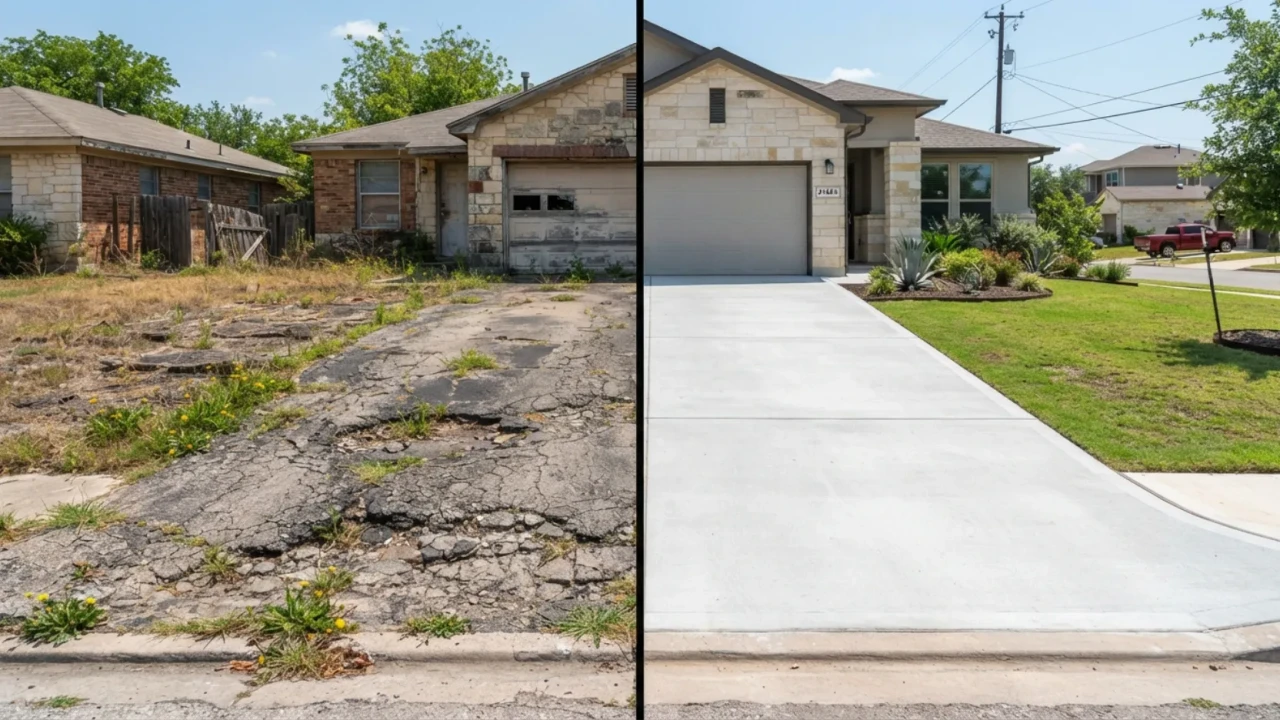
The most important context for this cost comparison: the savings from an overlay only exist when the existing slab genuinely qualifies for an overlay. A homeowner who chooses an overlay on a failing slab to save $2,000 upfront will spend $7,000 to $12,000 on a full replacement two to three years later plus the cost of the failed overlay removal. The slab assessment in Rule 01 is not optional. It determines whether the overlay number or the replacement number applies to your specific driveway.
| Factor | Concrete overlay | Full replacement |
|---|---|---|
| 2026 cost per sqft (San Antonio) | $5 to $8 (bonded overlay) | $7 to $12 |
| 500 sqft driveway total cost | $2,500 to $4,000 | $3,500 to $6,000 |
| Demolition required | No major cost savings | Yes $1,500 to $3,000 added cost |
| Expected lifespan | 15 to 20 years (on a sound base) | 25 to 35 years |
| Appropriate for structural issues | No cosmetic issues only | Yes full base reset |
| Finished height impact | Raises driveway 2″+ (check garage threshold) | Returns to original grade |
| Warranty from contractor | 1 to 2 years typical | 3 to 5 years typical |
Full Replacement
When the existing slab fails the assessment in Rule 01, full replacement is the correct decision not a worst-case scenario. A properly installed replacement driveway in San Antonio, built to spec for local soil conditions, routinely lasts 25 to 35 years with minimal maintenance. The key word is “properly.” San Antonio’s clay soil means that the spec here differs from what a general contractor might do in another region.
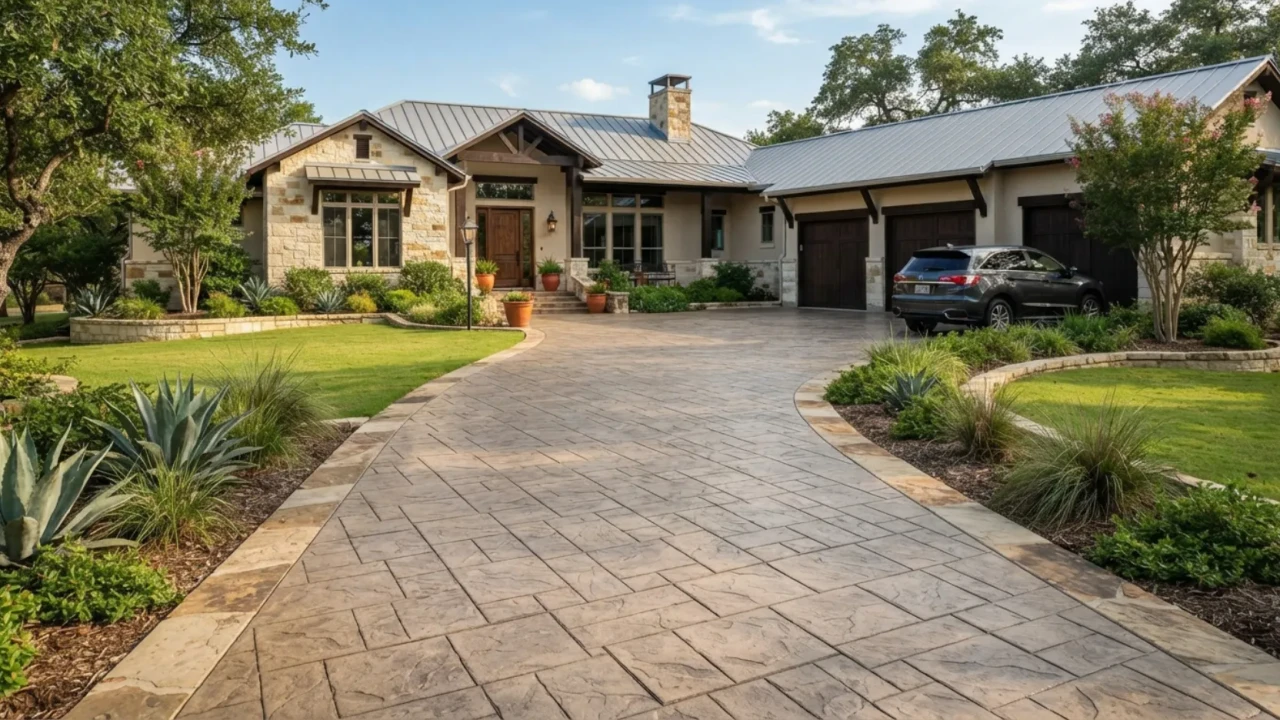
Base preparation in San Antonio clay soil: Bexar County’s Vertisol clay must be properly addressed before any new concrete goes down. The standard process is excavation to stable soil, compaction of the subgrade, and installation of a 4 to 6 inch layer of crushed limestone base (not just gravel). Crushed limestone bonds into a semi-rigid base layer that resists the heave and settle cycle of the clay underneath it. Contractors who skip this step or use insufficiently compacted fill are setting up a new slab to fail the same way the old one did.
Rebar over wire mesh: For driveways in San Antonio, #3 or #4 rebar on an 18-inch grid is strongly preferred over wire mesh. Wire mesh tends to migrate to the bottom of the slab during the pour where it does nothing unless chairs are used to keep it elevated at mid-slab height. Rebar stays in position and provides meaningful tensile reinforcement against the soil movement that clay soils create.
Expansion joint spacing for Bexar County clay: The soil movement typical of Blackland Prairie Vertisol justifies closer expansion joint spacing than in non-expansive soil regions. Standard residential concrete work uses joints every 10 feet. In San Antonio, joints every 8 feet on a driveway are a reasonable precaution, particularly if the driveway passes over areas with significant tree root activity or known drainage issues.
Slab thickness for vehicle loads: A standard residential driveway in San Antonio should be a minimum of 4 inches, with 5 inches recommended for households with trucks, SUVs, or heavy vehicles. Homeowners who regularly have delivery trucks or RVs on the driveway should discuss a 6-inch spec with their contractor. This is not a cost-cutting area an undersized slab on San Antonio clay is the primary reason for premature cracking.
- Existing slab fully demolished and hauled away no partial removal that leaves uneven base
- Subgrade excavated to stable soil depth and compacted before base goes down
- 4″ to 6″ compacted crushed limestone base confirmed in the written quote
- Rebar (#3 or #4 at 18″ centers) specified not wire mesh only
- Minimum 4″ slab thickness; 5″ for households with trucks or heavy vehicles
- Expansion joints every 8 to 10 feet confirmed in scope
- Sealing scheduled at 28 days after pour
Use this table to quickly identify which approach fits your driveway’s condition. When in doubt, schedule a professional assessment most San Antonio concrete contractors provide free on-site evaluations.
| What you see on the driveway | Recommended approach | Reason |
|---|---|---|
| Surface discoloration, minor surface spalling, faded appearance | Overlay or resurfacer | Cosmetic issue only structural slab is sound |
| Hairline cracks under 1/4″ with no vertical displacement | Overlay (fill cracks first) | Shrinkage cracks not structural; prevent reflective cracking with proper fill |
| Cracks wider than 1/4″ or any stepped crack | Full replacement | Structural movement from base or soil overlay will fail along same lines |
| Hollow-sounding sections when tapped | Full replacement | Voids in the base overlay has nothing solid to bond to; will collapse |
| Sections that rock or shift underfoot | Full replacement | Base failure no overlay product can stabilize a moving base section |
| Water pooling on slab or sloping toward garage | Full replacement with re-grading | Drainage correction requires base reset overlay cannot change grade |
| Tree root heaving of one or more sections | Full replacement (root removal first) | Root system must be addressed before any concrete overlay will reheve |
| General age and minor wear, no structural issues | Overlay is viable | Sound slab overlay extends functional life at lower cost than replacement |
- No cracks wider than 1/4″ and no stepped cracks anywhere on the slab
- No hollow-sounding sections when tapping a 2-foot grid across the full surface
- No sections that move, rock, or shift when walked on
- No visible heaving from tree roots or soil movement
- Existing slab confirmed at 4″+ thickness
- Water drains away from the garage and house foundation no pooling on slab
- No erosion or soil washout visible at the slab edges
- Garage threshold has at least 2″ of clearance above the current driveway surface (for overlay projects)
- Contractor has assessed the slab in person before providing a price no phone quotes on overlay work
- Scope specifies whether project is an overlay or full replacement no ambiguity
- Surface prep steps listed: grinding or shot blasting, degreasing, crack filling, bonding agent
- Overlay thickness specified in writing: minimum 2″ for vehicle driveways
- Expansion joint plan included in scope
- Curing plan stated: wet curing or curing compound applied after finishing
- Sealing scheduled: 28 days post-pour for new overlay; 2 to 3 years for reapplication
- Full demolition and haul-away of existing slab included
- 4″ to 6″ compacted crushed limestone base in written scope
- Rebar (#3 or #4 at 18″ centers) specified not wire mesh as sole reinforcement
- Minimum 4″ slab thickness confirmed; 5″ for heavy vehicle households
- Expansion joints every 8 to 10 feet confirmed
Can you pour concrete directly over asphalt?
How long does a concrete overlay last on a San Antonio driveway?
Does an overlay add too much height at the garage entrance?
What causes an overlay to delaminate or peel?
Do I need a permit to overlay or replace a driveway in San Antonio?
Can an overlay be stamped or colored to match decorative concrete?
Get a free driveway assessment in San Antonio
Not sure whether your existing driveway qualifies for an overlay or needs full replacement? We will visit your property, assess the slab, and give you an honest written recommendation at no cost.