
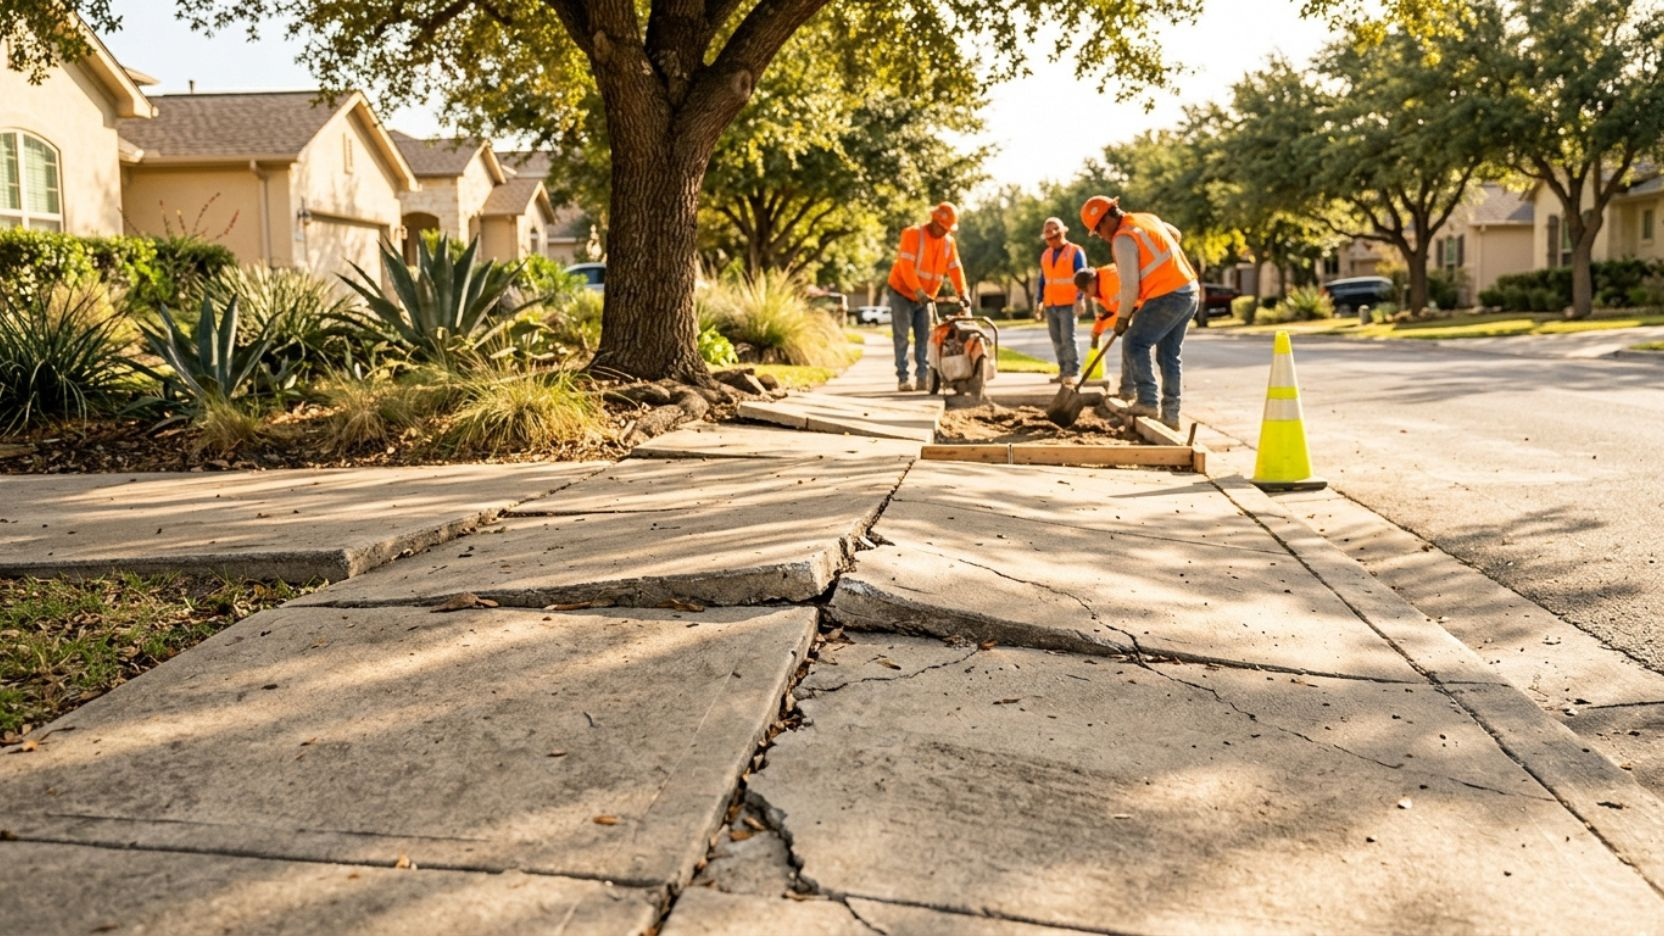
Cracked, uneven, or sunken sidewalk panels are more than an eyesore in San Antonio. They create liability exposure, accelerate further damage, and violate city code. This guide explains every warning sign, cause, repair method, and cost so you know exactly what to do before a small crack turns into a replacement job.
San Antonio sidewalks take a beating. The combination of expansive clay soils, intense summer heat, mature tree root systems, and the occasional hard freeze creates conditions that crack and shift concrete panels faster than in most American cities. The result is a city full of sidewalks with heaved joints, hairline cracks that widen over rainy seasons, and sunken panels that collect standing water every time it rains.
Most homeowners treat sidewalk damage as a cosmetic issue until someone trips. At that point, a repair that might have cost a few hundred dollars becomes a liability claim. This guide covers every stage: identifying when repair is needed, understanding what caused the damage, choosing the right repair method, and knowing what a fair price looks like in San Antonio in 2026.
Hairline surface cracks in a sidewalk are almost always cosmetic. The problem that creates liability and accelerates further damage is vertical displacement when one panel sits higher or lower than the adjacent panel. A 1/4″ to 1/2″ lip is noticeable. Anything above 1/2″ is a trip hazard that exposes a San Antonio homeowner to premises liability. The first question to ask about any damaged sidewalk is not “does it look bad?” but rather “is there vertical displacement, and how much?” That single measurement determines whether you need a minor repair or a panel replacement.
Warning Signs
Sidewalk damage rarely appears all at once. It develops gradually over months or years, and most homeowners do not notice it until the damage has progressed well past the point where a minor repair would have been sufficient. Knowing what to look for allows you to act before the repair cost multiplies.
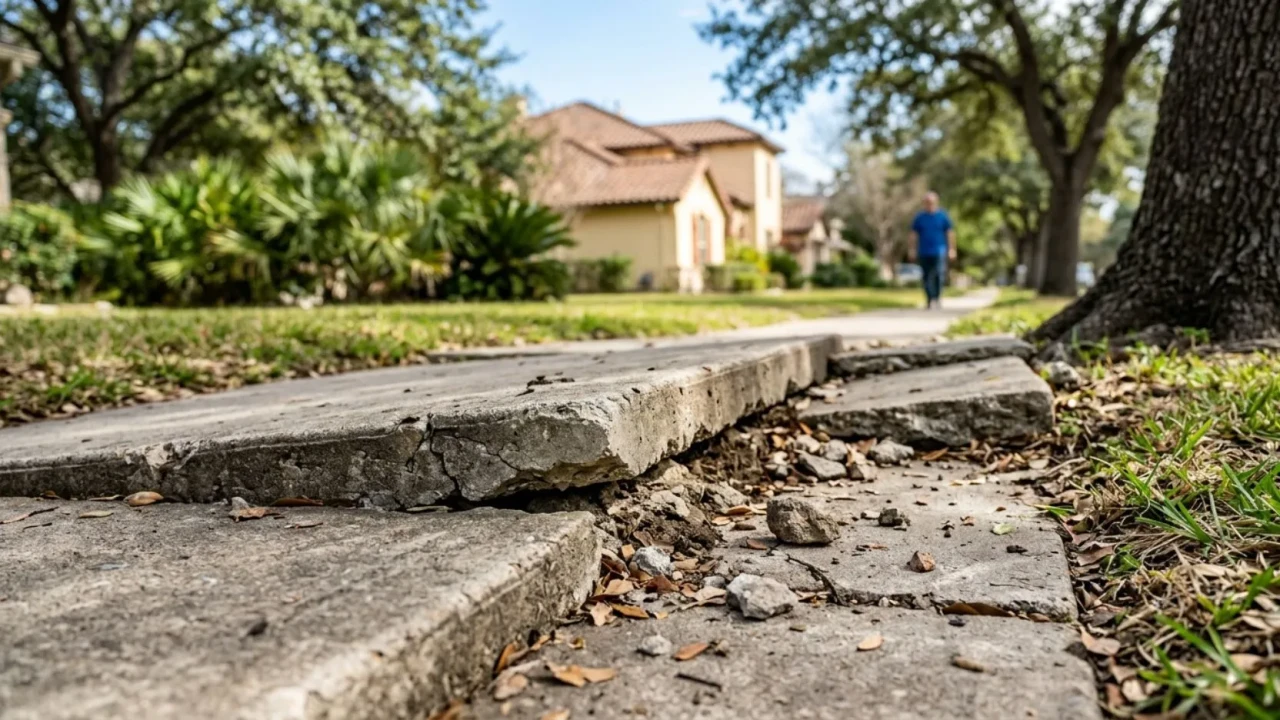
Vertical displacement at panel joints is the most important warning sign. When one concrete panel sits higher or lower than the panel next to it, the raised edge creates a trip hazard. In San Antonio, the primary cause is tree root intrusion lifting a panel from below, or clay soil contraction causing one panel to settle while the adjacent panel remains stable.
Widening cracks are the second signal. A hairline crack under 1/8″ wide is a normal shrinkage crack and is primarily cosmetic. A crack that has widened to 1/4″ or more, or that runs the full width of a panel, means the panel is separating and water is now getting underneath during rain events.
Standing water after rain is a warning sign that homeowners often overlook. A properly installed sidewalk slopes slightly (about 1/8″ per foot) away from the property to direct water toward the street. When panels settle or heave, that slope reverses in spots and water pools. Standing water accelerates damage: it softens the clay soil base, promotes erosion under the slab, and in winter months expands as it freezes in surface cracks. A panel that pools water is almost always a candidate for replacement, not patching.
- Walk the full length of the sidewalk and check every panel joint for vertical displacement
- Measure any displaced joint: under 1/4″ is cosmetic; 1/4″ to 1/2″ is a caution zone; above 1/2″ requires action
- Check crack widths: hairline cracks are normal; anything wider than 1/4″ or that runs the full panel width warrants evaluation
- Observe the sidewalk after a rain event: any panel that pools standing water has a drainage problem
- Check corners and edges for spalling (concrete breaking away in chunks or flakes)
- Look for root intrusion: raised asphalt or concrete near a tree base almost always means a root is underneath
Root Causes
Understanding the cause of damage matters because it determines what repair method will last. A contractor who replaces a panel lifted by a tree root without addressing the root is doing a job that will fail again within a few years. San Antonio has four primary causes of sidewalk damage, and most problem sidewalks involve more than one.
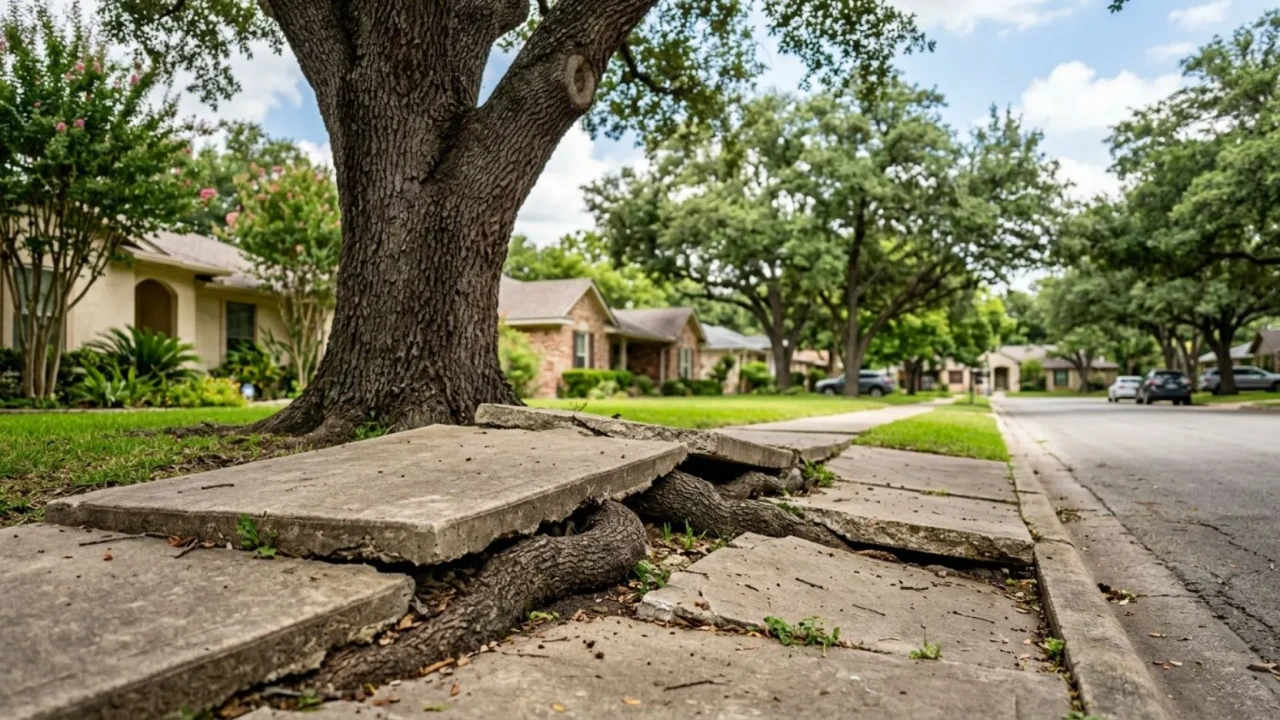
Tree root intrusion is the single most common cause of sidewalk damage in older San Antonio neighborhoods. Live oaks, pecans, cedar elms, and Chinese tallows all common street trees in Bexar County have aggressive surface root systems. These roots grow horizontally under sidewalk slabs, and as the root trunk thickens over years, it lifts the concrete from below. The result is a panel that is raised at the root location and may be cracked where the root pressure is concentrated.
Expansive clay soils are the second major factor. Bexar County sits on Vertisol clay that swells when wet and shrinks when dry. During San Antonio’s dry summers, this clay can shrink enough to create voids under concrete panels. When the soil rewets during fall rains, it expands unevenly. Panels that were poured on a dry, firm base can crack or tilt when the soil below them moves seasonally. This is why San Antonio concrete work requires a properly compacted crushed limestone base rather than direct-on-grade pours.
| Cause | How to identify it | Repair implication |
|---|---|---|
| Tree root intrusion | Panel is raised on one side; root visible at or near the joint edge; tree is within 10–15 feet of the damage | Root must be cut or redirected before panel replacement, or the new slab will lift again |
| Expansive clay settlement | Panel is sunken rather than raised; no tree nearby; may have occurred after a dry summer | Soil stabilization or proper compacted base material required before new pour |
| Poor original installation | Multiple panels cracking or settling; damage appeared within the first 5 years; thin slab (under 3.5″) | Full panel replacement with correct 4″ spec and proper base preparation |
| Freeze-thaw cycling | Surface scaling or spalling; damage concentrated at the surface layer rather than through-cracks | Surface repair sufficient for minor scaling; full panel replacement for deep spalling |
| Drainage erosion | Panel is sunken; visible void at panel edge; water drains toward and under the panel | Drainage correction required alongside panel replacement or slab jacking |
Dealing with tree roots near sidewalks in San Antonio: If a street tree (a tree in the city right-of-way between the sidewalk and the curb) has lifted your sidewalk, contact the City of San Antonio’s Urban Forestry department before doing any repair work. The city may share repair responsibility for right-of-way trees. For trees on private property, a concrete contractor working on a root-damaged panel should either remove the offending root section with an arborist’s guidance, or install a root barrier system to redirect future growth before the new slab is poured.
Decision Guide
Not every damaged sidewalk needs full panel replacement. But not every damaged sidewalk is a good candidate for patching either. Using the wrong method wastes money: a patch job on a structurally failed panel will fail again, usually within one to two rainy seasons. Replacing a panel when grinding or mudjacking would have solved the problem costs two to three times as much as necessary.
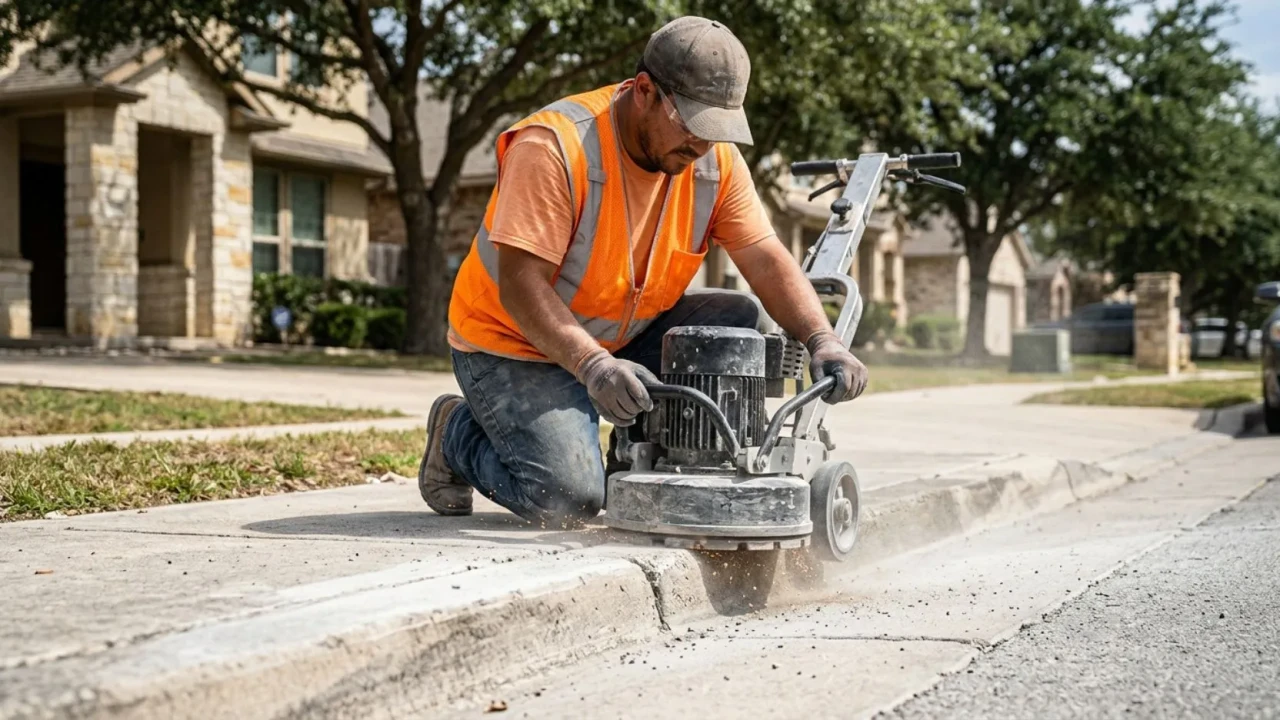
Grinding (trip hazard removal) is the fastest and least expensive fix for vertical displacement caused by a raised panel edge. A concrete grinder bevels the raised lip, eliminating the trip hazard without removing the panel. Grinding is appropriate when the displacement is 3/4″ or less and the raised panel is otherwise structurally sound. Cost is typically $3–6 per linear foot for the ground section. The limitation: grinding removes the surface layer, which can look different from the surrounding concrete, and it does not address the underlying cause of the heave.
Mudjacking (slab lifting) injects a slurry of cement, soil, and water under a sunken panel to raise it back to the correct elevation. It works well when a panel has settled due to soil erosion or void formation below, and the panel itself is not cracked through. Cost in San Antonio runs $3–8 per square foot of lifted area. Mudjacking is not appropriate for root-damaged panels, for panels with through-cracks, or for panels where the soil cause has not been corrected.
Panel replacement is the right call when a panel is cracked through, when root intrusion has caused heaving, when the panel is spalling severely, or when the panel is sunken and the underlying soil problem cannot be corrected without removal. Replacement involves removing the old panel, addressing the root cause, compacting a proper base, and pouring a new 4″ slab. In San Antonio, full panel replacement typically costs $5–9 per square foot installed.
- Displacement 3/4″ or less, panel structurally sound: grinding is appropriate
- Panel sunken, no cracks through the slab, root cause is erosion: mudjacking is appropriate
- Panel cracked through, root-damaged, or severely spalled: full replacement required
- Hairline cracks only, no displacement, no structural concern: crack filler for water prevention
- Root identified as the cause: address the root before any repair method otherwise the repair will fail again
- Drainage problem identified: correct drainage direction as part of the repair, not after
Repair Process
Most homeowners have never watched a concrete panel replacement from start to finish. Knowing what the correct process looks like helps you evaluate whether the contractor you hire is doing the job properly. A replacement job that skips base preparation or undercuts on slab thickness will fail on the same timeline as the original damaged panel.
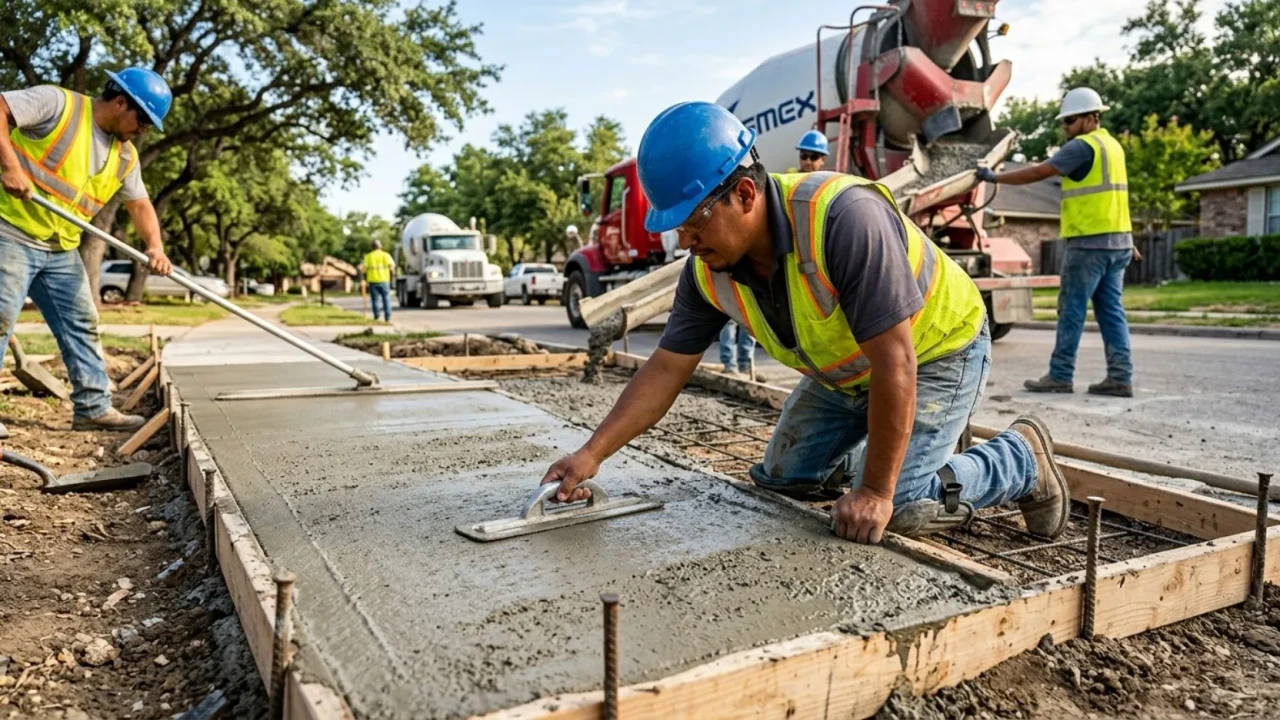
The first step is demolition: the damaged panel or panels are saw-cut at the expansion joints to separate them cleanly from adjacent panels, then broken up with a jackhammer and hauled away. This is the noisiest part of the job and typically takes one to three hours for a residential panel replacement.
After demo, the sub-base is addressed. This is where the cause of the original failure gets corrected. Tree roots are cut and treated, eroded soil is brought back to grade, and a 4″ layer of compacted crushed limestone base is installed. Skipping this step is the most common shortcut taken by low-bid contractors in San Antonio and the primary reason sidewalk repairs fail prematurely.
The new slab should be poured at 4″ minimum thickness using a 3,000 psi concrete mix. Residential sidewalks are not typically reinforced with rebar, but wire mesh can be added for larger panels or areas with known soil movement problems. Expansion joints are tooled into the surface every 4–5 feet to give the slab controlled places to relieve stress as the concrete cures and as the soil below moves seasonally.
After the pour, broom finish is applied the standard sidewalk finish that provides texture and slip resistance. The new panel is cordoned off for a minimum of 48 hours in San Antonio’s summer heat. In cooler months, 72 hours is a safer standard. Full cure takes 28 days, after which sealing is recommended to protect the surface from San Antonio’s UV exposure and to help resist water penetration at the newly tooled joints.
Matching new concrete to existing sidewalk color: Fresh concrete is noticeably lighter than weathered concrete. A new panel poured next to an older sidewalk will look different for the first six to twelve months as the new slab weathers and patinas to a closer match. There is no way to eliminate this difference entirely on a standard broom-finish panel. If a close color match matters, acid staining or a color additive can be used on the new panel, though a perfect match is still not guaranteed. Most San Antonio homeowners accept the color difference as a normal outcome of repair work.
- Panels saw-cut at existing joints before demolition not broken randomly through the slab
- Root cause addressed before the new pour: root removal, drainage correction, or soil stabilization
- 4″ compacted crushed limestone base installed and confirmed before forms are set
- Minimum 4″ slab thickness specified in the written quote
- 3,000 psi concrete mix used for the pour (standard residential sidewalk spec)
- Broom finish applied for slip resistance not a smooth trowel finish on an exterior walking surface
- Control joints tooled every 4–5 feet in the new panel
- Minimum 48-hour cure time before any foot traffic 72 hours in cooler weather
Contractor Guide
Sidewalk repair is a smaller-ticket job than a driveway or patio, which means it attracts a higher proportion of low-quality bids from crews that cut corners on sub-base preparation. A concrete job that looks fine on day one but fails in year two is worse than no repair at all you will have paid once for the repair and again for the replacement, and in the meantime you had a false sense of security about a surface that was not properly fixed.
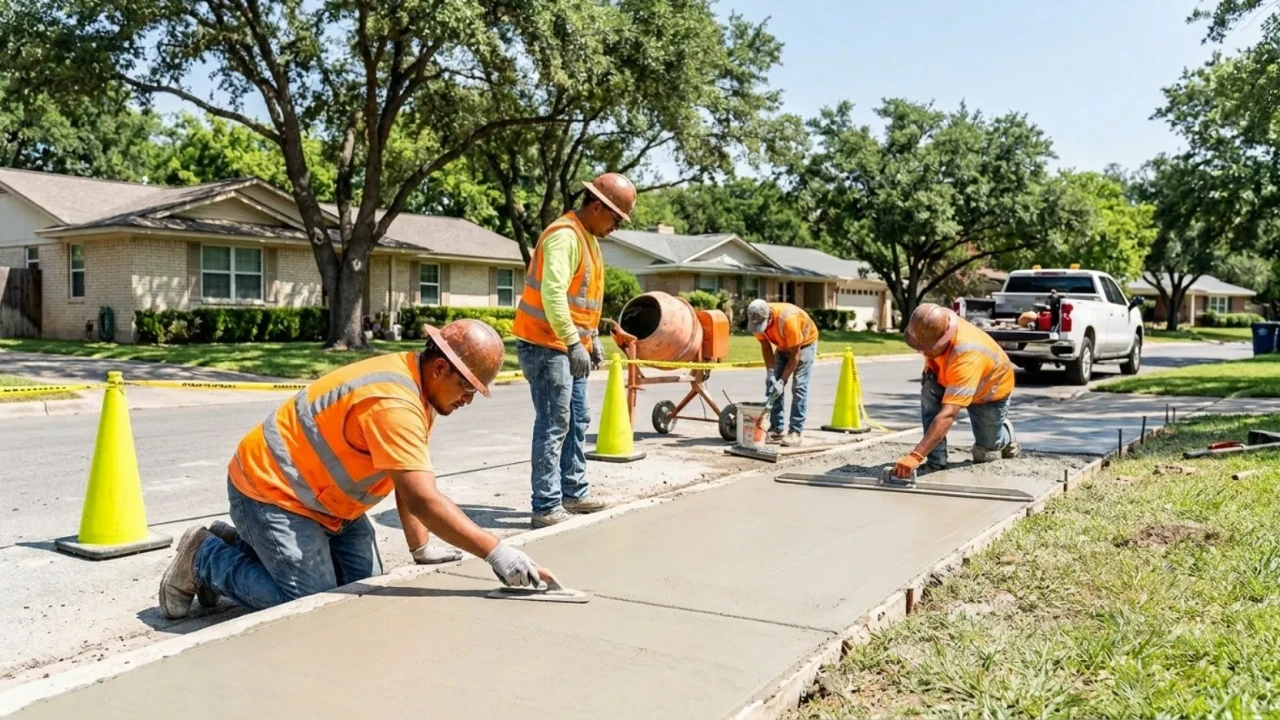
A legitimate sidewalk repair quote in San Antonio should specify the number of panels being replaced, the slab thickness (4″ minimum), the base preparation method, whether root removal or treatment is included if roots are involved, the concrete mix strength, and the finish type. If a quote simply says “replace sidewalk panels $X” without those details, you are not comparing apples to apples with a more detailed competitor bid.
Always ask whether the contractor holds general liability insurance and request a certificate of insurance before signing anything. A sidewalk job next to a public right-of-way carries additional exposure: if a crew member or a passerby is injured during the repair, an uninsured contractor leaves the homeowner exposed.
| What to check | What a good contractor provides | Red flag response |
|---|---|---|
| Insurance documentation | Certificate of insurance on request $1M+ general liability minimum | “We’re covered” with no documentation provided |
| Written quote detail | Specifies number of panels, slab thickness, base prep, mix strength, and finish type | Quote says only “sidewalk repair” with a total price and no specifications |
| Root or drainage plan | Describes how they will address the underlying cause before the new pour | No mention of addressing the cause just removing and replacing the damaged panel |
| Local experience | Specific knowledge of San Antonio clay soils and right-of-way permit requirements | Generic answers that do not acknowledge local soil conditions |
| Payment terms | Deposit of 30–50% upfront; balance due on completion and inspection | Full payment required before any work begins |
| City right-of-way permit | Knows whether a COA right-of-way permit is required for work adjacent to the public sidewalk zone | Unaware of permit requirements or dismisses them |
- Certificate of insurance received and verified before signing any contract
- Written quote specifies panel count, slab thickness (4″ min), base prep method, and concrete mix strength
- Contractor has a specific plan for addressing the root cause of the original failure
- Right-of-way permit question addressed contractor confirms whether a COA permit is required
- Payment terms confirmed: deposit upfront, balance on completion not full prepayment
- Local references from San Antonio sidewalk repair jobs available on request
Use this table as a starting point for any sidewalk damage situation. Every job is site-specific, but these ranges reflect typical San Antonio repair costs in 2026 for standard residential sidewalk work.
| Damage type | Recommended repair | Appropriate for? | Typical cost (San Antonio) |
|---|---|---|---|
| Hairline surface cracks | Crack filler / sealant injection | No displacement, no structural failure | $100–300 flat |
| Raised panel edge (trip hazard) | Concrete grinding / beveling | Displacement 3/4″ or less, panel structurally sound | $3–6 per linear foot |
| Sunken panel, no cracks | Mudjacking (slab lifting) | Settlement due to void or erosion, no root involvement | $3–8 per square foot |
| Root-lifted panel | Root removal + full panel replacement | Any root-driven damage mudjacking will not hold | $5–9 per square foot + root work |
| Through-cracked panel | Full panel replacement | Any crack running the full width or length of the panel | $5–9 per square foot |
| Surface spalling | Resurfacing or full replacement depending on depth | Surface-only: resurfacer; deep spalling: full replacement | $3–5/sqft (resurface) or $5–9/sqft (replace) |
- Full sidewalk walkthrough completed every panel joint and crack measured or noted
- Vertical displacement measured at every joint: under 1/4″ cosmetic, 1/4″–1/2″ caution zone, above 1/2″ action required
- Pooling water locations identified after rain indicates slope failure or settlement
- Root involvement assessed: is there a tree within 15 feet of the damaged panels?
- City right-of-way location confirmed: is the damaged sidewalk in the COA right-of-way or on private property?
- Repair method matched to damage type grinding, mudjacking, or full replacement selected based on cause and severity
- Root or drainage issue plan confirmed before any repair work is scheduled
- Permit requirement checked with the City of San Antonio TCI department if work is in the right-of-way
- Certificate of insurance received from contractor $1M+ general liability minimum
- Written quote specifies panel count, 4″ minimum slab thickness, base preparation method, and concrete mix strength
- Quote includes explicit description of how the root cause will be addressed
- Payment terms confirmed: deposit upfront, balance on completion
- At least two quotes obtained and compared on a like-for-like spec basis
- No foot traffic on new panel for minimum 48 hours; 72 hours in cooler weather
- Sealing scheduled at 28–30 days after the pour, once the panel is fully cured
- Annual inspection of control joints refill with backer rod and sealant if cracks appear at joints
- Root barrier installed if tree roots were the cause, to prevent recurrence
Who is responsible for sidewalk repair in San Antonio the homeowner or the city?
How much does it cost to replace a sidewalk panel in San Antonio?
Can I patch a cracked sidewalk instead of replacing the panel?
How long does sidewalk repair take in San Antonio?
Do I need a permit for sidewalk repair in San Antonio?
Get a free sidewalk repair quote in San Antonio
Tell us about your sidewalk damage cracked panels, raised edges, root damage, or sunken sections. We will assess the site, identify the cause, and give you a detailed written quote at no cost.