
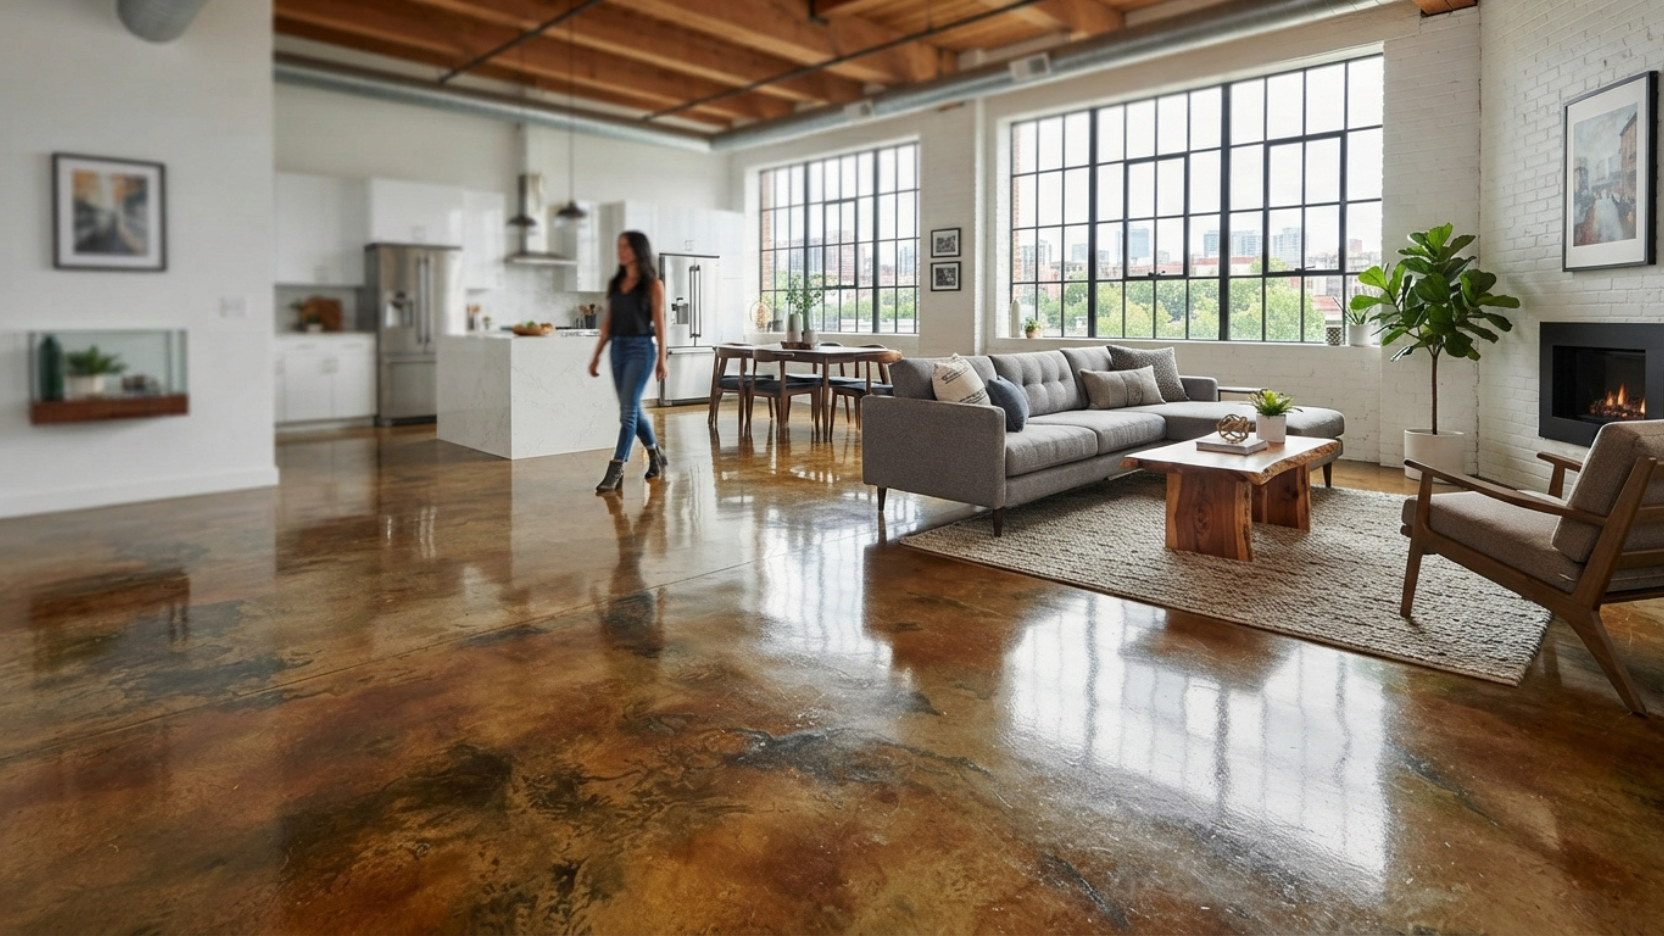
Stained concrete floors are one of the highest-value interior upgrades a San Antonio homeowner can make durable enough for decades of daily use, beautiful enough to compete with any tile or hardwood option, and far more forgiving in Texas heat than most people expect.
Most San Antonio homeowners discover interior stained concrete floors one of two ways: they see them in a remodeled home and immediately want that look, or they are living with a bare slab after removing outdated carpet or tile and realize a new floor covering is going to cost a lot more than expected. Either way, stained concrete consistently delivers more value per dollar than any competing interior floor option when the existing slab is in reasonable condition.
This guide covers everything that determines whether a staining project succeeds stain type selection, surface prep requirements, realistic color expectations, cost ranges for San Antonio in 2026, performance ratings by room type, and the maintenance schedule that keeps a stained floor looking sharp for decades.
Unlike paint or tile, stain does not hide the concrete beneath it. Every crack, patch, control joint, aggregate variation, and prior stain or sealer residue becomes part of the finished floor’s character. This is both the beauty and the challenge of interior stained concrete. On a clean, well-poured slab with natural variation, an acid stain produces something no tile or wood floor can replicate. On a slab with patchwork repairs and heavy contamination, results will be mottled and inconsistent. Surface assessment before staining is not optional: it determines the stain type, prep approach, and realistic color outcome.
Stain Type
Stain type is the first decision in any interior project, and it is not interchangeable. Acid stains and water-based stains use completely different chemistry, produce different looks, and have different requirements for surface condition and contractor skill. The right choice depends on your slab, your desired aesthetic, and your tolerance for color unpredictability.
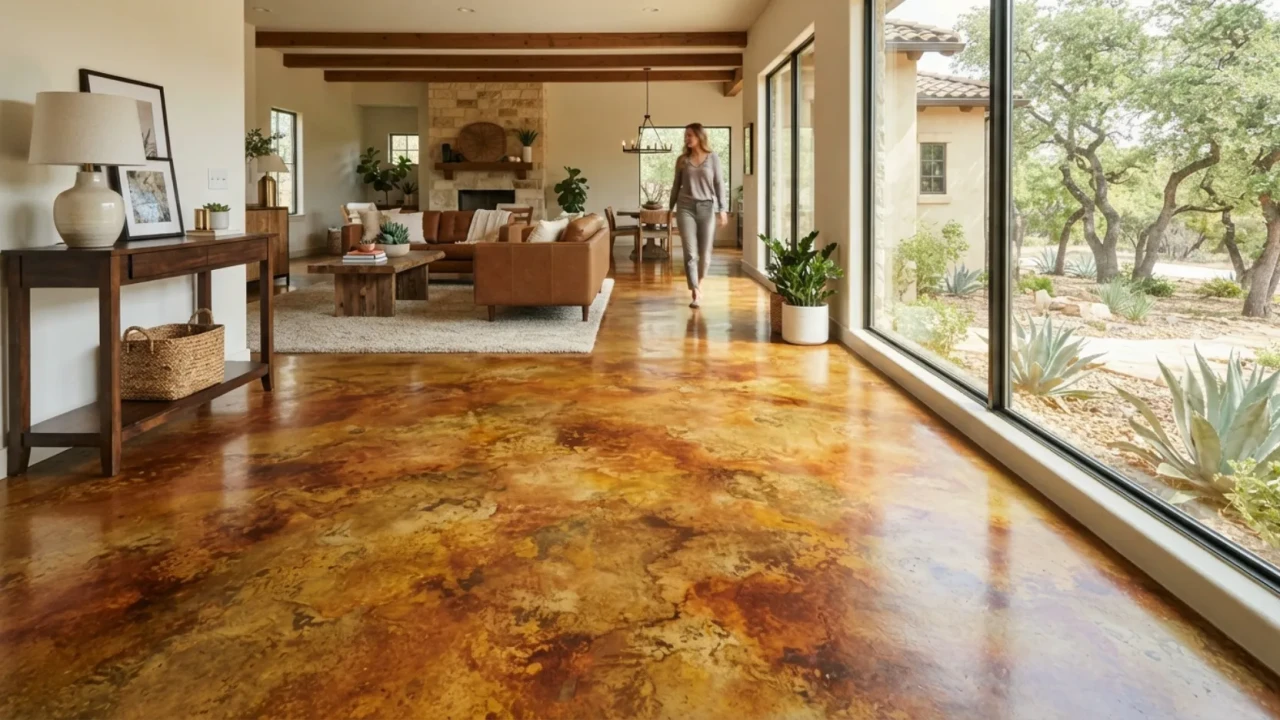
Acid stain works through a chemical reaction between metallic salts in the stain solution and the calcium hydroxide in the concrete. The reaction is permanent and creates the rich, mottled, translucent color patterns that acid stain is known for. No two floors look the same. Colors are limited to earth tones: amber, terracotta, walnut, sage green, and blue-gray. Because the color comes from a chemical reaction rather than a pigment coating, acid-stained floors never peel, chip, or fade from UV exposure indoors.
Water-based stain deposits pigment into the surface pores rather than reacting chemically. The result is more uniform and predictable color, a broader palette including true blues, reds, blacks, and custom blends, and easier application cleanup. Water-based stain is the better choice when a specific color match is needed or when the concrete surface has more variation that could cause uneven acid reactions.
| Factor | Acid Stain | Water-Based Stain |
|---|---|---|
| How color is created | Chemical reaction with concrete minerals permanent | Pigment deposited in surface pores |
| Color palette | Earth tones only: amber, terracotta, green, brown | Full spectrum including blue, red, black, custom blends |
| Color predictability | Low results vary by concrete mix and condition | High consistent and controllable |
| Visual character | Mottled, translucent, marbled no two floors identical | More uniform; can be layered for depth and variation |
| Surface condition required | Clean, uncontaminated slab free of prior sealers | More forgiving of minor surface variation |
| Application fumes | Acidic fumes ventilation and PPE required | Low odor suitable for occupied areas with prep |
| Cost range (materials) | $0.25–$0.60/sqft for stain products | $0.30–$0.75/sqft for stain products |
| Best application | Living rooms, bedrooms, open-plan areas wanting organic character | Kitchens, bathrooms, commercial interiors, color-matched designs |
- Desired color palette confirmed: earth tones point to acid stain; custom or bright colors point to water-based
- Slab condition assessed: heavy patching or contamination makes water-based stain the safer option
- Prior sealer or coating checked: acid stain will not penetrate any existing sealer layer without full removal
- Contractor experience confirmed: acid staining requires a neutralization step that inexperienced applicators often rush
- Color sample or test patch approved on your actual slab before full application commitment
Surface Prep
Every failed staining job has the same root cause: inadequate surface preparation. Concrete stain, whether acid or water-based, must penetrate the surface pores to develop color. Anything blocking those pores adhesive residue, curing compounds, prior paint or sealer, grease, oil, or calcium deposits from hard water prevents penetration and creates blotchy, peeling, or uneven results. Prep is where the job is won or lost.
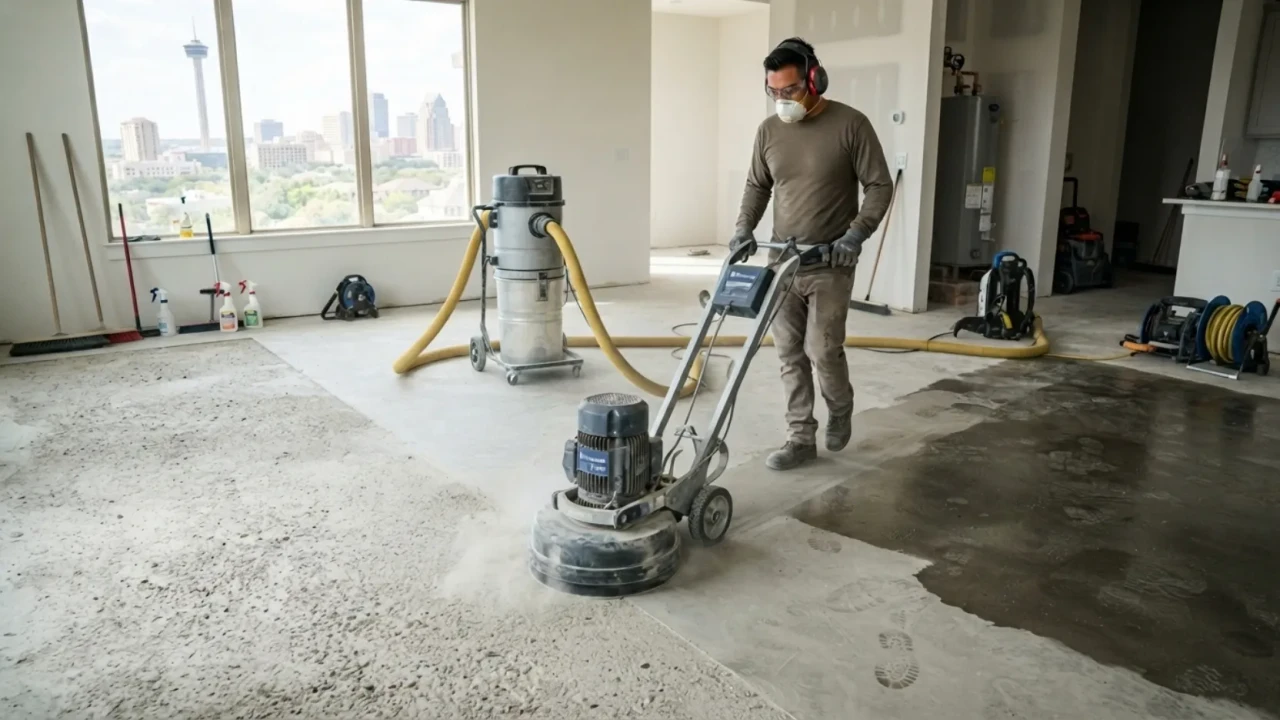
For existing slabs, the prep process starts with a complete surface history review. Was the floor previously carpeted? Tile adhesive residue must be mechanically ground off chemical strippers alone rarely get it all. Was the concrete ever sealed? Sealers must be stripped or ground away. Was the garage used for vehicles? Oil and grease contamination requires degreasing, grinding, and sometimes acid etching to fully open the pores.
The water bead test: a 30-second check that tells you if your slab is ready to stain. Pour a small amount of water onto the cleaned concrete surface. If it absorbs within 30–60 seconds, the pores are open and the slab is ready for staining. If the water beads and sits on the surface, a sealer or contamination layer is still blocking penetration. No amount of stain will produce good results on a surface that fails the water bead test. This is the single most important quality control step in any interior staining project.
Crack repairs deserve special attention on interior slabs. Concrete crack fillers and patching compounds are formulated differently from the surrounding concrete and will often accept stain differently, creating visible patches in the finished floor. For hairline cracks (under 1/8″), some contractors prefer to stain the floor and let the crack become part of the character rather than patching imperfectly. For wider cracks or spalls, a contractor-grade semi-rigid polyurea filler not a standard concrete patch is the correct product for areas that will be stained over.
- All floor coverings removed and adhesive residue fully eliminated not just scraped but ground flush
- Oil and grease stains degreased and confirmed removed not simply covered
- Prior sealer or paint stripped: mechanical grinding is more reliable than chemical stripping alone
- Water bead test passed on all staining areas before application begins
- Cracks repaired with flexible filler; cure time for repairs completed before staining
- HVAC returns covered and area ventilated to prevent dust re-contamination after grinding
Color and Design
Color selection is where interior staining projects most often produce disappointment not because the stain fails, but because the homeowner did not account for how concrete color interacts with their existing slab. Lighting conditions, concrete mix color, and surface variation all influence the final result. The approach that eliminates disappointment is consistent: test before you commit.
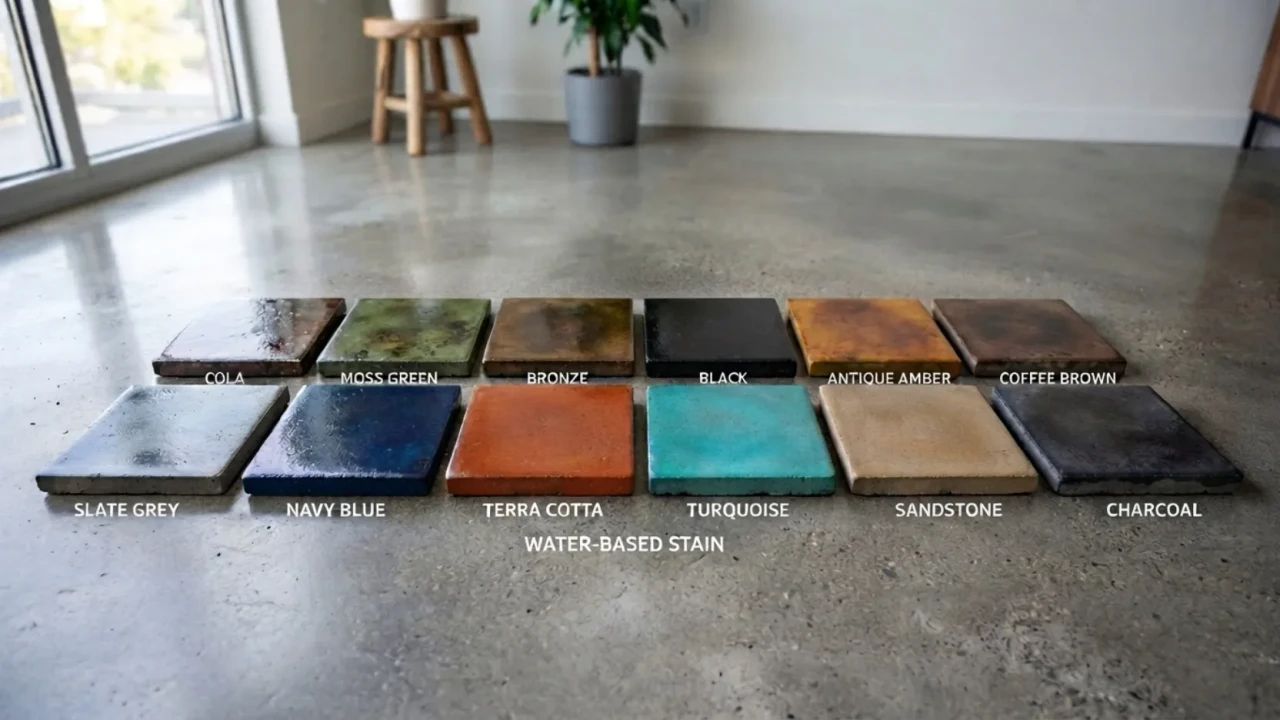
Any reputable San Antonio contractor will apply a test patch in an inconspicuous area before proceeding with full application. The test patch should be at minimum 2 square feet and should be viewed under both natural daylight and the room’s artificial lighting. If you are layering colors or using a decorative scoring pattern, the test patch should include a representative section of the design.
For acid stain, the test patch result is also affected by the neutralization and sealer applied after. Always review the test patch after the sealer coat is applied, not before. Sealer significantly shifts how stain color appears most stain colors deepen and enrich under a wet-look gloss sealer, while a matte sealer preserves a more natural, dry concrete appearance.
Decorative scoring is one of the most underused design tools in interior stained concrete. A diamond grid, plank pattern, or custom border cut into the surface with a concrete saw before staining creates a tile or hardwood plank effect with stained concrete. The saw cuts become natural color breaks, giving the floor visual structure and making the stain variation look intentional rather than random. Scoring adds approximately $0.50–$1.50 per square foot to the project cost and dramatically elevates the finished look.
- Test patch applied and approved on your actual slab before full application authorization
- Test patch reviewed after sealer application, not before sealer shifts the final color appearance
- Room lighting evaluated: view test patch under both natural light and artificial lighting conditions
- Decorative scoring pattern reviewed if applicable: cuts are permanent and cannot be undone
- Color layering discussed with contractor if depth or variation is desired: multiple coats build richer tones
- Written description of stain brand, product name, and color code included in the project contract
Performance
Stained concrete is not the same floor in every room. The sealer system, finish sheen, and maintenance requirements change based on the specific demands of each space. Understanding where stained concrete performs best helps homeowners make confident room-by-room decisions rather than treating it as a single uniform product.

| Room type | Recommended sealer system | Durability rating | Reseal interval |
|---|---|---|---|
| Living room / bedroom | Acrylic or polyurethane topcoat, matte or satin finish | Excellent 25+ years with maintenance | Every 3–5 years |
| Kitchen | Penetrating sealer base + polyurethane topcoat | Very good protects against grease and spills | Every 2–3 years |
| Bathroom | High-build epoxy or urethane topcoat non-negotiable | Good requires correct sealer; fails without it | Every 2 years |
| Garage | 100% solids epoxy topcoat over stained concrete | Excellent chemical and abrasion resistant | Every 5–7 years |
| Entryway / mudroom | Polyurethane topcoat, semi-gloss or matte | Very good handles grit and impact well | Every 2–3 years |
| Basement | Vapor barrier treatment + epoxy system | Conditional on moisture testing results | Every 3–5 years if vapor managed |
Texas summers are harder on interior sealers than most homeowners expect. San Antonio’s heat causes the concrete slab to expand slightly during summer months. This micro-movement is normal but accelerates sealer wear near control joints and perimeter edges. In air-conditioned spaces, this is largely a non-issue. In garages or spaces that get hot in summer, an epoxy topcoat significantly outperforms standard acrylic sealer for long-term durability. Budget for resealing on the lower end of the stated intervals in any space without consistent climate control.
- Moisture vapor transmission test completed on any slab below grade or in areas with known moisture issues
- Sealer system specified correctly for the room type: epoxy for wet areas and garages, polyurethane for living areas
- Sheen level selected: gloss for visual depth and easy cleaning, matte for warmth and less glare in living spaces
- High-traffic entry points identified: diamond-hard topcoats applied at entryways and kitchen work zones
- Reseal schedule set on the calendar before the project closes
Cost Guide
Interior stained concrete is priced primarily by three variables: surface area and access complexity, the condition of the existing slab (which determines prep labor intensity), and the sealer system selected. The stain material itself is a small fraction of the total cost. Labor and prep are where the real money goes and where quotes between contractors diverge most significantly.
- Surface prep method specified in the quote: mechanical grinding or shot blasting, not chemical-only
- Stain type and brand listed: acid or water-based, product name, and color code
- Sealer system itemized: number of coats, product type (acrylic, polyurethane, or epoxy), and sheen level
- Crack repair scope included: what size cracks are covered and what filler product is used
- Furniture moving and masking included or explicitly excluded from the quote
- Post-project cure time noted: when the floor is safe for foot traffic and when furniture can return
Maintenance
Interior stained concrete is one of the lowest-maintenance floor options available but it is not zero-maintenance. The sealer is what protects the stain from daily wear, moisture, and cleaning chemicals. When the sealer wears down, the stain becomes vulnerable. A consistent maintenance routine extends the resealing interval and keeps the floor looking as good in year fifteen as it did in year one.
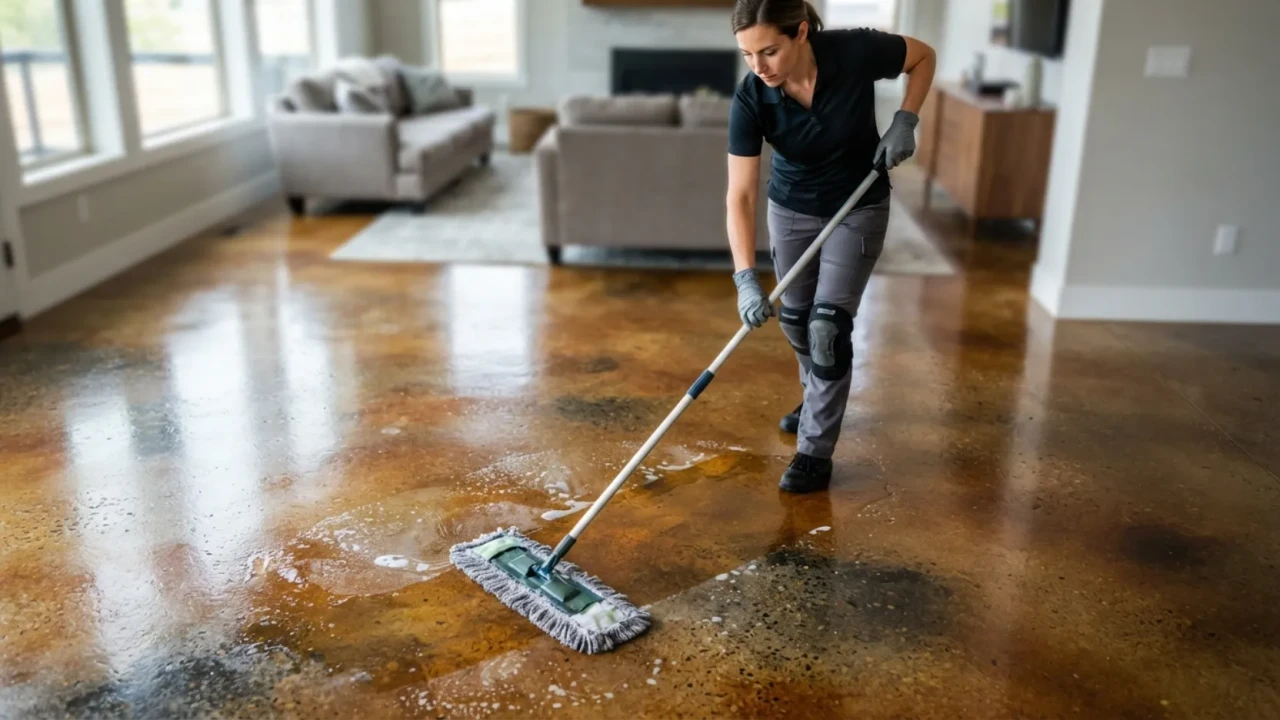
The most important daily maintenance rule: use only pH-neutral cleaners on stained concrete. Acidic cleaners (vinegar-based products, many bathroom tile cleaners) and alkaline cleaners (ammonia-based products, bleach solutions) both degrade the sealer over time. A pH-neutral floor cleaner diluted in warm water and a microfiber mop is the correct daily cleaning method for every room type.
The clearest sign that a reseal is needed: water no longer beads on the surface in high-traffic areas. When water absorbs rather than beads, the sealer layer has been abraded through and the concrete is exposed. Resealing at this point is straightforward clean the floor, allow it to dry fully, and apply a fresh sealer coat. Waiting longer risks stain damage that requires spot-restaining, not just resealing.
Felt furniture pads are the single most effective maintenance tool for interior stained concrete. Chair legs, table feet, and sofa bases dragged across the floor cause more sealer abrasion than years of normal foot traffic. Apply self-adhesive felt pads to every piece of furniture that contacts the floor. Replace them when they compress and lose their padding. This simple step can extend a reseal interval from two years to four years in a living room or dining area.
- pH-neutral floor cleaner purchased before the floor is moved back into do not use household all-purpose cleaners
- Felt furniture pads applied to all furniture legs before moving back into the space
- Entry mats placed at all exterior doors: trap grit before it reaches the stained floor
- Reseal date added to calendar based on room type and sealer system selected
- Sealer product name and brand noted: use the same product family for reseal coats for the best adhesion
- Water bead test spot checked quarterly in high-traffic areas to monitor sealer condition
- Slab condition assessed: cracks mapped, contamination identified, prior sealer confirmed absent or scheduled for removal
- Stain type selected based on desired color palette and slab condition: acid stain or water-based confirmed in writing
- Water bead test scheduled as a pre-application go or no-go checkpoint
- Moisture vapor transmission test completed for below-grade or suspect slabs
- Room usage and traffic discussed: sealer system selected to match the specific room demands
- Prep method specified: mechanical grinding or shot blasting confirmed not chemical-only
- Stain product name, brand, and color code listed in the contract
- Sealer product, number of coats, and finish sheen specified in writing
- Crack repair scope confirmed: product type and coverage area included
- Test patch procedure included: slab test patch before full application authorization
- Timeline confirmed: days to complete, cure time before furniture return
- Test patch applied and reviewed in both natural and artificial lighting before full-floor application
- Test patch reviewed after sealer application not just after stain application
- Scoring pattern approved in chalk or tape layout before any cuts are made
- Ventilation confirmed: acid staining requires open windows and fans during application
- Neutralization step confirmed for acid staining: residue cleaned before sealer goes down
- Walk-through completed and floor inspected before final payment is released
- Sealer product name and batch number obtained for future reseal match
- pH-neutral cleaner in hand before furniture moves back in
- Felt furniture pads installed on all furniture legs
- Reseal calendar date set based on room type and sealer manufacturer recommendations
Can I stain my existing concrete floor, or does it need to be a new pour?
Is stained concrete cold and hard underfoot compared to tile or hardwood?
How long does interior concrete staining take from start to finish?
Will the color look the same throughout the entire floor?
How does stained concrete compare to polished concrete for interior floors?
Get a free interior staining quote in San Antonio
Tell us about your space, your existing slab condition, and the look you are going for. We will visit your property, assess the floor in person, and give you a detailed written quote at no cost.