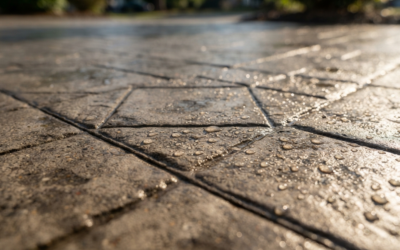
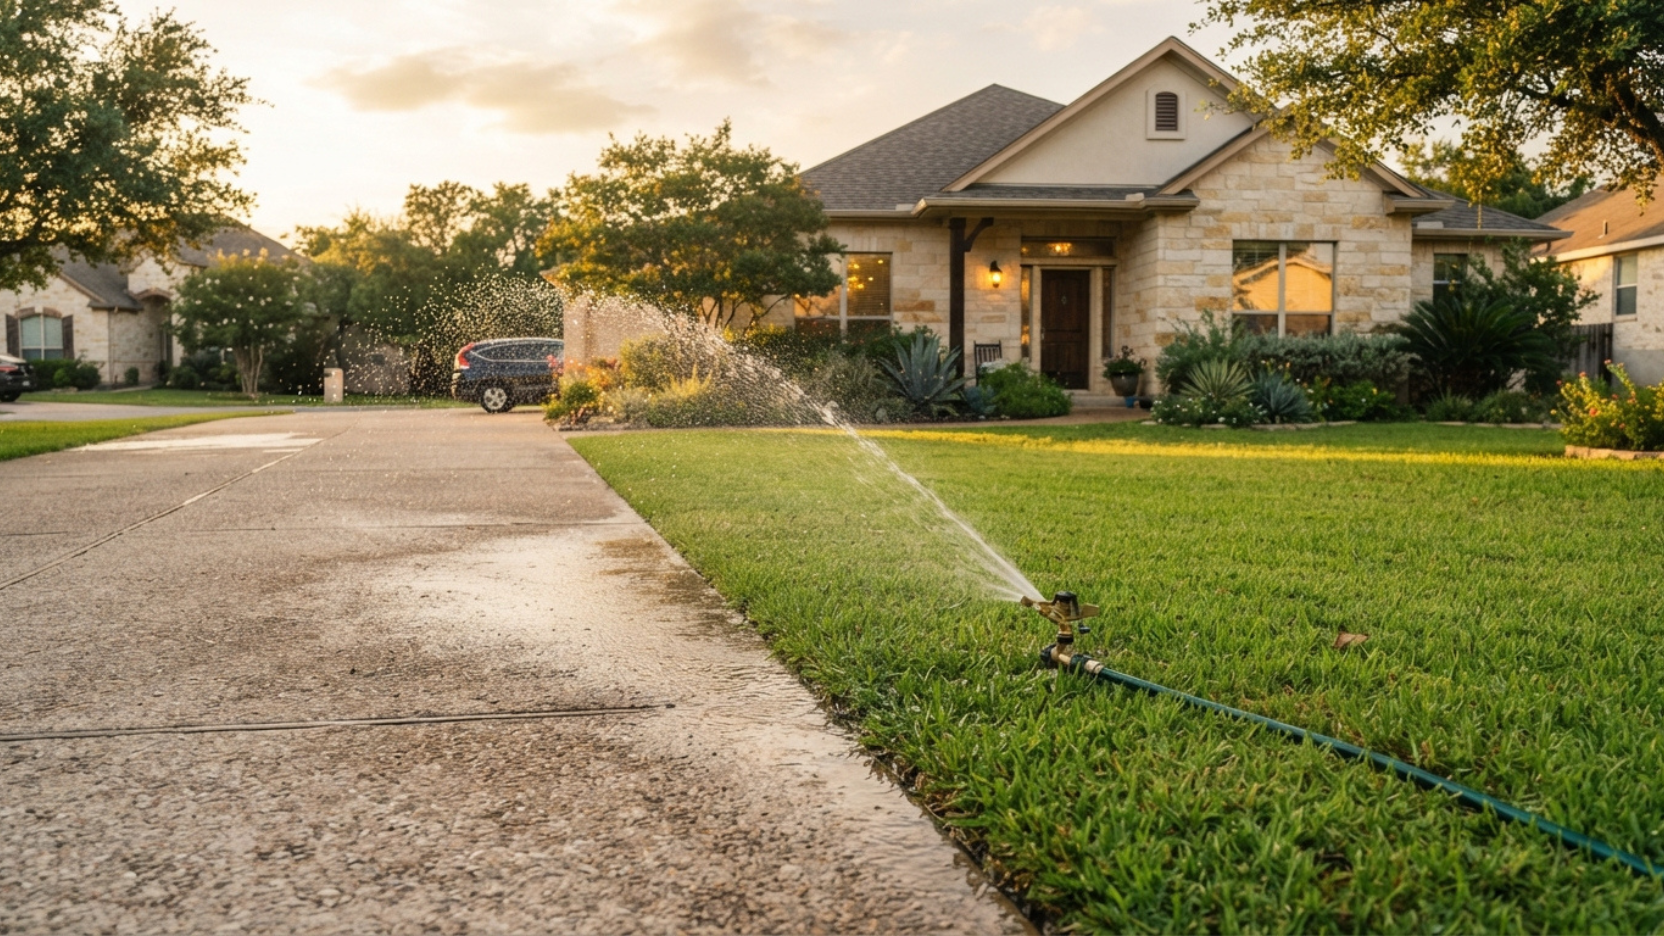
A properly maintained concrete driveway in San Antonio can last 30 years or more. The homeowners who reach that milestone are not lucky they follow a consistent maintenance routine built around sealing, drainage management, crack response, and a few habits that cost almost nothing. This guide covers every one of them.
Concrete is one of the most durable building materials available to a homeowner but durability is not the same as invincibility. In San Antonio, a concrete driveway faces a specific combination of stresses that no other U.S. region quite replicates: Blackland Prairie Vertisol clay soils that swell and shrink with moisture cycles, Edwards Aquifer hard water that deposits minerals on unprotected surfaces, Texas UV intensity that degrades unsealed concrete faster than in northern climates, and summer heat that can push surface temperatures well above 140 degrees Fahrenheit on a dark afternoon.
A driveway that ignores these conditions may last 8 to 12 years before requiring costly repairs or full replacement. A driveway managed with a consistent maintenance routine can reach 30 years or beyond with nothing more than periodic sealing, timely crack repair, and a few protective habits. The cost difference between those two outcomes is thousands of dollars. This guide covers every maintenance step in sequence, with San Antonio-specific guidance throughout.
Every maintenance action in this guide is dramatically cheaper when performed at the right time. A $12 tube of crack filler applied to a hairline crack today prevents a $300 professional repair in two years and a $5,000 base-failure replacement in five years. The concrete surface you have right now is in its best restorable condition and that window closes faster in San Antonio's climate than almost anywhere in the country. The steps below are ordered by impact, starting with the highest-return action you can take.
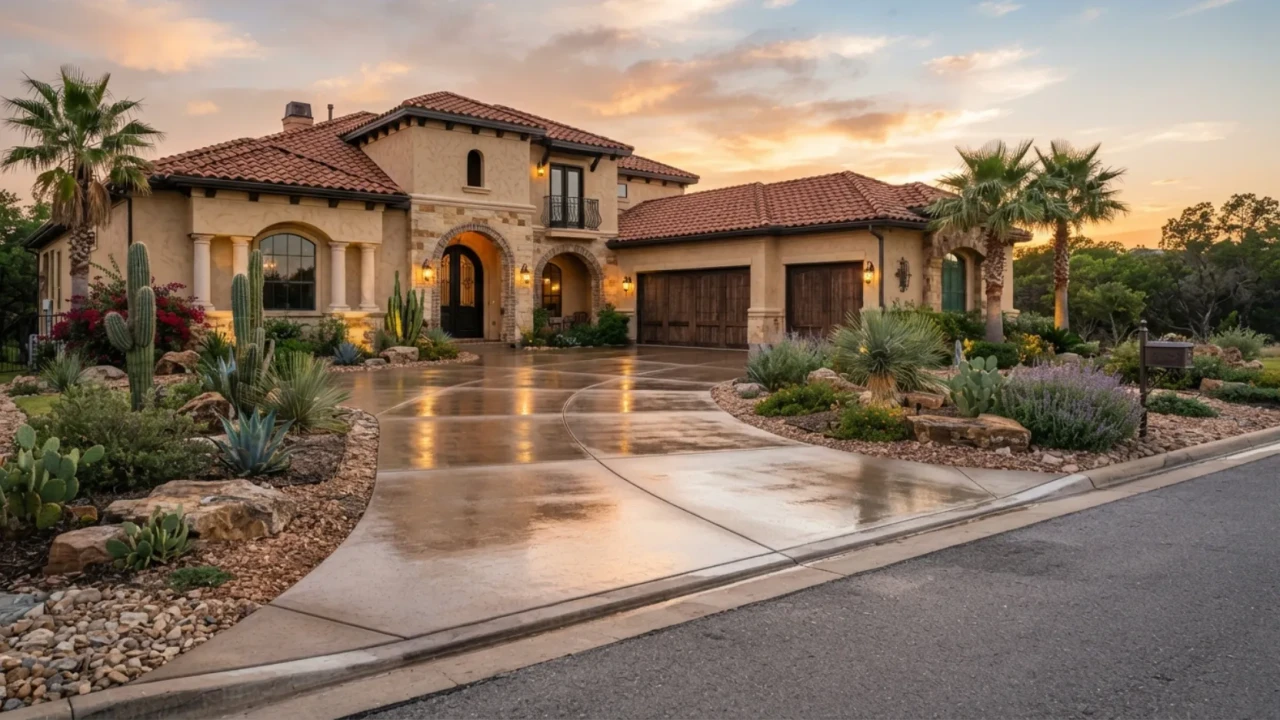
Concrete is a porous material. Without a sealer, every rain event pulls dissolved minerals into the surface matrix, vehicle oil and fuel drips absorb into the slab within hours, and UV radiation steadily degrades the cement paste that binds the aggregate together. In San Antonio's climate, an unsealed driveway experiences all three of these stressors at above-average intensity hard water mineral deposits from the Edwards Aquifer, heavy vehicle traffic, and UV exposure that exceeds most northern cities by 30 to 40 percent.
Sealing addresses all of these simultaneously. A properly applied sealer repels water and moisture, blocks UV penetration that breaks down surface chemistry, and creates a barrier against oil and stain absorption. The first sealing should occur at 28 to 30 days after the original pour, once the concrete has completed its initial cure cycle. From that point forward, a standard broom-finish driveway in San Antonio should be resealed every 3 to 5 years.
Penetrating silane/siloxane sealers outperform film-forming sealers for San Antonio driveways: Film-forming sealers (acrylic, epoxy, polyurethane) create a visible surface coating that can yellow or peel under intense UV exposure and high slab temperatures. Penetrating sealers absorb into the concrete matrix and chemically bond with it they do not change the surface appearance, they cannot peel, and they are specifically formulated to repel the type of mineral-laden hard water common in the Edwards Aquifer service area. For a driveway that will be exposed to direct Texas sun year-round, a penetrating sealer is almost always the better long-term choice.
- First sealing scheduled at 28 to 30 days after any new pour or resurfacing
- Resealing interval set on a calendar reminder: every 3 to 5 years for standard finish
- Surface pressure-washed and completely dry before any sealer application (48 hours after washing)
- Any cracks filled and cured before sealing sealer applied over open cracks will not bridge them
- Sealer type confirmed as appropriate for San Antonio hard water and UV conditions
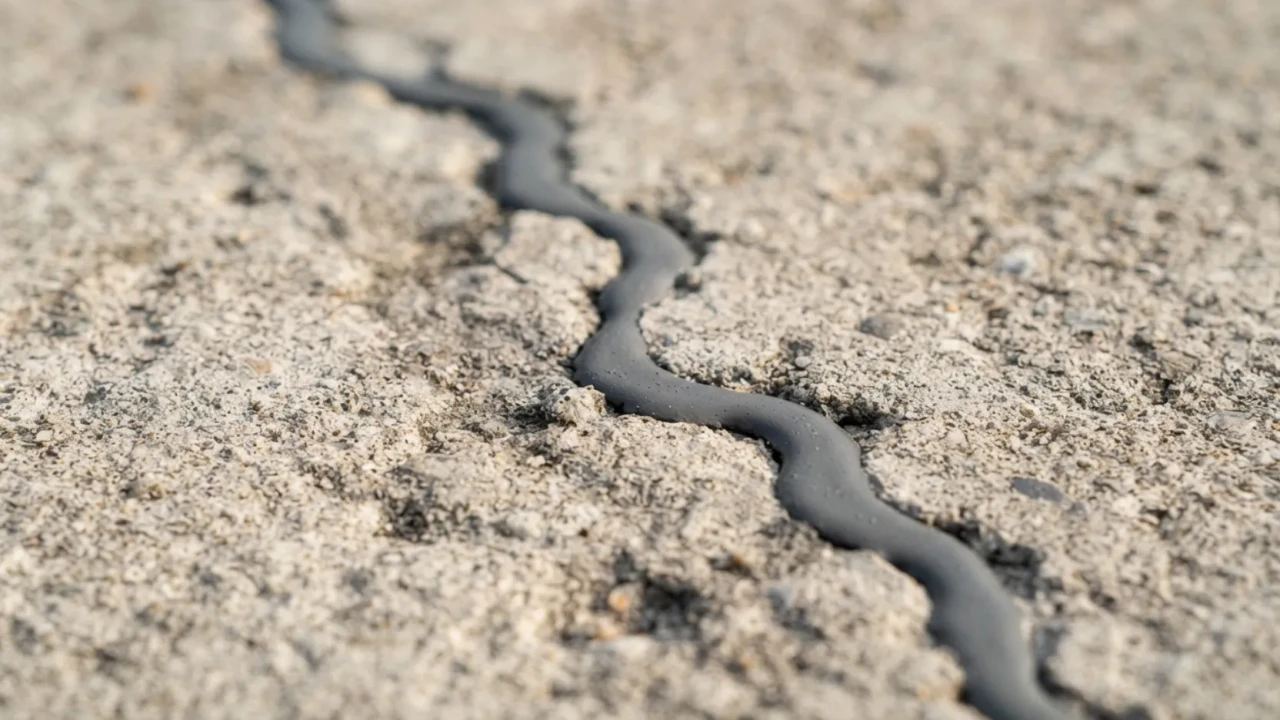
All concrete cracks eventually the question is whether those cracks are managed or ignored. In San Antonio, an open crack in a driveway surface is an entry point for rainwater that softens the base, for weed and grass roots that mechanically widen the gap, and for the mineral-laden hard water that deposits calcium and magnesium salts inside the crack wall, expanding it from the inside with each wet-dry cycle.
Hairline cracks (under 1/4 inch wide) without vertical displacement are shrinkage cracks primarily cosmetic, and easily managed with a polyurethane or epoxy crack filler. Wider cracks, or any crack where one side sits higher than the other, indicate base movement or structural settlement and should be assessed by a professional before filling, because filling without addressing the underlying cause will simply result in the crack reopening.
How to fill a driveway crack correctly: First, clean the crack with a wire brush and blow out any debris with compressed air or a leaf blower. For cracks wider than 1/4 inch, use a cold chisel to slightly undercut the edges this creates a mechanical lock for the filler. Apply a backer rod (foam cord) for any crack deeper than 1/2 inch before filling. Then apply a self-leveling polyurethane sealant for horizontal surfaces, overfilling slightly. Allow to cure per manufacturer instructions before sealing over. Never apply sealer over an unfilled crack the sealer will bridge the gap superficially and crack again within the first season.
- Inspect the full driveway surface twice yearly spring and fall for any new cracking
- Fill all hairline and medium cracks within the same season they are discovered
- Check for vertical displacement on any crack one side higher than the other signals base movement, not just shrinkage
- Complete crack filling before any sealer application the correct order is always fill, cure, then seal
- Call a professional for any crack wider than 3/4 inch or showing active displacement
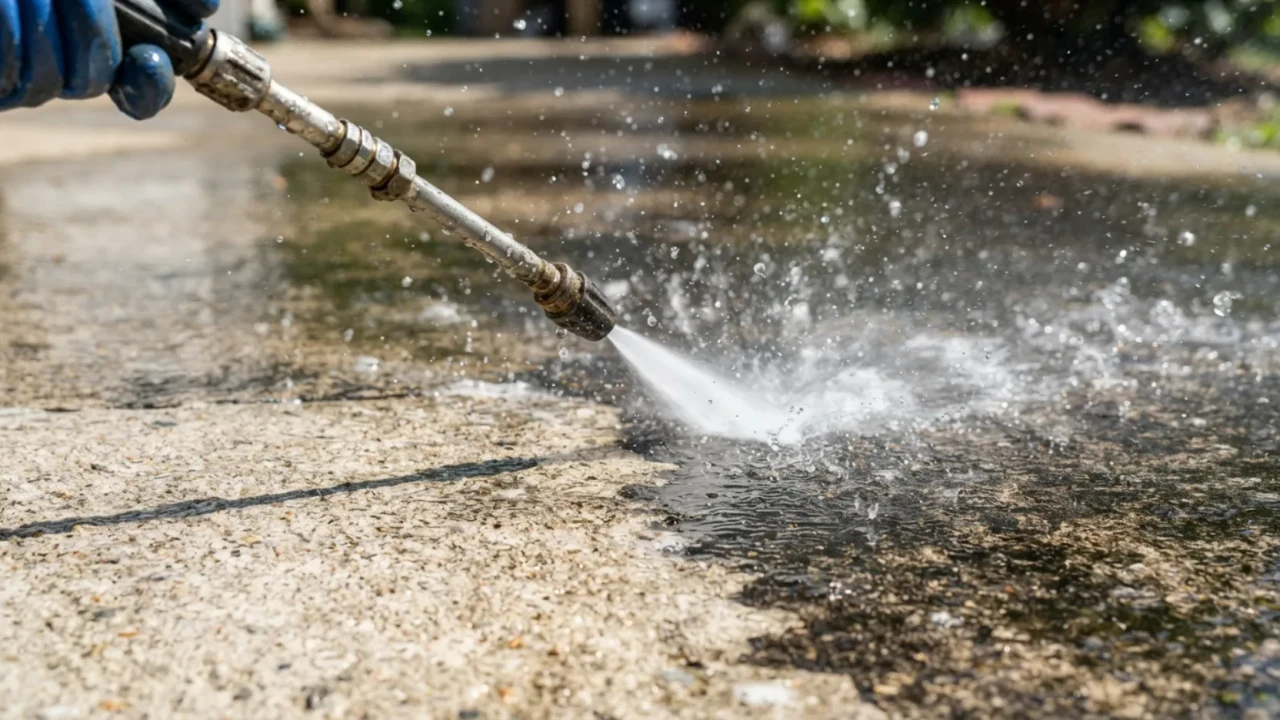
Regular cleaning is not just about appearance it is about chemistry. Motor oil, transmission fluid, and fuel that penetrate an unsealed concrete surface begin breaking down the cement paste that holds aggregate together. Organic matter (leaf stains, algae, mildew) retains moisture against the surface, accelerating both staining and surface degradation. San Antonio's combination of heat, occasional humidity, and hard water mineral deposits from irrigation and rain creates a surface that benefits significantly from annual pressure washing.
The target cleaning schedule for a San Antonio driveway is annual pressure washing (2,500 to 3,000 PSI with a surface cleaner attachment for even pressure), plus immediate treatment of any oil or chemical spill within 24 hours. After 24 hours on an unsealed surface, motor oil begins penetrating beyond the zone where a degreaser can fully lift it.
- Annual pressure wash scheduled: spring (before summer UV season) is the ideal timing in San Antonio
- Surface cleaner attachment used not a direct wand stream, which can etch and score the surface
- Oil spills treated immediately with a concrete degreaser do not let them sit overnight on an unsealed surface
- Algae and mildew treated before annual washing, not after it needs dwell time to break down organic matter
- Surface allowed to dry completely (at least 48 hours) before any sealer application following cleaning
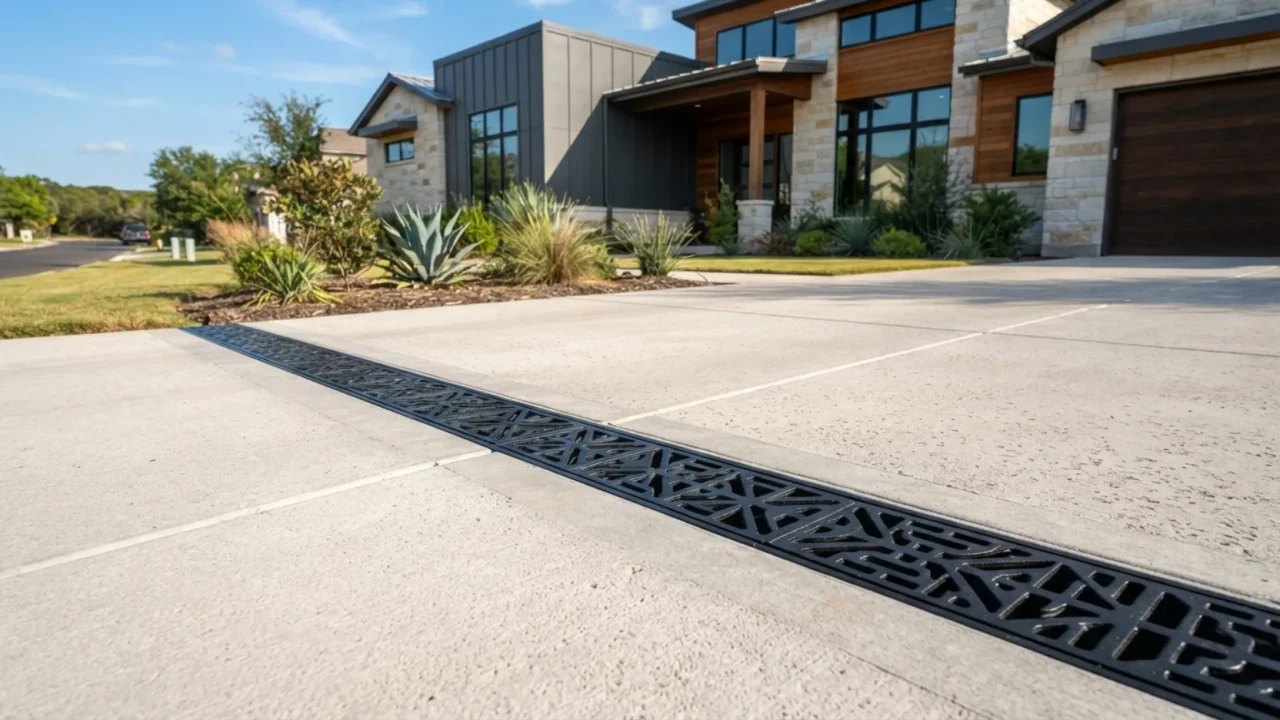
San Antonio receives an average of 32 inches of rainfall per year, often in intense, concentrated thunderstorm events. A driveway that does not drain properly either because the surface slope is inadequate, because downspouts direct water onto the slab, or because surrounding landscaping creates a dam effect along the edges will experience accelerated base softening and settlement in the expansive Vertisol clay soils that underlie most of Bexar County.
The most important drainage habit for an existing driveway is ensuring that water exits the slab quickly after every rain event. If you notice pooling that remains for more than 30 minutes after rain stops, the drainage gradient needs attention. Similarly, any roof downspout that empties onto or near the driveway should be extended with a splash block or a flexible extension that carries water at least 6 feet clear of the slab edge.
Bexar County clay soils amplify every drainage problem: The expansive Vertisol clay that dominates the San Antonio area absorbs water readily and swells significantly then contracts and cracks as it dries. A driveway edge that sits against consistently wet soil experiences far more base movement than one surrounded by well-draining landscaping. Keeping a 6 to 12 inch strip of gravel or permeable ground cover along each driveway edge dramatically reduces the amount of water that reaches the clay base directly beneath the slab perimeter where settlement typically begins.
- Walk the driveway after the next rain and observe where water pools and how long it remains
- Extend any roof downspouts that empty onto or near the driveway with a flexible drainage extension
- Check that irrigation heads near the driveway are aimed away from the slab surface
- Clear any soil or mulch that has built up above the level of the slab edge this creates a dam that traps water against the concrete
- Consider a gravel border strip along driveway edges where landscaping soil meets the slab perimeter
Control joints and expansion joints are the intentional cuts and gaps in a concrete driveway that allow the slab to contract and expand without cracking randomly. They are the most often overlooked maintenance item on any residential driveway and in San Antonio's climate, where temperature swings between winter nights and summer afternoons can exceed 80 degrees Fahrenheit in a single day, the joint sealant that fills these gaps takes significant punishment.
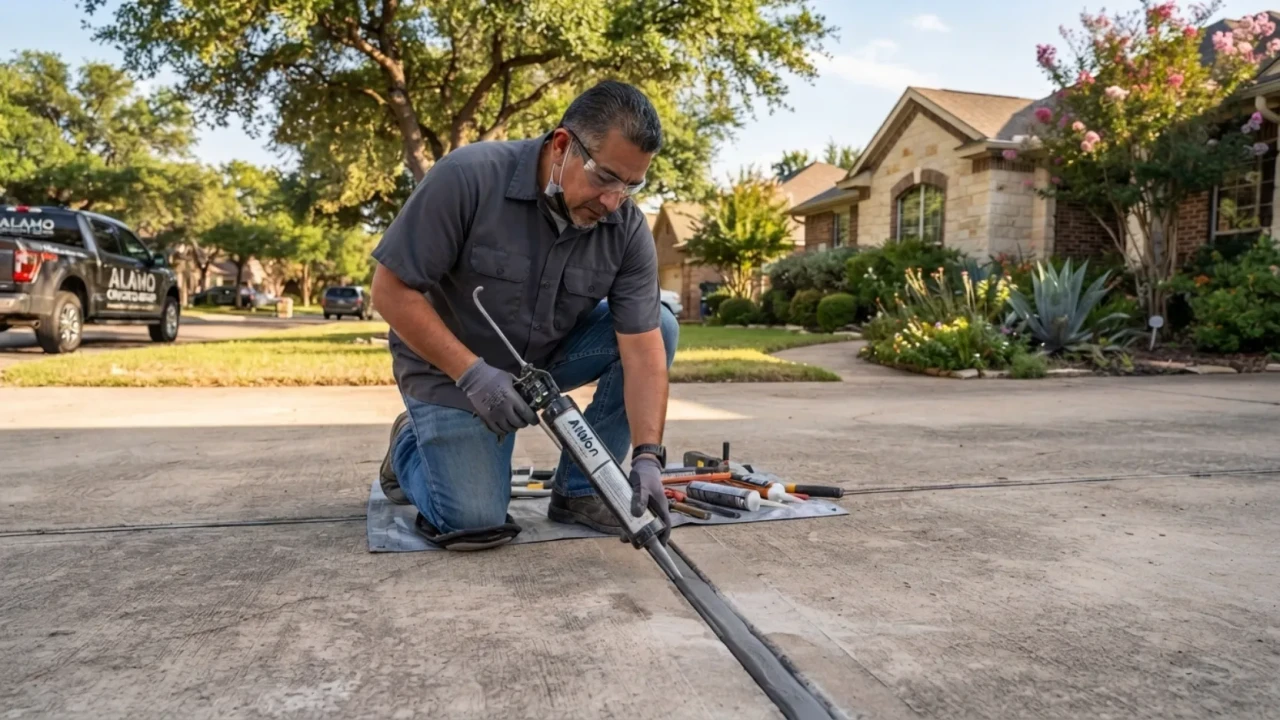
When joint sealant cracks, hardens, or pulls away from the joint walls, water enters freely. In San Antonio's clay soils, that water softens the base material directly beneath the joint exactly the location where load transfer between adjacent slab panels occurs. Base softening at a control joint produces differential settlement: one side of the joint gradually sits higher than the other, creating a trip hazard, a crack initiation point, and an accelerating drainage problem that worsens with each wet season.
The fix is simple and inexpensive when done on schedule. Remove the old sealant with a utility knife and joint cleaning tool, clean the joint walls thoroughly, install a backer rod (foam cord) to the correct depth, and apply a fresh self-leveling polyurethane or silicone joint sealant. The entire process on a standard residential driveway takes two to three hours and costs $30 to $80 in materials.
- Locate all control and expansion joints and add them to your annual inspection walk
- Check for cracked, hardened, or missing sealant any gap in the sealant is a water entry point
- Reseal joints showing deterioration before the next rain season fall is the ideal timing in San Antonio
- Use self-leveling polyurethane sealant, not grout or rigid filler, for any horizontal joint on a driveway surface
- Include joint inspection in the same biannual walk as your crack inspection they are part of the same system
Most residential concrete driveways in San Antonio are poured at 4 to 5 inches thick with rebar reinforcement a specification designed to carry passenger vehicles and light trucks comfortably for 30 or more years. What this specification is not designed for is concentrated point loads from heavy equipment: RV jacks and stabilizers, dumpster placement for renovation projects, delivery trucks, concrete mixer trucks parked on the slab, or heavy equipment rentals for landscaping or construction work.
If you regularly park an RV or large trailer on your driveway: RV stabilizer jacks create concentrated point loads that can far exceed what a residential driveway slab is designed to carry, especially on warm days when the underlying clay base is soft and the concrete is more vulnerable to flexure. Place 2-inch thick timber pads or commercial jack pads (available at RV supply stores) under each jack foot to distribute the load over a larger area. Additionally, avoid lowering stabilizer jacks to the point of lifting the vehicle off the tires the full vehicle weight transferred through four small jack feet is very different from a vehicle sitting on four tires.
- Avoid parking vehicles over 10,000 lbs GVW on a standard residential driveway without a professional assessment of slab capacity
- Place timber pads or commercial jack pads under any RV stabilizer jacks or equipment outriggers
- Request street-side delivery for dumpsters and concrete trucks when planning renovation work
- Avoid driving off the edge of the driveway slab the unsupported edge is the weakest point on any concrete driveway
- If heavy equipment must access the slab, place plywood sheeting (3/4 inch minimum) to distribute wheel loads
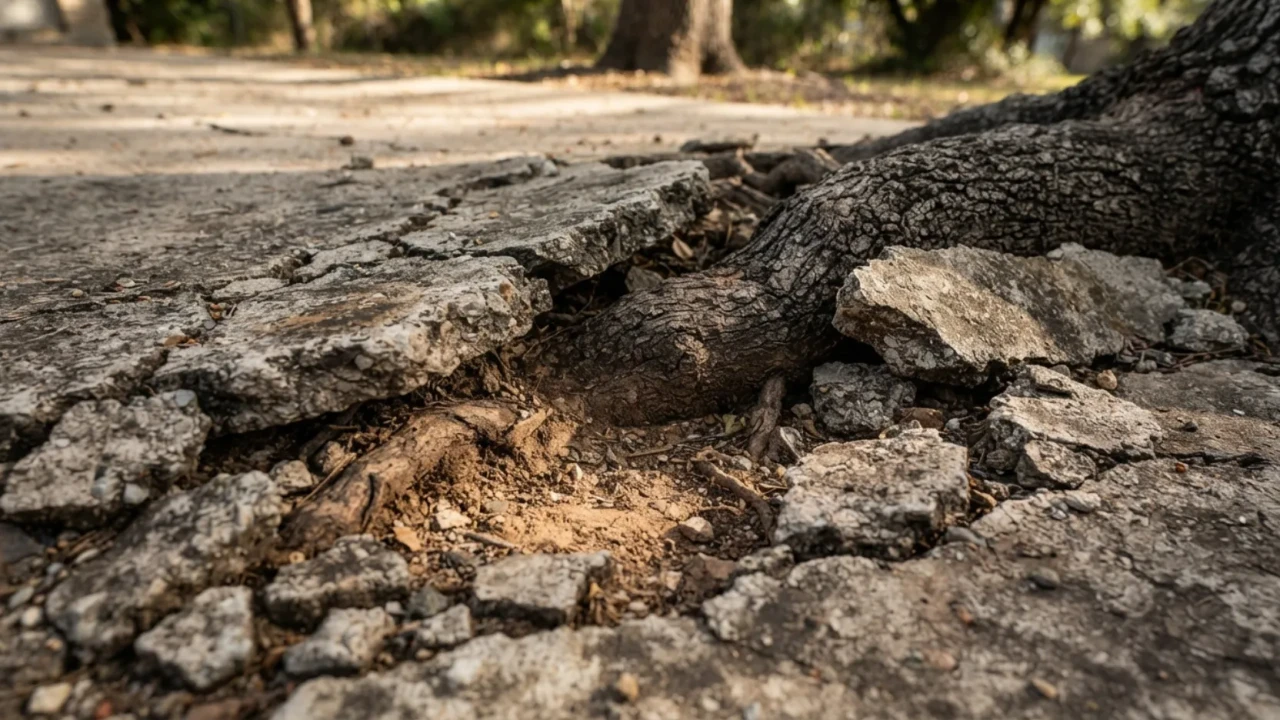
San Antonio's urban tree canopy dominated by live oak, Texas live oak, cedar elm, and pecan is one of the city's most valued assets. It is also one of the primary causes of residential driveway failure in Bexar County. These species develop extensive lateral root systems that grow horizontally at depths of 12 to 24 inches exactly the zone occupied by a residential driveway slab and its base.
Root intrusion under a driveway produces two failure modes. Direct lifting occurs when a root grows thick enough to exert upward pressure on the slab from below, creating a visible ridge or displacement. Indirect failure occurs when roots draw moisture unevenly from the clay base, creating differential shrinkage that causes one section of the slab to settle differently from an adjacent section.
- Do not plant new trees within 10 feet of any driveway edge 15 feet is safer for species with aggressive root systems
- Include slab edge inspection in biannual walks look for any ridges, lifting, or displacement that follows a root line pattern
- If a mature tree is within 10 feet of the driveway, consult an arborist about root barriers before problems appear
- Address any early root-related lifting immediately once significant heaving occurs, the affected slab section typically requires removal and repour
San Antonio's climate does not follow the freeze-thaw patterns of northern cities but it has its own seasonal stressors that a maintenance routine needs to address. Summer brings extreme UV exposure, surface temperatures that can degrade unprotected concrete, and sporadic but intense rain events. Fall and winter bring the freeze risk that requires open cracks and joint gaps to be addressed before temperatures drop. Spring is the best time to inspect, clean, and prepare the surface for the high-stress summer season.
| Season | Primary risk in San Antonio | Recommended action |
|---|---|---|
| Spring (March to May) | Post-winter crack assessment; pre-summer UV prep | Full inspection walk, crack filling, pressure wash, sealer application if due |
| Summer (June to August) | UV degradation, surface heat stress, intense rain events | Avoid pouring chemicals or solvents on slab; check drainage after heavy storms |
| Fall (September to November) | Pre-freeze preparation; leaf and organic matter accumulation | Clear organic debris, inspect and reseal joints, fill any cracks before freeze season |
| Winter (December to February) | Freeze events (unpredictable in San Antonio); ice treatment risks | Never use rock salt or ammonium-based de-icers on concrete use sand or cat litter for traction instead |
The two-visit annual maintenance routine that costs under $200 per year: Visit one in spring a full inspection walk noting any new cracks or joint deterioration, a pressure wash, and crack filler application where needed. Allow the surface to dry and apply sealer if it has been 3 to 5 years since the last coat. Visit two in fall clear organic debris, inspect and reseal any expansion joints showing deterioration, and confirm no open cracks are present before the first freeze risk of the season. Two hours of attention twice a year is the entire maintenance commitment for a driveway that reaches 30 years in good condition.
- Spring: full crack and joint inspection, pressure wash, sealer application if due on the 3 to 5 year schedule
- Summer: clear debris after major storm events; inspect drainage performance after the first heavy rain
- Fall: organic debris removal, expansion joint sealant check and reapplication where needed, pre-freeze crack filling
- Winter: sand or cat litter only for ice traction never rock salt, ammonium de-icers, or pool chemicals on the driveway
- Year-round: treat oil spills within 24 hours; address any new crack within the same season it appears
Use this table as your annual maintenance reference. Every action listed is proven to add measurable life to a concrete driveway in Bexar County's specific soil and climate conditions.
| Maintenance action | Frequency | DIY cost estimate | Professional cost estimate |
|---|---|---|---|
| Full inspection walk (cracks, joints, drainage) | Twice yearly (spring and fall) | $0 | Included in service visit |
| Pressure washing | Annually (spring recommended) | $0 to $40 (equipment rental) | $80 to $200 |
| Crack filling (hairline to medium) | As needed; respond within same season | $12 to $35 per tube | $150 to $400 depending on extent |
| Expansion joint reseal | Every 5 to 7 years; inspect every 2 to 3 | $30 to $80 materials | $100 to $250 |
| Surface sealing (standard broom finish) | Every 3 to 5 years | $60 to $120 materials | $150 to $400 |
| Surface sealing (stamped or stained) | Every 2 to 3 years | $80 to $150 materials | $200 to $500 |
| Oil stain degreasing | Within 24 hours of any spill | $10 to $25 per treatment | Included in cleaning visit |
| Downspout extension adjustment | As needed after storm observation | $15 to $40 per extension | $50 to $150 |
- Walk the full driveway surface and mark any new cracks with chalk for repair prioritization
- Check all expansion and control joints for cracked, missing, or hardened sealant
- Inspect slab edges for any lifting, displacement, or soil buildup above slab level
- Observe drainage pattern identify any areas where water pools after rain
- Pressure wash the full surface (2,500 to 3,000 PSI) using a surface cleaner attachment
- Apply degreaser to any oil or fluid stain areas; allow dwell time before rinsing
- Fill all hairline and medium cracks after washing; allow full cure before sealing
- Apply surface sealer if it has been 3 to 5 years since the last coat (broom finish) or 2 to 3 years (decorative)
- Clear all organic debris (leaves, seed pods) that are retaining moisture on the surface
- Re-inspect all joints and fill any that have deteriorated since spring
- Fill any new cracks that appeared during the summer season before first freeze risk
- Confirm no open cracks or gaps in joint sealant remain water in these spaces expands during any freeze event
- Redirect or extend any downspouts that drained water toward the driveway during summer storms
- Remove any soil or mulch that has accumulated above the slab edge level during the growing season
- Treat all oil and vehicle fluid spills with degreaser within 24 hours
- Use sand, bird seed, or cat litter for ice traction never rock salt or ammonium de-icers
- Place load-distributing pads under any RV jacks, dumpster feet, or heavy equipment outriggers
- Do not drive off the slab edge the unsupported concrete edge is the weakest structural point
- Keep irrigation heads aimed away from the driveway surface to reduce hard water mineral buildup
- Do not plant new trees within 10 feet of the driveway slab edge
Get a free concrete maintenance assessment in San Antonio
Not sure whether your driveway needs sealing, repair, or a full replacement? We will visit your property, assess the surface condition, and give you an honest recommendation at no cost.