
A concrete driveway in San Antonio is only as good as what happens before the first truck arrives. This guide walks through every phase of the installation process from site prep and utility locates to the pour, finishing, and curing so you know exactly what a professional crew should be doing on your property and why each step matters.
Most homeowners hiring a concrete contractor for the first time have no idea what they should be watching happen on their property. They know they want a driveway and they know they want it to last. But without knowing the correct installation sequence, it is impossible to tell whether a crew is cutting corners or doing the job properly and concrete is one of the few trades where a mistake made on day one cannot be fixed after the pour.
This guide covers every phase of a professional concrete driveway installation in San Antonio, including the decisions specific to Bexar County soil conditions, Texas summer heat curing constraints, and City of San Antonio permitting requirements. Read this before you sign a contract and you will be able to evaluate any quote with confidence.
Homeowners focus on the finished surface color, texture, and pattern. Experienced contractors focus on what is underneath it. In San Antonio, Bexar County sits on Blackland Prairie Vertisol clay: expansive soil that swells when wet and shrinks when dry, creating constant ground movement. A driveway without adequate base preparation, proper reinforcement, and correctly spaced control joints will develop structural cracks from soil movement regardless of how well the pour itself was executed. The slab is only as good as the foundation under it.
A properly installed concrete driveway in San Antonio involves eight distinct phases. Each is described below with what you should expect to see, what questions to ask, and what red flags indicate a problem.
Phase 1
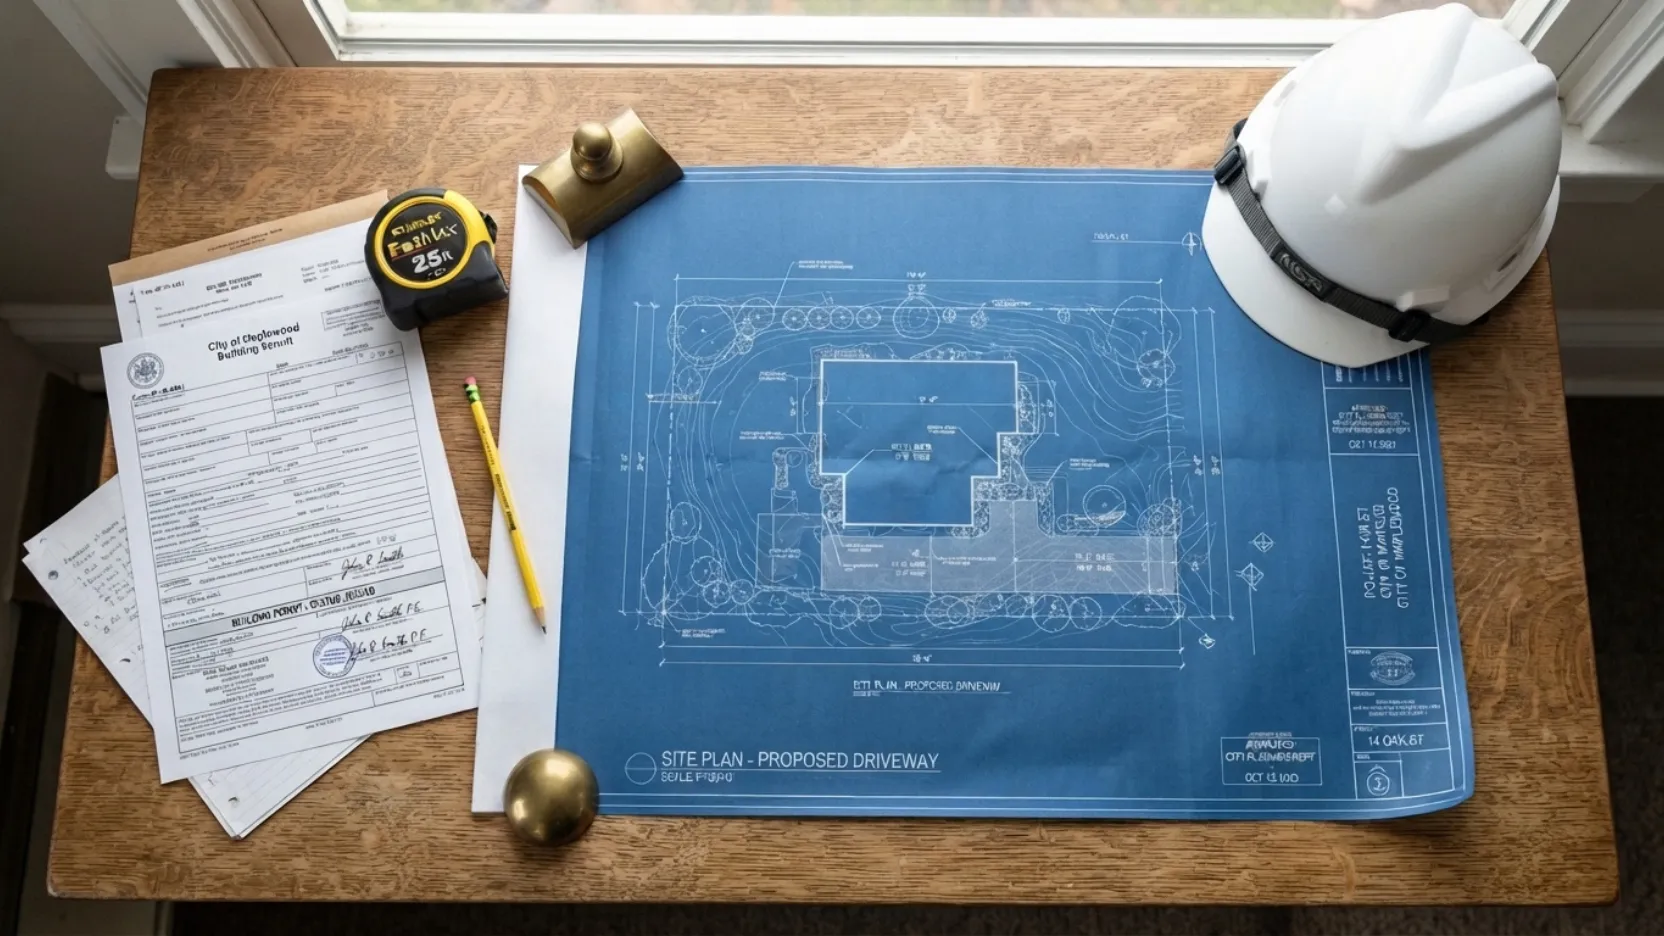
Before any equipment arrives, your contractor should walk the site with you to confirm the driveway dimensions, discuss the desired finish, and identify any site-specific issues utility lines, tree roots, existing drainage patterns, or proximity to the foundation. Get measurements on paper. A quote for a “driveway” without square footage listed is not a real quote.
In San Antonio, driveways that connect to a public street require a Driveway Approach Permit from the City of San Antonio Transportation and Capital Improvements department. If your project involves widening an existing curb cut or creating a new one, a Right-of-Way Construction Permit is also required. Your contractor is responsible for pulling these permits if they suggest skipping them, that is a red flag. Unpermitted work on a public right-of-way can result in fines and mandatory removal.
- Driveway dimensions confirmed in writing square footage, width, and length specified
- City of San Antonio permit requirements checked curb cut or Right-of-Way work requires a permit
- HOA pre-approval obtained if required by subdivision rules
- Existing drainage patterns identified new driveway must not redirect water toward the foundation or neighbor’s property
- Desired finish type confirmed broom, stamped, exposed aggregate, or brushed
Phase 2
In Texas, calling 811 or submitting a locate request online at texas811.org before any excavation is not optional. It is state law. Texas 811 notifies all underground utility operators in the project area, who then send locators to mark the positions of buried gas lines, electric conduits, water mains, sewer laterals, and telecommunications cables with color-coded flags or spray paint.
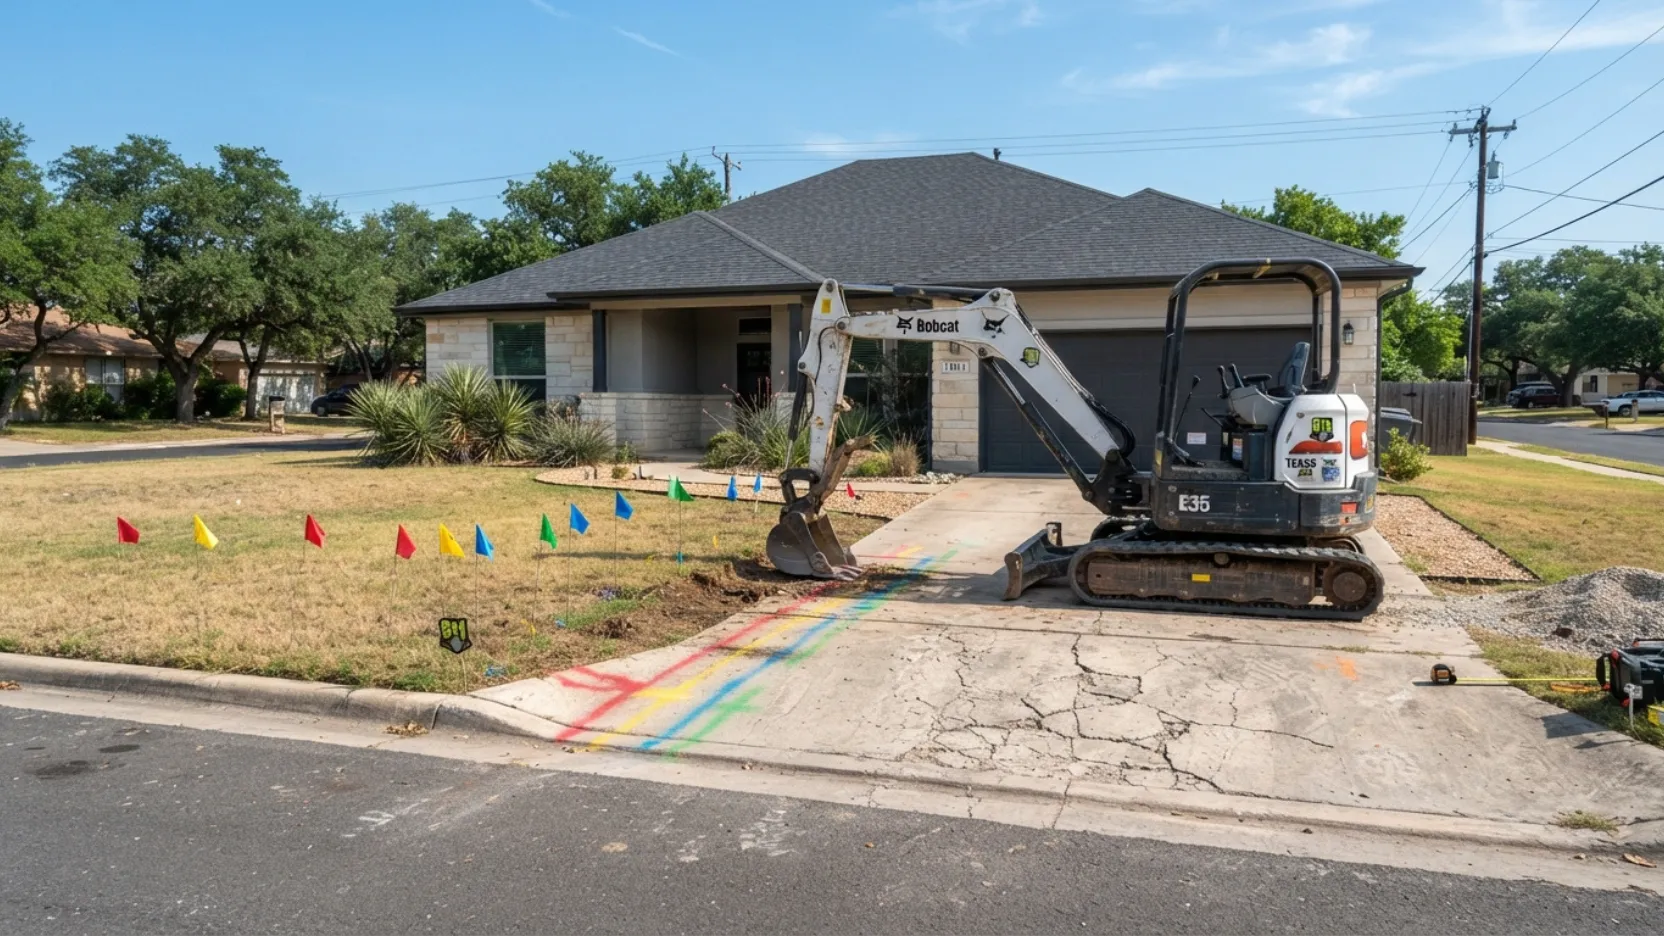
The locate request must be submitted at least 48 hours before excavation begins and no more than 14 days before work starts. All marked utilities must be hand-excavated within 18 inches of the flags mechanical equipment cannot be used within that zone. A responsible contractor will submit the 811 request, provide you with the ticket number, and discuss any locate results that could affect the project layout.
- Texas 811 locate request submitted at least 48 hours before excavation
- 811 ticket number provided to you by the contractor
- All utility flags or paint marks reviewed before equipment moves onto the site
- Hand excavation planned within 18 inches of any marked utility
- Any utilities that cross the driveway footprint identified and documented
Phase 3
If an existing driveway is being replaced, the old concrete must be broken up and removed before excavation begins. Asphalt can sometimes be removed in sections; concrete typically requires a jackhammer and skid steer. All debris must be hauled off the property a responsible contractor includes demolition and haul-away in the project scope. If a quote does not include demo, ask for a separate line item.
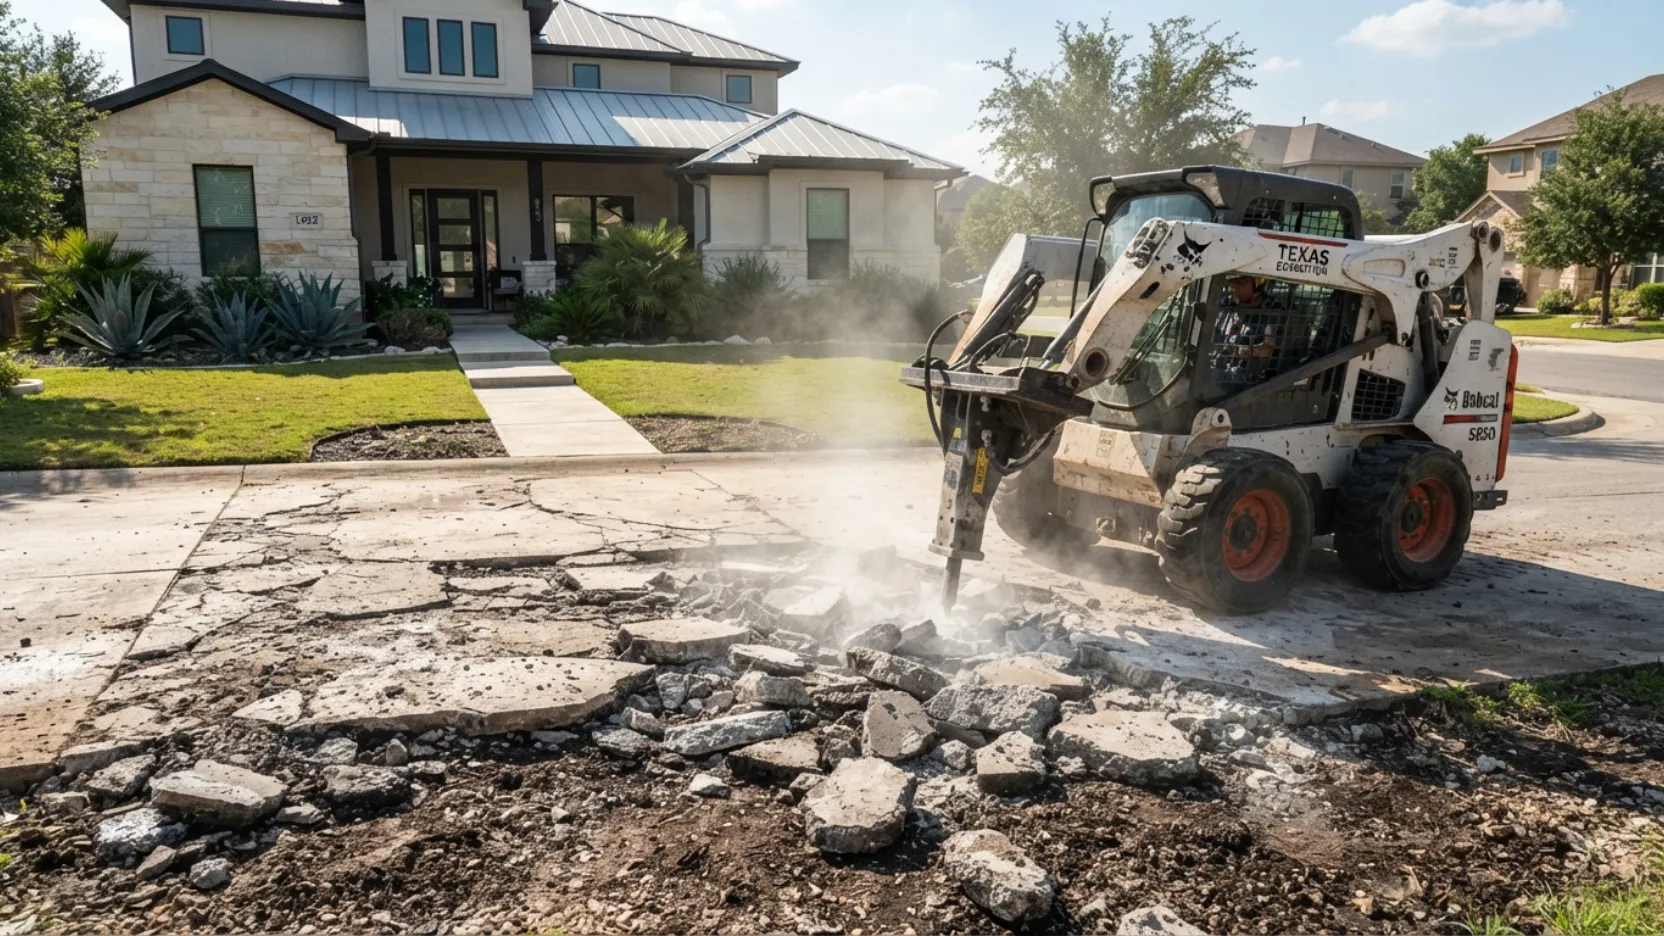
After demo, the subgrade is excavated to achieve the correct total depth. In San Antonio, a standard residential driveway requires a 4-inch slab on a 4-inch compacted crushed limestone base, meaning the excavation depth is typically 8 to 10 inches below finished grade. Areas with particularly poor clay soil may require a deeper base this is evaluated during site inspection.
During excavation, the crew will grade the subgrade to establish the correct drainage slope a minimum of 1/8 inch per foot away from the house or garage. In San Antonio, improper drainage is one of the leading causes of foundation problems, so this slope is a structural detail, not just a convenience. Any soft spots, tree roots, or organic material found during excavation must be removed and backfilled with compactable material before the base goes down.
- Existing driveway demolition included in scope debris hauled off property, not buried on site
- Excavation depth confirmed: 8 to 10 inches below finished grade for standard residential driveway
- Drainage slope established during grading: at least 1/8 inch per foot away from structure
- Soft spots, roots, and organic material removed and replaced with compactable fill
- Subgrade inspected and approved before base material is placed
Phase 4
Once the subgrade is excavated and graded, crushed limestone base material is placed and compacted in lifts. In San Antonio, crushed limestone is the preferred base material because it compacts tightly, does not shift under load, and provides stable support over Bexar County’s expansive clay soils. Do not accept a quote that specifies native soil or decomposed granite as the base for a driveway neither performs adequately under vehicle loads in this soil environment.
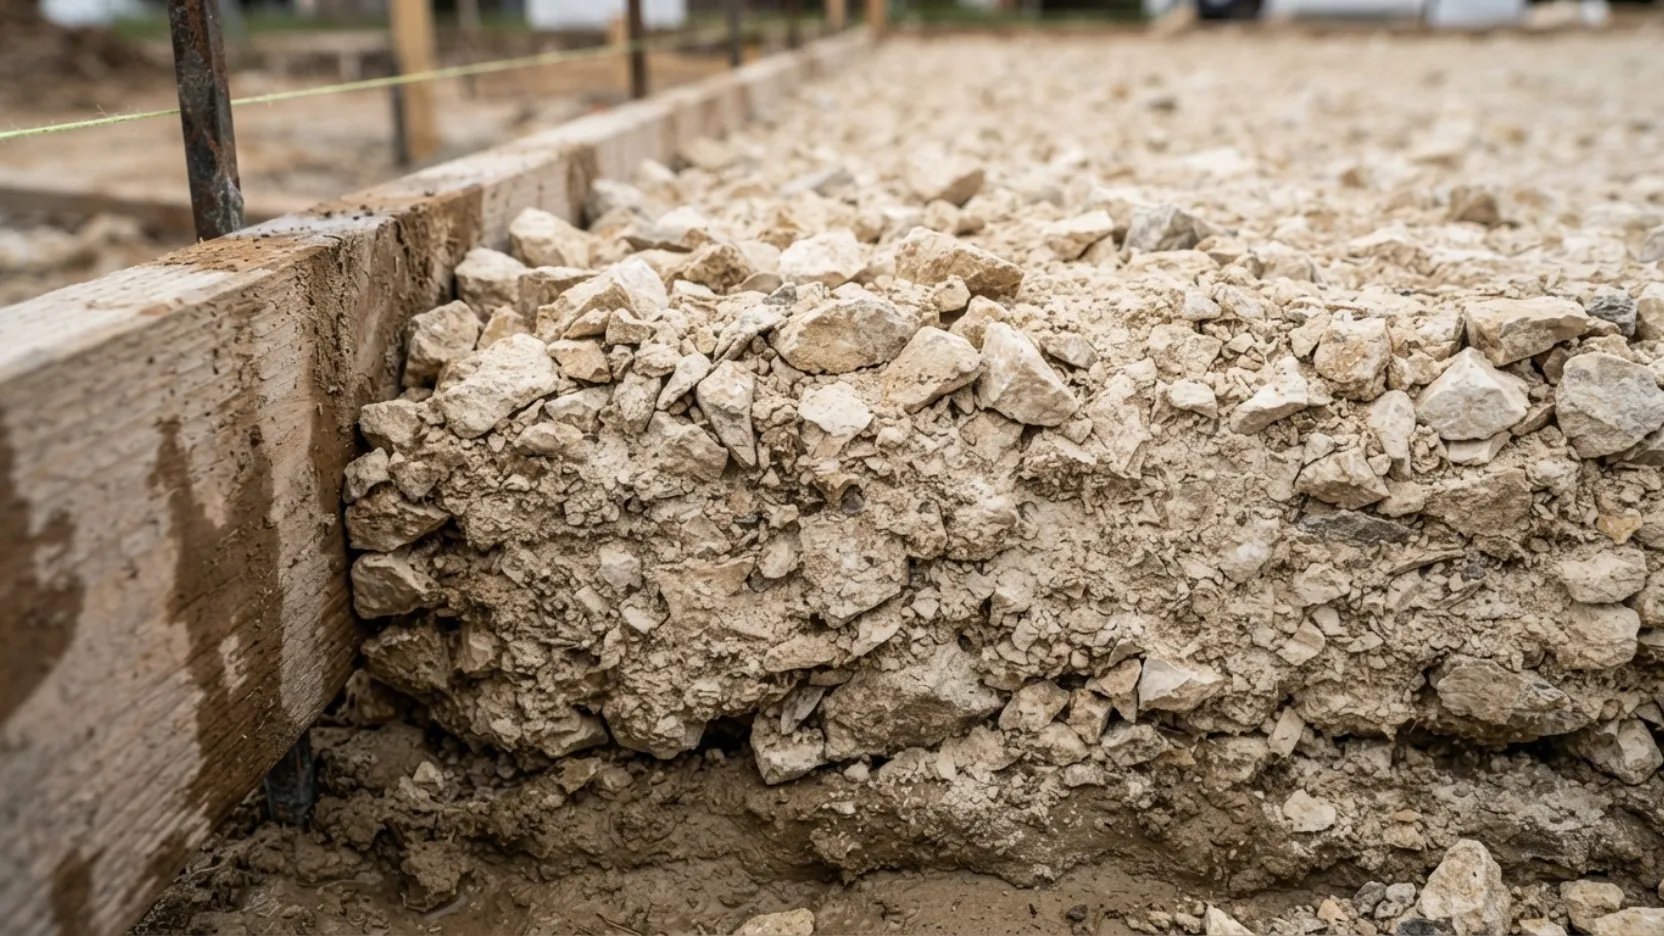
The base is placed in lifts of no more than 4 inches and compacted with a plate compactor or jumping jack before each additional lift is added. Dumping all the material at once and compacting it in a single pass does not achieve adequate density look for the crew making multiple passes with the compactor over each lift. The finished base surface should be firm and unyielding underfoot with no soft spots when you walk it.
How to spot a properly compacted base before the pour: Ask the crew to let you walk the compacted base before they set forms. A well-compacted crushed limestone base should feel as solid as a sidewalk underfoot no give, no soft spots, no areas where your foot leaves an impression. If you can push your foot into the base material, it is not compacted adequately. This is the most important pre-pour inspection you can do as a homeowner.
- Crushed limestone confirmed as base material not native soil, sand, or decomposed granite
- Base depth confirmed: minimum 4 inches compacted; 6 inches for heavy vehicle use
- Base compacted in lifts of 4 inches or less with plate compactor or jumping jack
- Finished base surface tested for firmness before forms are set
- No soft spots or areas with visible settlement any found must be re-compacted or filled
- Base graded to maintain correct drainage slope established during excavation
Phase 5
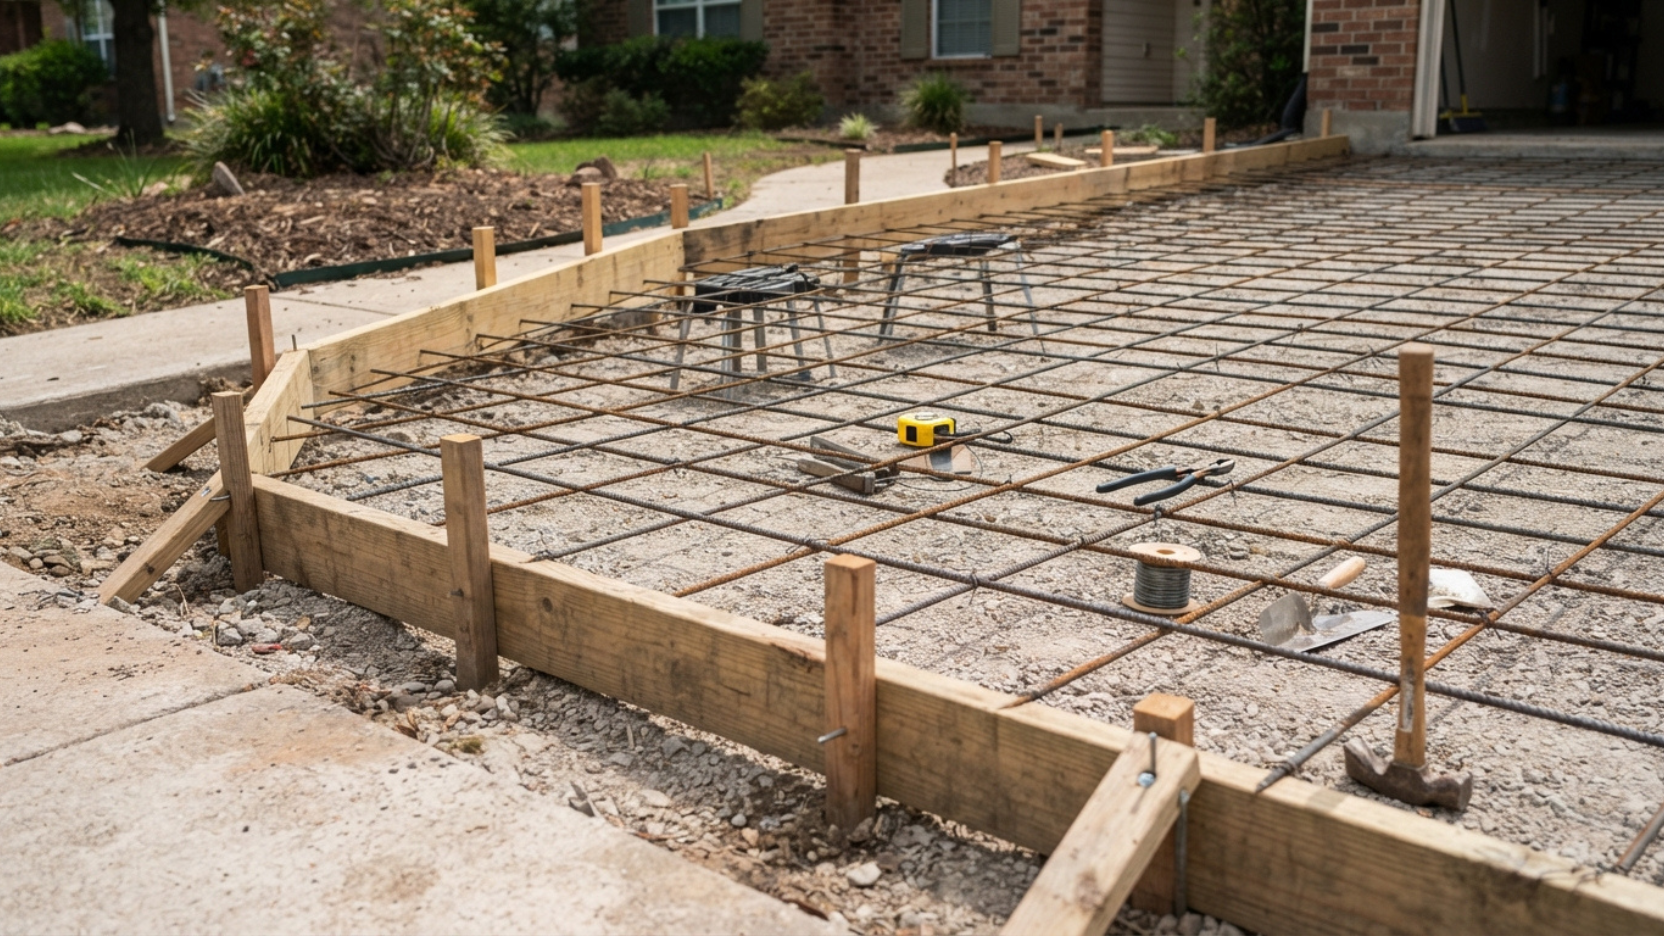
With the base compacted and approved, the crew sets wooden forms along the perimeter of the driveway. Forms are typically 2×4 or 2×6 lumber staked into the ground at the correct elevation and grade. The top of the form is the finished elevation of the concrete, so proper form setting is what produces a flat, correctly sloped surface. Forms must be checked for level and for consistent drainage slope before any concrete is ordered.
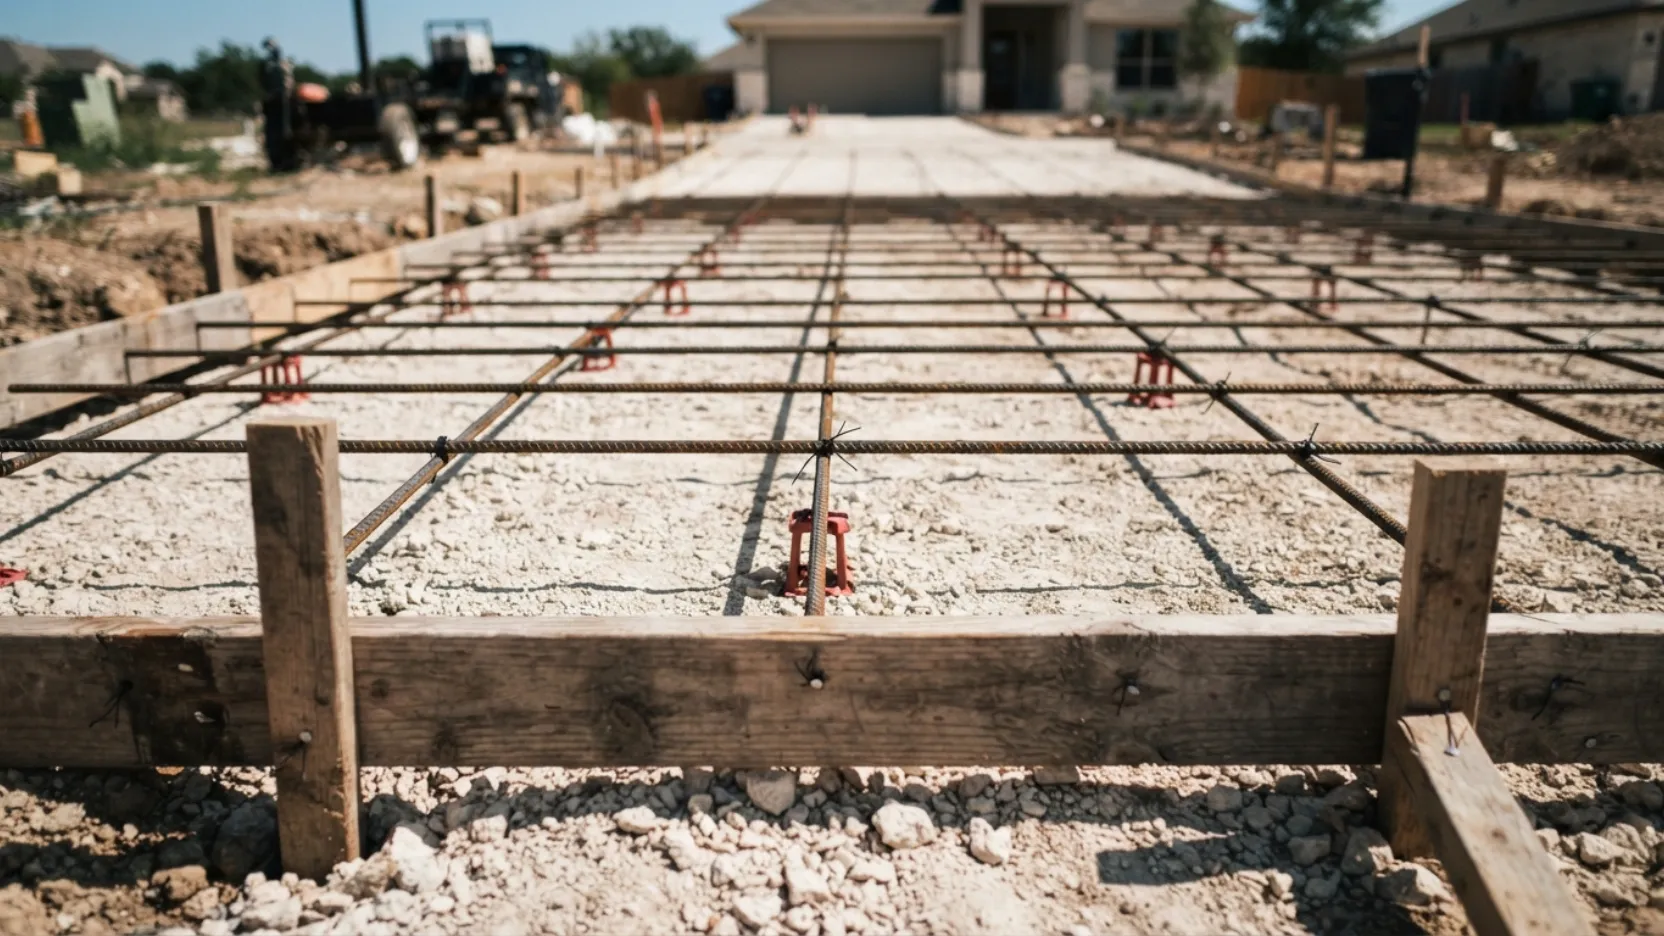
After forms are set, steel reinforcement is placed inside the form area. For driveways in San Antonio, rebar is strongly recommended over wire mesh due to the expansive clay soils. Number 3 rebar (3/8-inch diameter) placed in a grid pattern at 18-inch centers is the standard residential specification. The rebar must be elevated to the mid-point of the slab not resting on the base using plastic chairs or concrete block supports. Rebar sitting on the ground provides almost no structural benefit.
Expansion joints also called control joints or isolation joints are also planned at this stage. These are gaps in the slab (either pre-formed or saw-cut after the pour) that allow the concrete to move and crack in a controlled location rather than randomly across the surface. For driveways, control joints should be spaced no more than 10 feet apart in both directions, with isolation joints wherever the driveway meets the garage slab, sidewalk, or curb. In San Antonio’s clay soils, skipping control joints is one of the most predictable ways to end up with a cracked driveway within three years.
- Forms set at correct elevation with consistent drainage slope verified by level
- Rebar specified for driveway application (not wire mesh) #3 at 18-inch centers minimum
- Rebar elevated to mid-slab height using plastic chairs not resting on base material
- Control joint locations planned: no more than 10 feet apart in both directions
- Isolation joints planned at all transitions garage slab, sidewalk, curb, and any existing structures
- Forms inspected and approved before concrete is ordered
Phase 6
Pour day is when preparation either pays off or fails. A professional crew will have everything ready forms set, rebar elevated, tools laid out, and enough hands on site before the first truck rolls in. Concrete begins setting immediately once it leaves the plant, and in San Antonio summer heat the working window can be as short as 45 to 60 minutes per load. There is no time for improvisation.
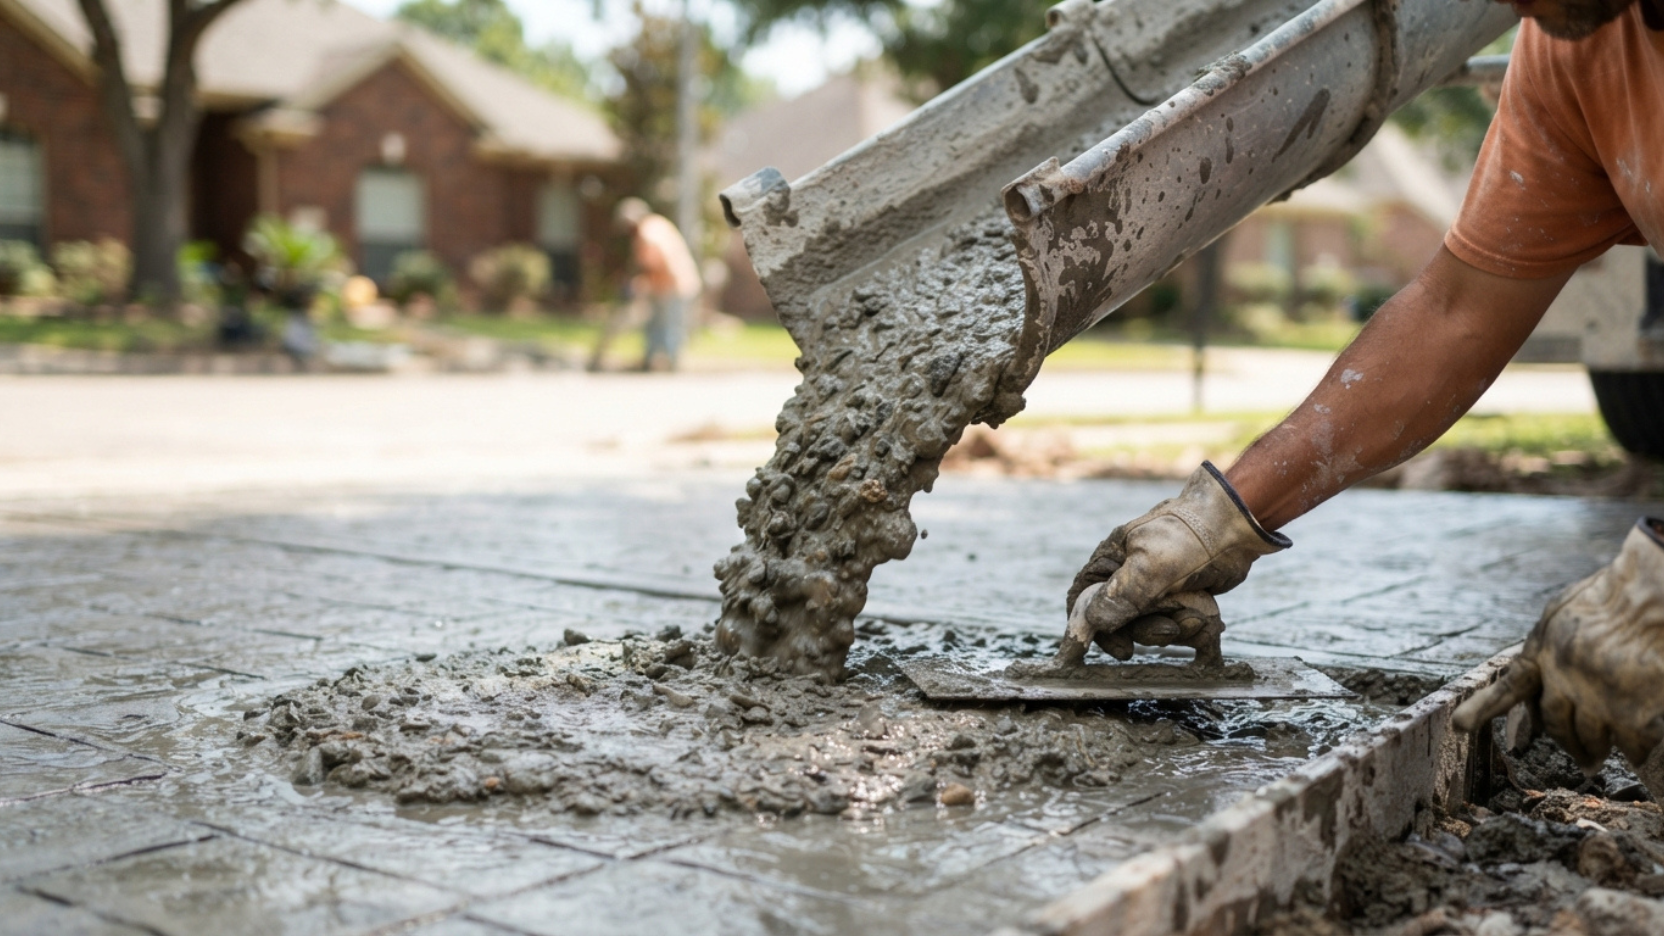
The standard mix specification for a residential driveway in San Antonio is 3,000 to 4,000 PSI compressive strength concrete with a water-to-cement ratio of 0.45 or lower. Adding excess water to the mix at the job site something crews sometimes do to make placement easier weakens the final product significantly. If you see a worker adding water from a hose to a load after it arrives, that is a red flag worth calling out.
Concrete is placed starting at the far end of the driveway and working back toward the truck, chuted or pumped into place. Workers use come-alongs (long rakes) to distribute the mix within the forms, then strike-off (screed) the surface level with the top of the forms using a long screed board. The screed pass removes excess concrete and establishes the final surface elevation. After screeding, a bull float is used to close the surface and push aggregate slightly below the top.
Best time of day and year for a San Antonio driveway pour: Schedule pours to start between 6:00 and 7:00 a.m. from June through September. By noon, surface temperatures on Bexar County pavement can exceed 120 degrees Fahrenheit, which accelerates setting time to a point where finishing is difficult. Fall and winter pours (October through March) allow more working time and reduce curing risk. If your project timeline is flexible, a cooler-season pour is always the safer choice.
- Mix specification confirmed with the ready-mix plant: 3,000 to 4,000 PSI minimum for residential driveways
- No field water additions observed the mix that leaves the plant is the mix that goes in the forms
- Rebar remains elevated during pour watch that workers do not dislodge chairs with rakes or come-alongs
- Screed board or laser screed used to establish correct surface elevation
- Bull float pass completed across the entire surface before initial set begins
- Summer pour: retarder admixture confirmed and early morning start scheduled
Phase 7
After the bull float pass, the concrete goes through a bleed water phase water that rises to the surface as the mix consolidates. Finishing work cannot begin until all bleed water has evaporated. Starting too early traps water in the surface layer, weakening it. An experienced finisher reads the surface and waits. This patience is a skill and in the heat of a San Antonio summer, it requires watching the surface carefully for the right moment.
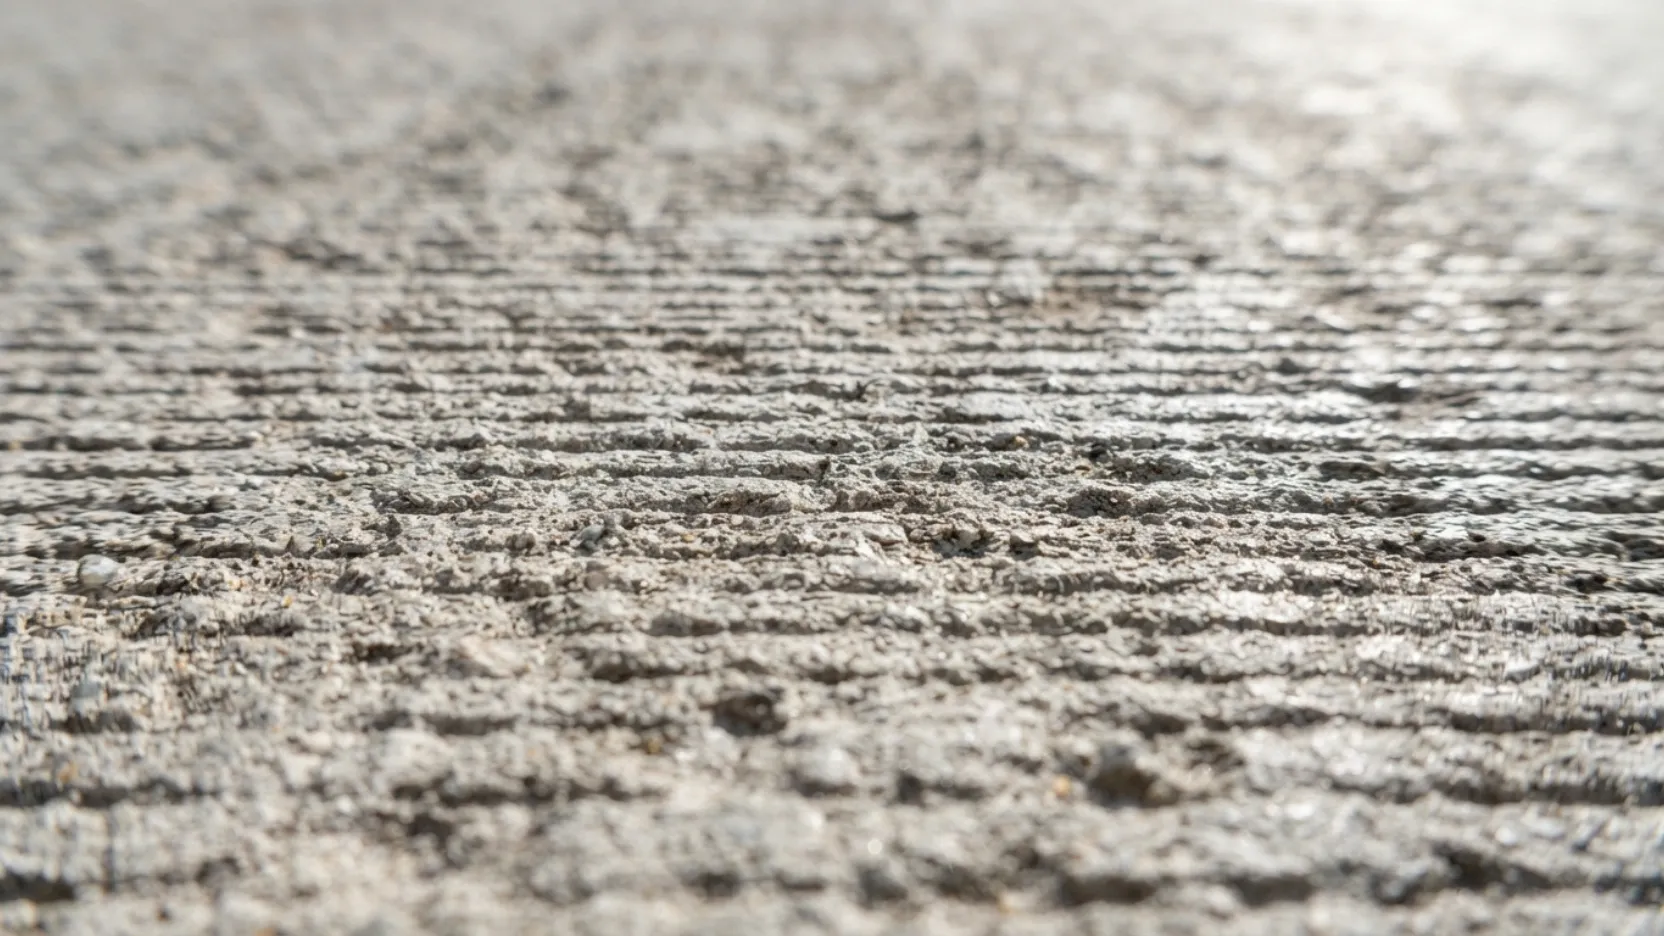
Once bleed water is gone and the surface has stiffened to the right consistency, finishing begins. For a standard residential driveway, this means a broom finish: a stiff-bristle broom dragged across the surface in straight lines or a slight arc to create slip-resistant texture. The broom should be pulled in a single direction usually parallel to the house to create consistent, parallel grooves. Depth of texture varies with broom stiffness and the amount of pressure applied.
Control joints are cut either by hand-tooling immediately after the bull float pass (using a groover tool) or by saw-cutting within 6 to 12 hours of the pour, before the concrete reaches full initial set. Saw-cut joints must be at least one-quarter of the slab depth so a 4-inch slab requires a minimum 1-inch deep cut. Joints that are too shallow do not function as intended and the slab will crack randomly rather than at the joint. Joints should be cleaned and filled with a flexible polyurethane sealant within 30 days of pour to prevent water infiltration.
- Bleed water fully evaporated before finishing begins no early troweling that traps moisture
- Broom applied in consistent parallel strokes for uniform slip-resistant texture
- Control joints hand-tooled or saw-cut at correct depth: minimum 1/4 of slab thickness
- Control joints at correct spacing: no more than 10 feet apart in both directions
- Edges rounded with an edger tool along all form perimeters
- Any stamped or decorative finish applied while slab is still in the plastic window (first 2 to 3 hours after pour)
Phase 8
Curing is not drying it is a chemical reaction called hydration, where water in the mix reacts with cement particles to form calcium silicate hydrate crystals that give concrete its strength. This reaction continues for 28 days and produces most of its strength in the first 7 days. If the surface loses moisture too quickly which happens readily in San Antonio summer heat and low humidity the hydration reaction stops before full strength is reached, producing a weaker surface that dusts, scales, or cracks prematurely.
.avif)
A responsible contractor will apply a liquid curing compound immediately after finishing, or cover the slab with wet burlap and plastic sheeting for at least 3 to 5 days. Both methods trap moisture in the slab to allow hydration to proceed properly. In peak summer heat, wet-cure methods are preferred over curing compounds because compounds can fail to adequately slow moisture loss when surface temperatures exceed 100 degrees Fahrenheit.
| Timeline after pour | What is happening in the slab | What is allowed |
|---|---|---|
| 0 to 24 hours | Initial set; concrete hardens but has very low strength; surface is fragile | No traffic of any kind; curing protection must be in place |
| 24 to 48 hours | Concrete reaches roughly 30% of design strength; surface firms up enough for careful foot traffic | Foot traffic only no wheeled equipment, bicycles, or loaded dollies |
| 3 to 7 days | Slab approaches 70% of design strength; rapid strength gain phase | Light foot traffic; continue curing protection; no vehicles |
| 7 days | Approximately 70% of design strength achieved; sufficient for standard passenger vehicles | Passenger car traffic; avoid parking heavy vehicles or making tight turns |
| 28 days | Full 28-day cure complete; design strength achieved | All traffic; apply first penetrating sealer within 30 days of this milestone |
Why the first sealing at 28 days matters more than any subsequent application: San Antonio’s UV intensity is among the highest in Texas. Unprotected concrete begins developing surface micro-cracks from UV exposure and thermal cycling within the first few months. A penetrating silicate or silane sealer applied at 28 days bonds with the concrete matrix and protects from the inside out far more effective than a film-forming sealer applied to a weathered surface later. This first application sets the long-term durability trajectory of the driveway.
- Curing method applied immediately after finishing: liquid compound or wet burlap with plastic sheeting
- Curing protection maintained for minimum 3 to 5 days after pour
- No vehicle traffic for minimum 7 days 14 days recommended in summer heat above 95 degrees
- No heavy vehicles, RVs, or trailers for full 28 days after pour
- First penetrating sealer applied at 28 to 30 days after pour
- Control joints cleaned and sealed with flexible polyurethane within 30 days of pour
The following cost ranges reflect 2026 pricing in the San Antonio and greater Bexar County market for a standard 400 to 600 square foot residential driveway with broom finish. Decorative finishes, unusual site conditions, or very long driveways will affect these numbers.
| Installation phase | Typical cost range | Notes |
|---|---|---|
| Permits (if required) | $50 to $300 | City of San Antonio Right-of-Way or Driveway Approach permit; contractor should pull and include in quote |
| Demolition and haul-away | $1 to $3 per sqft | Varies with slab thickness and site accessibility; should be itemized separately in any quote |
| Excavation and grading | $0.50 to $1.50 per sqft | Often bundled with base prep; confirm depth and drainage slope are included |
| Crushed limestone base (4 inches) | $1 to $2 per sqft | Deeper base for problem soils or heavy vehicles adds cost; non-negotiable for Bexar County clay |
| Rebar (#3 at 18-inch grid) | $0.75 to $1.25 per sqft | Material and labor; should be included in all San Antonio driveway quotes as standard spec |
| Form setting | Included in pour labor | Rarely priced separately; confirm crew is using lumber forms, not just stakes |
| Concrete pour and finishing | $4 to $7 per sqft | 4-inch slab, broom finish, control joints; stamped finish adds $10 to $15 per sqft over this |
| Curing and first sealing | $0.50 to $1 per sqft | Often not included in base quotes; ask specifically whether curing compound and first sealer are in scope |
| Total installed (broom finish) | $7 to $12 per sqft | All-in price for a complete, properly installed residential driveway in San Antonio in 2026 |
- Square footage, width, length, and finish type confirmed in writing in the contract
- City of San Antonio permit obtained if curb cut or Right-of-Way work is involved
- HOA pre-approval received if required by subdivision rules
- Texas 811 utility locate submitted; ticket number provided by contractor
- Contractor insurance certificate received and verified $1M general liability minimum
- Payment terms confirmed: deposit at start, balance on completion not full payment upfront
- Old driveway removed and debris hauled off property not buried on site
- Excavation depth confirmed: 8 to 10 inches below finished grade
- Drainage slope established: 1/8 inch per foot away from structure
- Crushed limestone base placed and compacted in 4-inch lifts
- Base depth confirmed as minimum 4 inches compacted (6 inches for heavy vehicles)
- Base tested for firmness before forms are set no soft spots
- Rebar (#3 at 18-inch grid) placed and elevated to mid-slab height using chairs
- Forms set at correct elevation with consistent drainage slope
- Control joint locations marked: no more than 10 feet apart in both directions
- Isolation joints planned at all transitions garage slab, sidewalk, curb
- Mix spec confirmed: 3,000 to 4,000 PSI minimum no field water additions
- Summer pour: early morning start and retarder admixture confirmed
- Bleed water fully evaporated before finishing begins
- Broom finish applied in consistent parallel strokes
- Control joints cut to correct depth: minimum 1/4 of slab thickness
- Curing compound or wet burlap applied immediately after finishing
- No vehicle traffic for minimum 7 days; 14 days in summer heat
- No heavy loads or RVs for full 28 days after pour
- First penetrating sealer applied at 28 to 30 days after pour
- Control joints cleaned and sealed with flexible sealant within 30 days
- Final inspection completed and accepted before final payment is released
How long does it take to install a concrete driveway in San Antonio?
Do I need to be home during the concrete pour?
Is it better to pour concrete in winter or summer in San Antonio?
Why does my new concrete driveway have hairline cracks?
How thick should my concrete driveway be in San Antonio?
What questions should I ask a concrete contractor before hiring them in San Antonio?
Get a free driveway installation quote in San Antonio
Tell us about your driveway project and we will visit your property, assess the site conditions, and provide a detailed written quote with all specifications listed — no vague estimates.